One more for the natural stones. This is a dark green hard but strong cutting and fine Japanese natural stone that I got off of Buyee (proxy service that allows you to bid on Japan’s version of Ebay).
I’ve bought a lot of stones, and I’ve sold stones (but only on a break-even basis). The reason for the metallurgical scope in the first place was to resell an abundance of straight razors that I’d accumulate and sort and honestly grade stones. This green stone is really one of the very few “something for nothing” stories, as it’s a near full size stone that’s either nakayama or narutaki mine (but the characteristics match that of nakayama – a hard fine but strong cutting stone that’s very strong on slurry despite not being coarse – on water with no slurry, the stone is a bit harsh feeling. The bottom line is that this is as good of a stone as you will find for a japanese finish stone of the fine and hard nature, and better than a hatanaka stamped stone that I also had (though hatanaka stamps until recently were always uncommonly uniform and aesthetically interesting – I looked on buyee now years removed from selling stones and see that the hatanaka stamp is now being forged as it was present on misshapen and common stones. That’s too bad).
I think the myth about japanese stones being “30k” grit equivalent is finally not the norm when their fineness is discussed. They are similar to the best of the trans or black arkansas stones, but with a little better fineness and stronger cutting power on harder steels (japanese natural stones from the mountain with the best mines are between 15-20% natural aluminum oxide from volcanic ash. If you’re the grouchy western type that thinks that’s mysticism, that’s tough – they do actually have aluminum oxide in them, but not in the same concentration that something like a shapton stone would – it’s mixed in with SiO2 (which itself is in the neighborhood of another 60% of the stone matrix).
So, what was the win? This was an “unmarked” stone sold by someone who picked barber shops and after flaking some of the crud off of the end of this stone, it has a very old stamp that more or less just says “original whetstone” or something of that sort (The kanji isn’t on the stone in 6 places with bright new purple ink and it doesn’t say “nakayama super best gaijin magnet” or anything like that, it just clarifies that it’s from the original mountain and that it’s got its bona fides. This was $32 plus proxy and shipping fees. But no worries, I’ve had plenty of $400 stones that really were $250 stones and when I did finally sell this one, I sold it for less than half of what it should probably have been sold for. You can’t keep everything And I still have somewhere around a dozen japanese finish stones.
I’ve had around 200 japanese natural stones in total. Very few feel the same if you’ve seen enough to start differentiating them. I’ve not had a large stone that was quite as good as this one at what this one is good at (hard, releasing no slurry, but with a fine biting slurry that’s very practical if the slurry is kept).
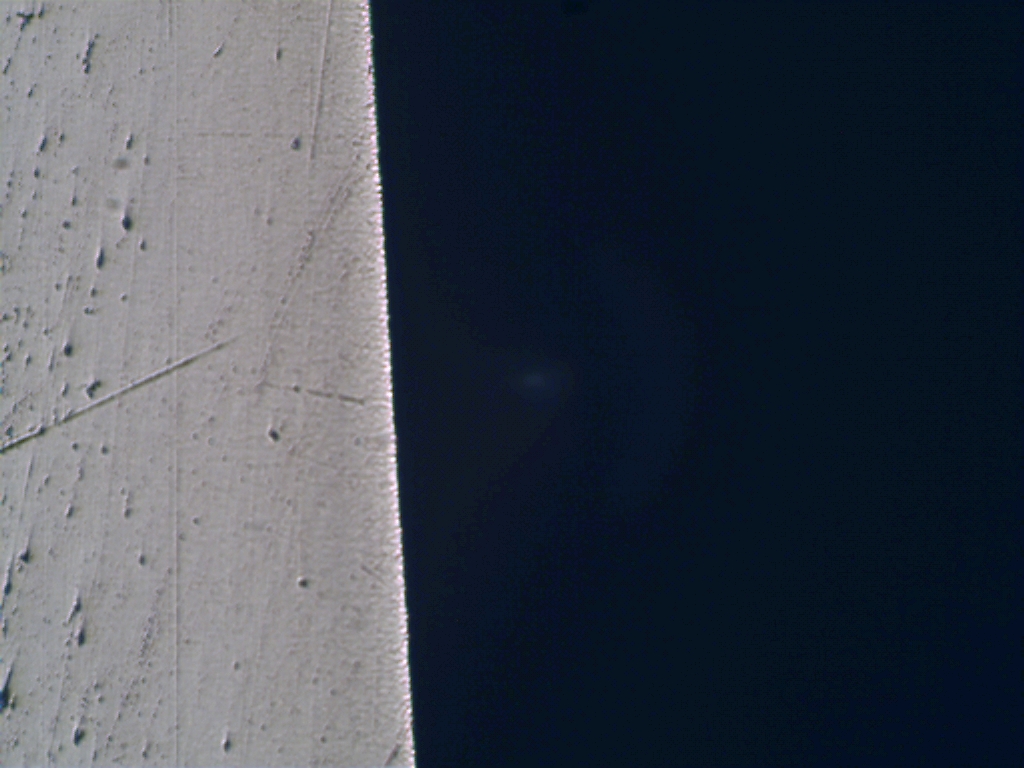
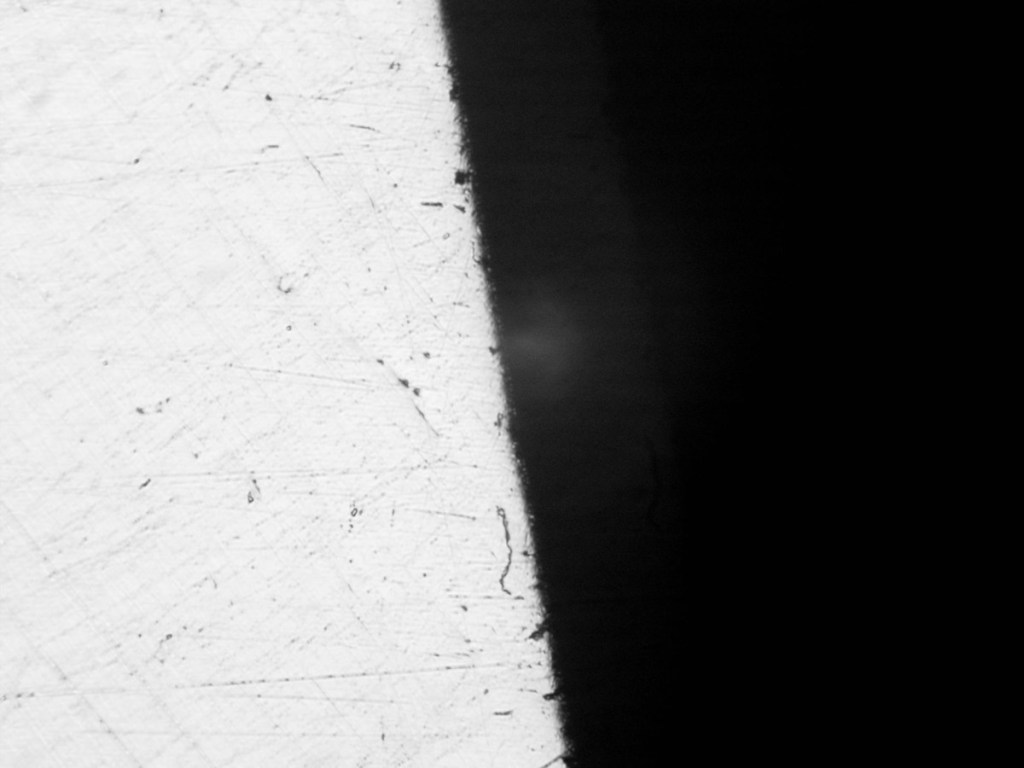
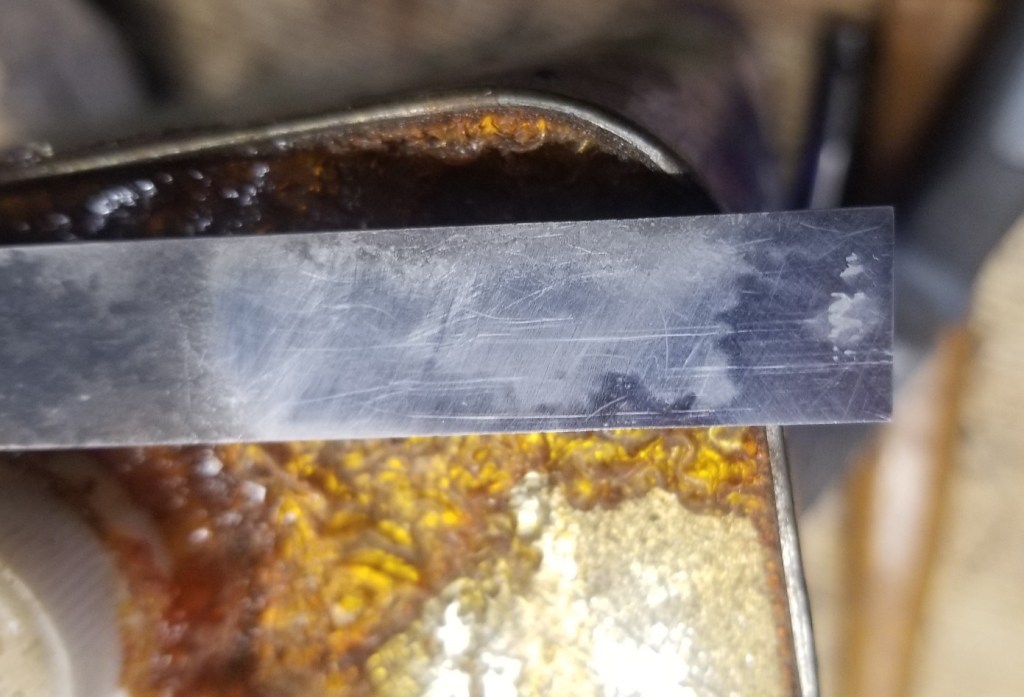
A picture of what this stone does both on slurry and then on clear water is below. If the objective was to get this picture to near optical clarity, then the stone must be allowed to dry while the honing process continues.
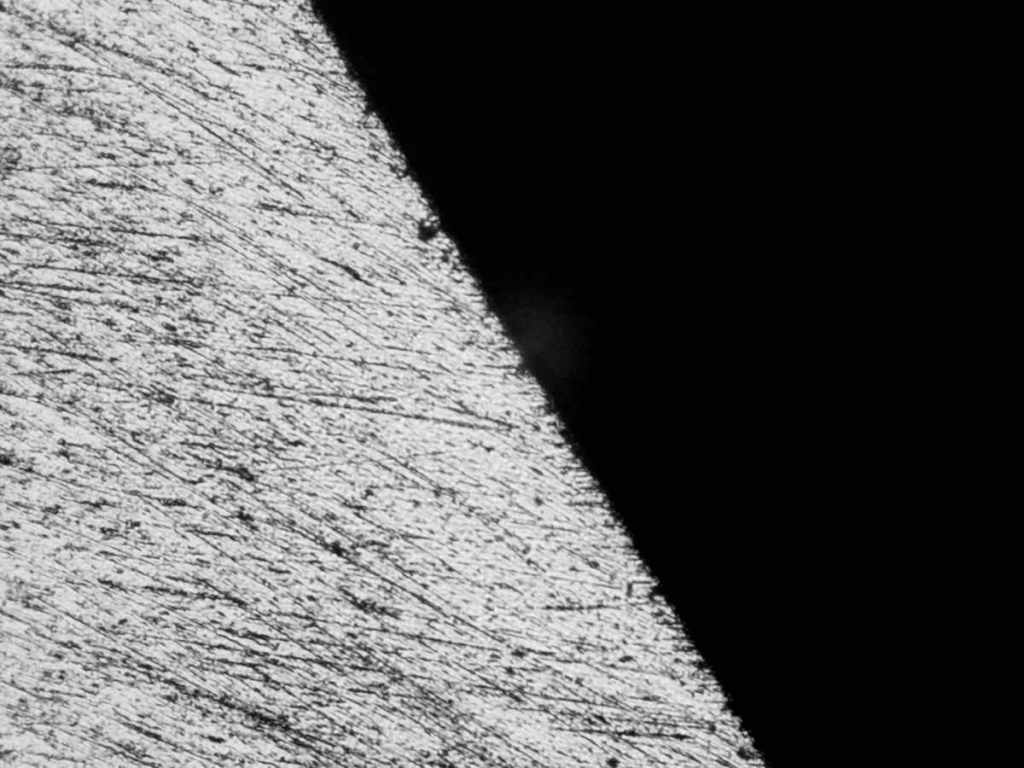
Compare this Picture to the 8,000 Grit Waterstone


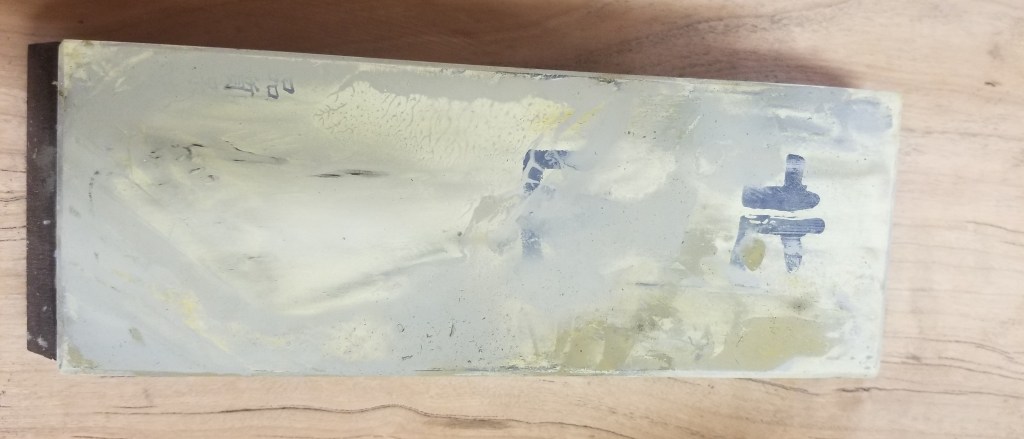
The surface of the older stone – a little dry swarf left on top. Many stones have this color of green, but the really good stones are usable and make things sharp. The same appearance is common from a modern lower quality stone that may scuff on the surface and release a clump of particles.
I cannot recommend buying japanese stones for no reason, unfortunately. I don’t think you get what you pay for from dealers, and on average, the new stones are not a match for picker-sold old stones (but the latter is the kind of thing where you buy 10, keep the two you like most, sell 6 and throw away the two that broke or delaminated either before or after you buy them).
What you find on proxy services is a good reminder that people in Japan don’t necessarily think the stones are worth as much as we do aside for some uncommon stones with rare characteristics. And you won’t guess what those are when you’re new, so you’re far more likely to overpay (at one point, I purchased a large atagoyama stone off of the proxy service from a hardware store – i.e., retail – in japan. $235. I saw the same stone, same stamp, same size on a continental european “japanese stone specialist” site for $900. What do you get for the difference? nothing – atagoyama is one of the few mines that had stones in such abundance that the stones were consistent in appearance and cutting properties after they were separate by grade.
Ultimately, if you have tools that can be sharpened by a high quality black arkansas or translucent stone, how much better is the resulting edge from a japanese natural stone? It’s not, it’s about the same. In fact, the best of the natural fine stones all land around the same place.