Older Style Tapered and Slotted Irons

What? Tapered iron in an infill plane? Works fine, especially for testing fine shaving quality.

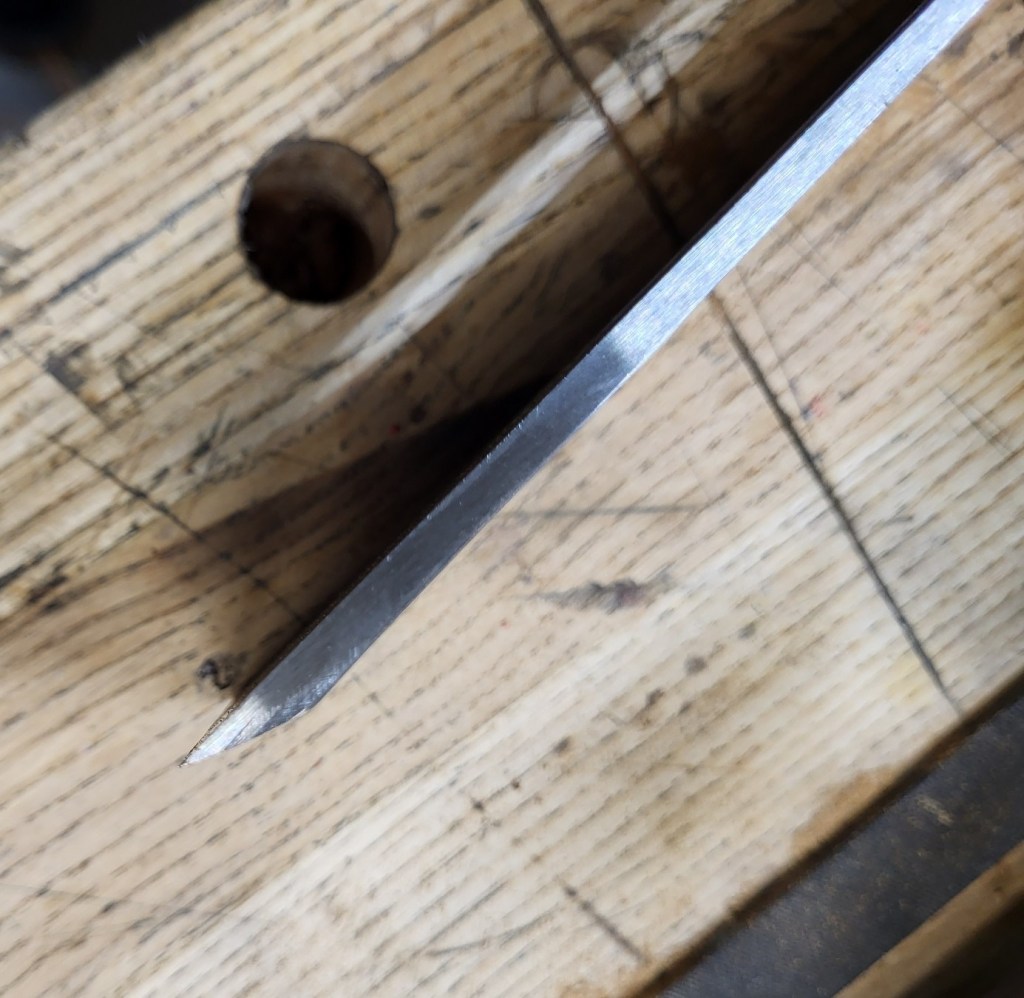
Something I’ve forgotten about for quite some time is ever attempting to make a tapered bench plane iron freehand, or even in a jig. This may sound like something that should be reserved for machine tools, but I’m convinced that the golden age of laminated plane irons (mid to late 1800s in England) existed not based on precise jigging, but rather on a job grinder who was able to grind taper into irons on a wet wheel quickly and also grind some concavity into the backs of irons.

I realize also that most folks may have never thought about this concavity, but visualize the old plane irons as follows: The top of the iron that faces the cap iron will be flat. This is the side opposite of the bevel.

The back or bevel side of the iron beds against the plane bed. If you can help it, you want the iron to bed as close to the mouth as possible and again at the top of the bed with not much significant contact between the two. At least not on a double iron plane.

A well sprung cap iron will create some of that concavity on its own by bending the iron itself, but but this bias exists on older irons, anyway. I think the reason is because without it, the point of contact still could be a little bit further up the iron’s length vs. being right at the top of the bevel on the back. Getting these little details in your favor and not high centering or having uneven bed pressure makes a plane lock down tight, work well though minor seasonal movement over time, and adjust appropriately. As a maker, these biases are important – not only to ensure success, but to ensure excellent success.

But most tapered plane irons that I’ve seen new – other than japanese irons – are just two flat planes that aren’t parallel with each other – a sign that they’re either created in a jig (older irons) or just machined and ground (newer).

A Couple of the Doses of the Cant’s

About a decade ago, I wanted to try to harden a plane iron, but I knew as much as most people know. Almost nothing. A professional plane maker advised me not to bother as I’d be able to make a tolerable iron but never a good one. I’m past that.

Another professional plane maker gave me a different “can’t do it” around the same time when I asked if there was a way to taper plane irons for a hobbyist. The advice at that time was that it would take a minimum of $3,000 (more now) just to be able to begin to think about tapering.

I wasn’t thinking the same way – the precise machine way, and came up with a way to taper moulding plane irons well enough, but it was crude. Crude but it worked and was almost free.

My point isn’t to celebrate that I got past the can’ts, but more to mention that doing it – whatever *it* is – is often solving a problem and maybe you can’t solve it right away. I could taper moulding plane irons pretty easily. I tapered a thick plane for an infill shooter years later with a cheap ryobi belt sander idler, but it was a slow process – 2 hours of dusty filthy burnt hands with less control than I’d really like. These things have been incremental, satisfying curiosity, the involvement of handing the process – by hand – is bliss, rather than the thrill of solving a problem, and the the rigid boredom of repetition thereafter.

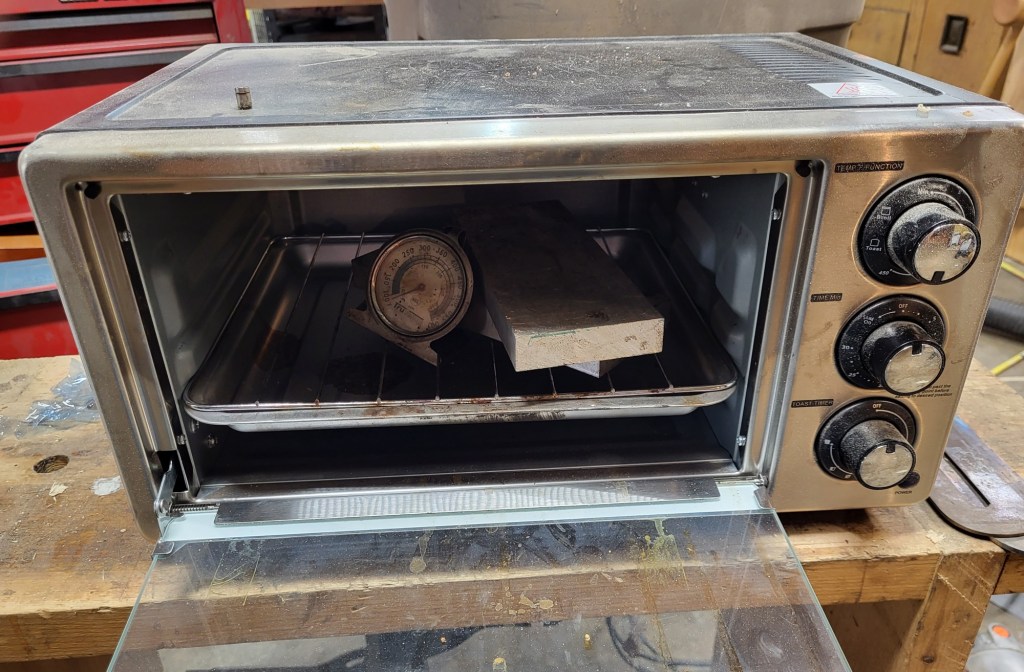
For reasons I don’t have a clue about, I bought something completely unrelated and got the wild idea last week that now that I have an 8″ contact wheel belt grinder, I could probably make taper plane irons. So I’ve made two. The first one was a bit slow, but by iron #2, the grinding adds about half an hour of time to making a larger plane iron. In this case, the entire process from start to finish is about an hour before a quenched iron goes into the freezer.

What was the unrelated item? 1095 Cro-Van. 1095 itself is a good spring steel. As a knife steel or chisel steel, or even a plane iron steel, it’s not that great. The steel itself triggered this idea – what to make – because I could only find it in a thickness that would probably be suitable for an infill plane. And somehow, that got me thinking about tapering it (too thin) and over to the rack for O-1 and off to the races.

No Great Reason – Sometimes Just for Making

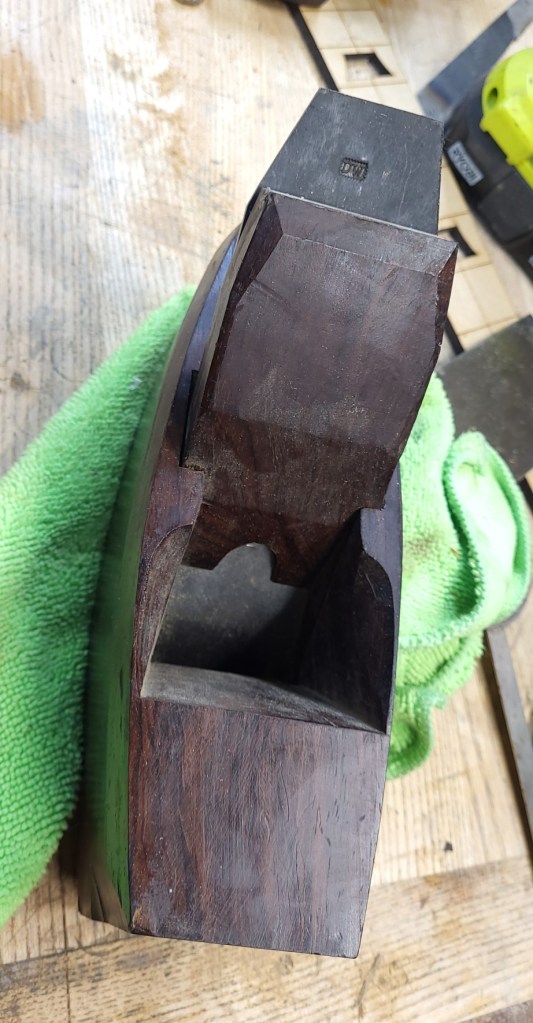
I don’t really have a need to make these irons. My second double iron plane was a cocobolo smoother that I like, but I really like a stanley 4. That smoother has an I&H sorby iron that is a touch soft – unusual for that brand. Irons that are a bit soft and made of water hardening steel don’t last very long smoothing wood, but set the shaving a step or two thicker and they work wonderfully. About like a try plane – for people who measure shavings, somewhere from half a hundredth to a hundredth thick shaving in cherry and a little less if the wood gets harder. If you’re working entirely by hand, especially on something like sticking for mouldings where you also want a pretty good finish, that’s very useful.

It occurred to me that I could make a copy of the iron, but a smarter move would’ve just been to run the original iron through a quick set of thermal cycling and then reharden it. I made the irons instead. In the back of my mind is also that I’ve always made wooden planes with irons that someone else made. There’s no compromise to the design of a good iron and cap iron that I’m willing to go to, so making something like a single iron plane with a flat iron in a wooden plane isn’t going to happen – why bother when you’re working at my level – the level of an experienced dolt, not just an inexperienced dolt.

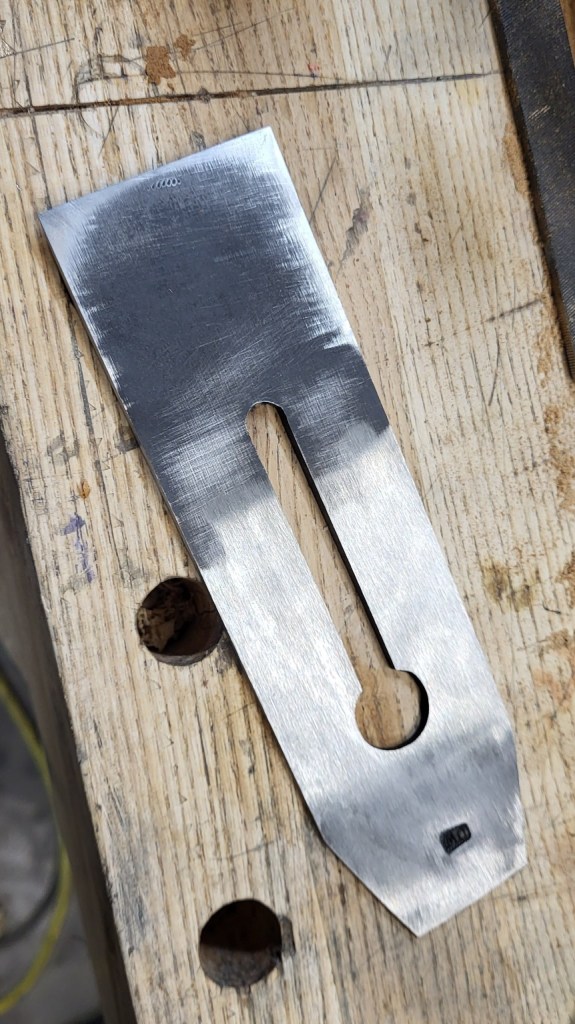
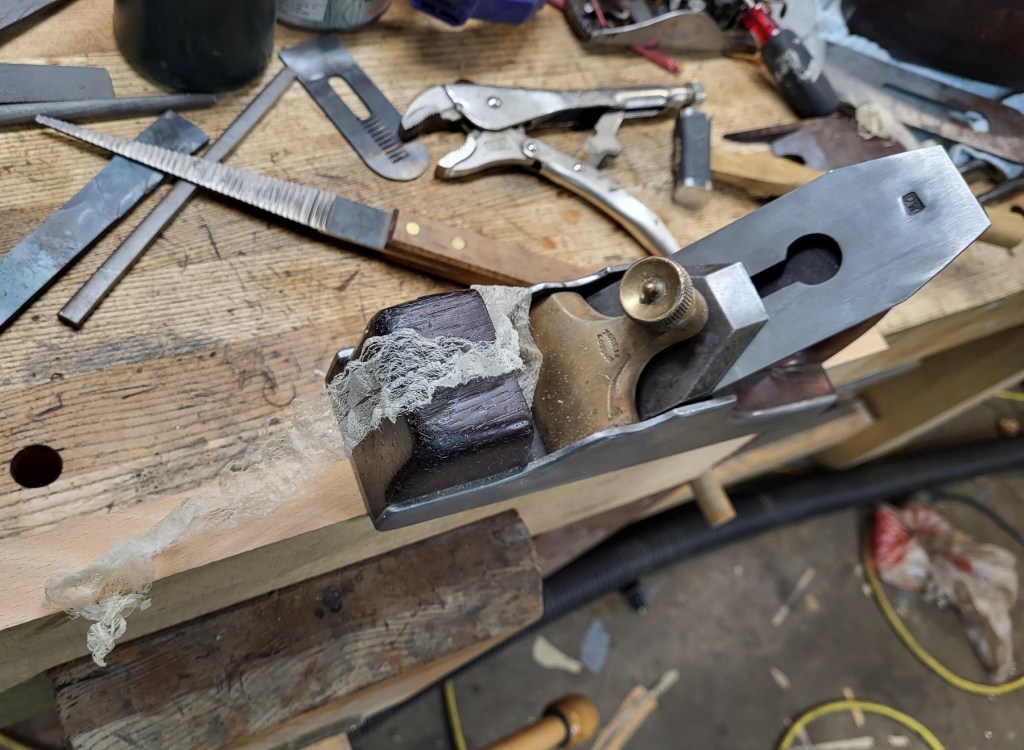
To apply the taper, I used a wooden block, a pair of vise grips, a belt sander with a platen and the contact wheel on a belt grinder. It worked great. That doesn’t explain the process well, but it’s literally what I used.

The first attempt of anything for me is always something I’m wiling to fail at and learn from, but the first iron turned out fine. It’s not perfect, it’s fine. This line of thinking – knowing what you want to do but then going and doing it and counting problems as guiding you to the right solution is important – it dominates sitting around and pondering hypothetical problems and successes. Knowing exactly what you want to make is important, but knowing exactly how you’re going to make it isn’t. If you’re creative, you figure that out. The second iron took half as long to make and I made it more accurately because of what I learned from the first.

I don’t really have much of a point other than that I’ve crossed something off of my list. The idea of working freehand often and being creative with a belt sander platen, the idler and the contact wheel on a belt grinder is why this was successful, and I’d put the idea of making a large tapered iron on the back burner long ago – if it takes 3 hours to make when you can find good Mathieson and other irons online, there’s no real point.

It’s also a reminder that if you don’t allow yourself to get boxed into things other people have had success with, the little things you learn to do by feel will open the door to do some things you may not have intended. Once you get to the point that you know exactly what you want to make, start making it. If some part is hard or fiddly, figure out another way to do it. I can almost guarantee that you’ll be able to make something twice before you’d ever get through with one paralysis analysis version, and it’s pleasant if you don’t take yourself so seriously that you feel like you’re too good to fail or that you can’t throw away something you make.

Lastly, understanding all of these little aspects of what makes a good cap iron or a good plane iron, including this curvature on the back of an iron, has resulted in being able to stuff both of the new plane irons into their subject planes with no adjustment to the wedges – they fit and work ideally right away. That wasn’t by accident. I liked the proportions of the original irons and have the ability to match the taper. The biases that an intelligent maker came up with in the past carried the rest of the load.

I don’t have a way to video this process, and also don’t have a wiling camera to help. Being realistic, I don’t think too many people would want to try it, so other the bits and pieces mentioned here, I think I’ll defer and not go into detail about the method – it’s less important than celebrating something that would’ve seemed too difficult 10 years ago but now is fairly low effort. And celebrating not falling into the trap of following the can’ts or “won’t be any good if you make it by hand”.

A Few Pictures

I’ve got a fair number of wooden planes, but not an enormous number by any means. Maybe a dozen bench planes and smoothers. I do have infill planes that will take the same size irons, so some of this is done with those – both used in this case are norris A13s – one beater of a smoother and one long panel plane that I forgot to photo.

There may be some disagreement, but the reality is that the spring in a double iron plane makes really small adjustments in a smoother less easy. It also makes the plane a real treat with a shaving a little thicker – like a truck with heavy suspension. I use the infills to take thinner shavings and test the surface quality the iron makes, and after getting the edge fully prepared, ensure that a the iron can plane a hundred or a couple of hundred feet with a fine edge and not develop any nicking. So, these pictures are generally at random and the ones that show no planes at all are the edges of the boards being planed – and the reflected image on them.

2 1/2″ wide iron for a trying plane

2 1/4″ iron for a larger smoothing plane
Note how subtle the curvature is. This is consistent with most of my older irons. Apologies for not glazing the side of the iron – it would be easier to discern if that had been made bright.
Iron in a large cocobolo smoother that I made. This was one of my first double iron planes, and the dark wood hides aesthetic issues. It OK in the pictures – the little nits aren’t quite as flattering without the dark shadows.
The larger iron in a Mathieson plane. I like other top-of-the-iron styles better, but it’s nice if the iron top and wedge are similar. Mathieson and Ward both made wonderful irons, though. This replacement is by no means needed. and I could possibly have 100 double irons waiting for planes otherwise.
The smoother iron being tested in a beater norris 13 that a flattened previously. Impractically thin shaving, but checking crispness of the edge and then observing how thin shavings are before they may split with some wear is a good indication of edge quality. This is an early edge, and the bevel grinding on this iron is done by me in a hurry. it’s good. After a little regrind to get past the metal that saw harsh 36 grit grinding, I think it’ll be even better.
if a shaving is thin, you can see things clearly through it. The wood is beech in this case, you can just see the edge. I started with walnut because it’s pleasant, but ….
Of all things unholy. There’s plenty of metal dust in my shop, so finding it on wood isn’t a surprise. However, I always thought walnut was a safe wood to test edges, but look closely at the white dots in the grain….silica. I planed some of this off to double check that it’s not stray metal particles. I’ll stick with cherry and beech. the little white dots are hard to find – where’s wal-silica-do…but whether you see them or not, you’ll find the little lines the nicks leave on your work. Not appreciated when trying to differentiate contaminants from edge quality.
Picture one examining the brightness of the beech edge after planing. The same edge that’s peeking up from the infill plane above.
And picture two -using the board edge like a mirror. Cell phones don’t like glare – a solid photographer could show just how reflective this really is.

I haven’t yet made a cap iron or a cap iron screw, but I think I’ll live long enough to do that.

Tempering Simple Steels Accurately

Two items of note before going into detail about tempering: 1) you can temper anything pretty easily if the tempering temperature is below 450F. That means that if you have an overhard Japanese tool or anything else that’s just junk to you, it’s likely that it could be improved tempering. 2) I am not a knifemaker, and i don’t use high speed or very high carbide content steels that have a very high temper or two tempering ranges.

If you’re going to temper complex steels, you’ll need to get something designed to temper high speed steels.

Otherwise, the focus here is tempering recently quenched tools, but for most things used in woodworking hand tools, a good quality oven or toaster oven will be all that you need.

What is tempering?

Quenching relatively simple steels is a matter of converting nonmagnetic microstructures of steel – austenite – to martensite, and doing so as completely as possible. You can read knifesteelnerds.com if you want to know more about those states, but for our purposes, we assume a quenched tool starting with brittle martensite and peak hardness. For almost all uses other than a blunt scraper, you’ll find untempered steel doesn’t hold up to anything – not even sharpening.

Tempering is a process of heating the untempered microstructure to the same microstructure with somewhat less hardness and more toughness. For hand tools, I’ve found with O1, XHP (similar to or same as V11), 1095, 26c3, etc. to prefer 375F to 425F. As a rule of thumb, you’ll trade about a point of hardness for each 25 degrees. that means big temperature variations are unacceptable and we’d really like to achieve something more like a 10 degree deviation at most.

How much tempering, when can it be done?

A single temper with really simple steels will take care of 90% of the result and leave you with something usable to very good. Some retained austenite can be converted to martensite during the first temper, so official schedules generally recommend tempering twice.

Your job if tempering steel is to get steel through its thickness to be an even tempering temperature. Whether you do that in hot oil, in a kitchen oven, whatever it may be doesn’t matter. However, other than very simple small applications, I’d recommend staying away from tempering over a flame.

Most schedules suggest tempering right away. If you arrived here after reading from the quenching page that it’s nice to park steel in a freezer to really chase as high of initial hardness as possible – at least on a budget where liquid nitrogen is out of the question – then that really means it doesn’t matter that much. Tempering sooner will reduce warpage, but good technique quenching should limit that and we’re chasing hardness above perfection in warp avoidance. Long story short, temper sometime before you use a tool

I’d recommend tempering twice. And if you make something you really like, have a stable setup.

Tight Budget Equipment

The range that we’re discussing here – 375F-425F is well covered by a toaster oven. Toaster ovens probably vary a lot in quality, but I bought the cheapest toaster oven I could find on eBay – something like $24 shipped. the toaster oven cycles on and off and surface temperatures below the elements deviate wildly, so an easy way to mitigate that is to use the trays that come with the oven and block direct heat from whatever you’re tempering, and put the tool you’re tempering in a sandwich of metal to increase mass, have something else take the direct heat from the heating elements and have the overall tool temperature variation be smaller.

400F tempering generally results in a color change on the surface of bright steel to about light straw color. if you see purples and blues, the edges of your tools are getting too hot, and the remedy is you start over and re-quench. However, a little blue on the bevel of an iron may be misleading if the entire subject item isn’t blue – try the tool first.

You’ll also want to invest in one of the cheap hanging thermometers (analog) that are designed for ovens. If you use a kitchen oven instead of a toaster oven, you’ll find in some cases that your oven is not close to what it says the temperature is, and that while the oven cycles, the temperature varies like a sine wave pattern. In all cases in my experience, even convection ovens have drastically different temperatures in different spots. So, use the same spot in the same oven with the same setup. Consistency is key. Right next to the glass on a toaster oven is also, of course, not going to be as hot as the center of the toaster oven.

If you have a non-contact thermometer, you can also put something non-reflective in the oven with the piece you’re tempering and get a reading. More sources of information are better. In my case, as long as there is some shielding to the steel being tempered, I’ve found the indicated temperature on the toaster oven to be within about 10 degrees of what it says. It’s easier to get the same temper than it is with a larger oven.

Exactly what I use and Do

I use the aforementioned inexpensive toaster oven. This rarely heats lunch – it’s in my shop and quench oil makes it smell like a smoky candle. If you can only temper in a regular oven, O1 steel and vegetable oil is a good idea or your house will stink like petroleum or smoking candles.

You can see in this picture that there is a lower tray. This toaster oven came with a second flat tray that can go under or above, and I will sometimes put the steel between both trays. It takes a very long time for the “metal sandwich” to get to temperature doing that, though, so use of the top tray to shield away from heat is usually a only if the metal sandwich outsides are thinner.

In the picture are two heavy aluminum plates, and thinner may mean unwanted older plane irons, or 1/4″ mild steel bar stock.

I temper twice, an hour per cycle. The steel needs to cool between tempering cycles, but not long, so I pull it from the sandwich, and put it on the floor or the bench for a minute or two and then cool in water and then start the second cycle. There’s no need for a big rest between cycles. That term, an hour, means an hour after the thermometer shown reaches a stable temperature.

For ease, if quenching isn’t done right before bed, I will throw the aluminum plates in the toaster oven as soon as I drop the steel off after quench in the freezer, and then after an hour or so, start the tempering process.

For simple steels, that’s it. needling away at ensuring temperature stability and accurate measuring is important, and the toaster oven, plus the thermometer, plus a third check if available is nice.

There are other alternatives for temperature stability, too. If you have a small metal can and can put chisels, knives or irons within the can and not touching the sides, that’ll work well. You can also use a container with sand in it – I use the metal sandwich because it’s available and works. Grade yourself on outcome, not style. If you quench and temper accurately, even with a cheap setup, you’ll see almost no hardness variation with oil hardening steels and variation of less than 1 at the extremes with water hardening steel.

One last point – the Japanese tools

I find 375-425F to be a great range for everything listed above, and I’m partial to the sweetness/hardness combination of 400F. However, Japanese tools that specify 65/66 hardness are at the lower end of hitachi’s (white/blue steel) range. You’ll see comments that this or that blacksmith is tempering at 100 Celsius, or 212F. There’s nothing to gain tempering tiny amounts, but it does provide bragging rights for people with no nerve endings.

If you find yourself with an older japanese tool that’s extremely extremely hard, it may be 25 or 50 degrees of temper away from being a real treat. You’ll need to remove any wooden parts, abide by the accuracy discussion mentioned above and start tempering at 325F and then increase by 10-25 degrees depending on your patience until you find something you like.

White steel and steels like 26c3 will be 2 points or more harder than O1 or A2 at the same temper, so sweetness in the result can come with high hardness. 26c3 can hit 64 hardness after a hand quench and temper at 400F. The samples that I sent for testing averaged 63.8, and O1 averaged closer to 61.5 on the c scale. 26c3 is similar to japanese white 1B. Had I tempered it around 325F, it would’ve been less tough than I like, but would’ve hit 66 hardness or so.

Unless you’re working pallet loads of paulownia, you’ll probably find 325-350F will get you a nice japanese chisel from one that started overhard, and you may still find yourself with a very sweet 64F chisel at a 375F temper.

Higher and Higher Temper Can Yield Subpar Results

Larrin Thomas (knifesteelnerds.com) writes about tempering embrittlement or something similarly named. Apologies for poor handling of proper nouns if I mangle names or proper noun, but what this means is more important than exactly what it’s called.

The useful fact in this case is that simple steels often reach a point where adding temper leaves them both softer and less tough. Or, put differently, the result is worse no matter how you look at it as the tradeoff to get better toughness by reducing hardness is lost. We don’t want to delve into this. From what I gather, this range for simple steels can vary, but is above 425F. If you want a softer steel than O1 at 425F (about 60/61 hardness), you’re better off switching to something with less carbon and tempering it in its sweet spot than you are trying to temper a harder steel softer and softer.