I haven’t made mortise chisels yet for a simple reason – I don’t need any and I like the ones that I already have.
Except for one.
But somehow this has translated into having three in process, but this post is just about one.
The one that I have that I sort of like but am lukewarm about is this one, a 1/2″ chisel that I call a “bed mortiser”, because I’ve only used it for bed mortises.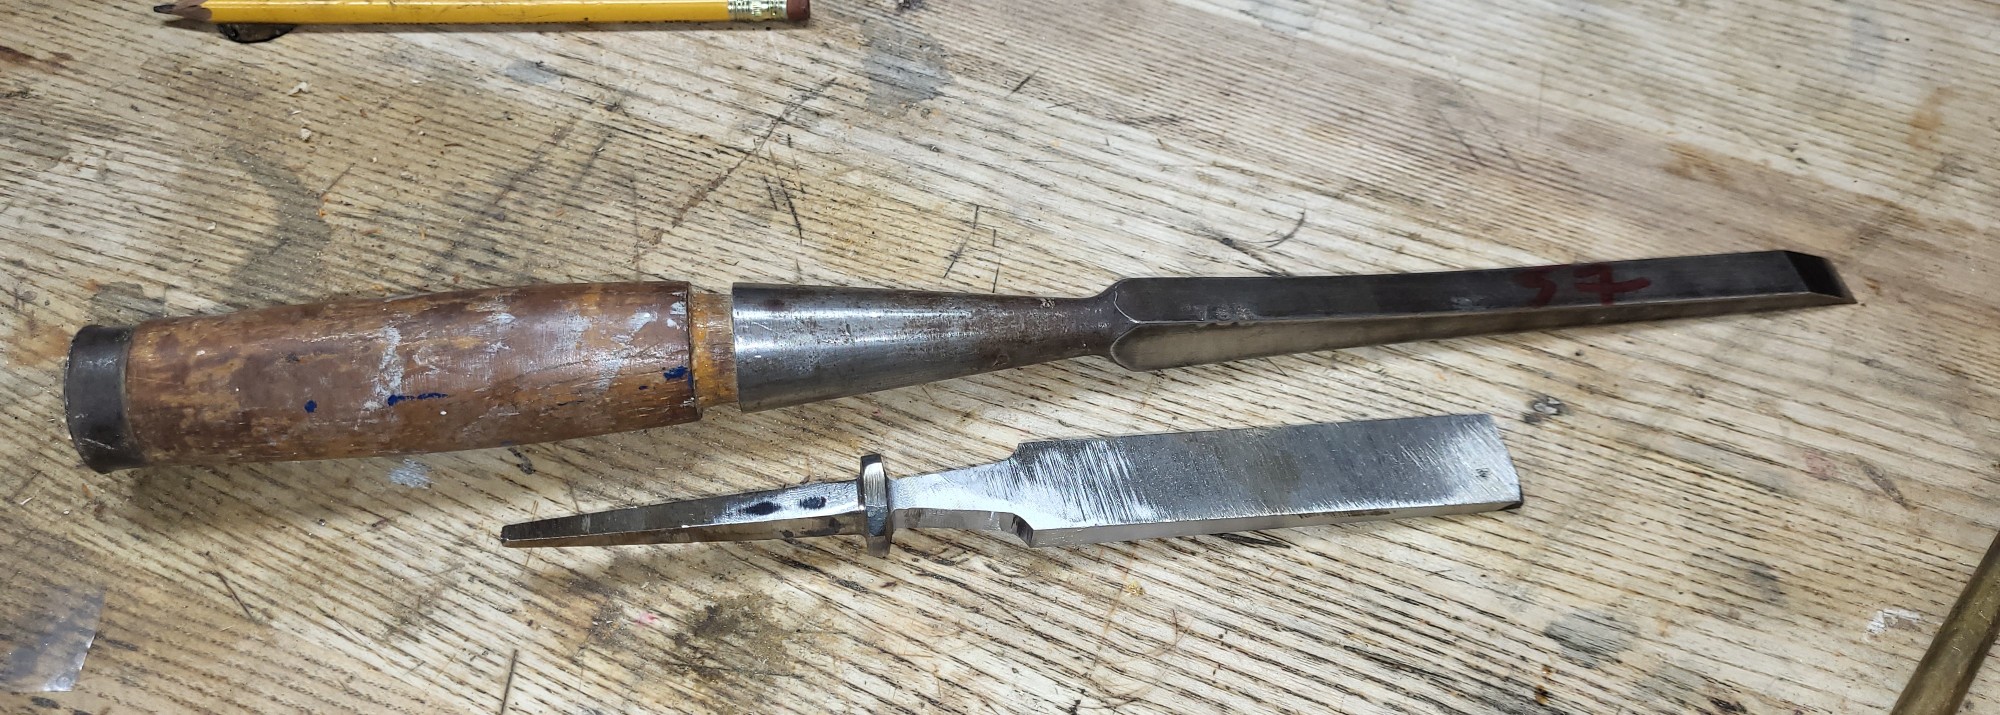
I showed this chisel wiht a typical 5″ long bench chisel bit just so that the scale can be seen. The bottom chisel doesn’t have any purpose other than that. The chisel on top is thicker than it looks because of its size. About a quarter inch thick at the tapered business end. It’s sort of a weird thing, because longer mortise chisels for furniture like oval bolstered type have a tall cross section to aid splitting out bigger thicknesses of material deep in a mortise, especially as you work toward the lower corners.
Someone gave me this one and another one just like it, but it’s soft and annoying in anything where there is a challenge. The solution is to ratchet up the edge support until it’s half dull.
So I’m going to make a chisel to replace it. However, a thick cross section in a long chisel like this probably is territory either for a laminated tool (not at this point) or O1 steel or something else more hardenable. More alloyed than O1 is undude for me, so O1 it is. 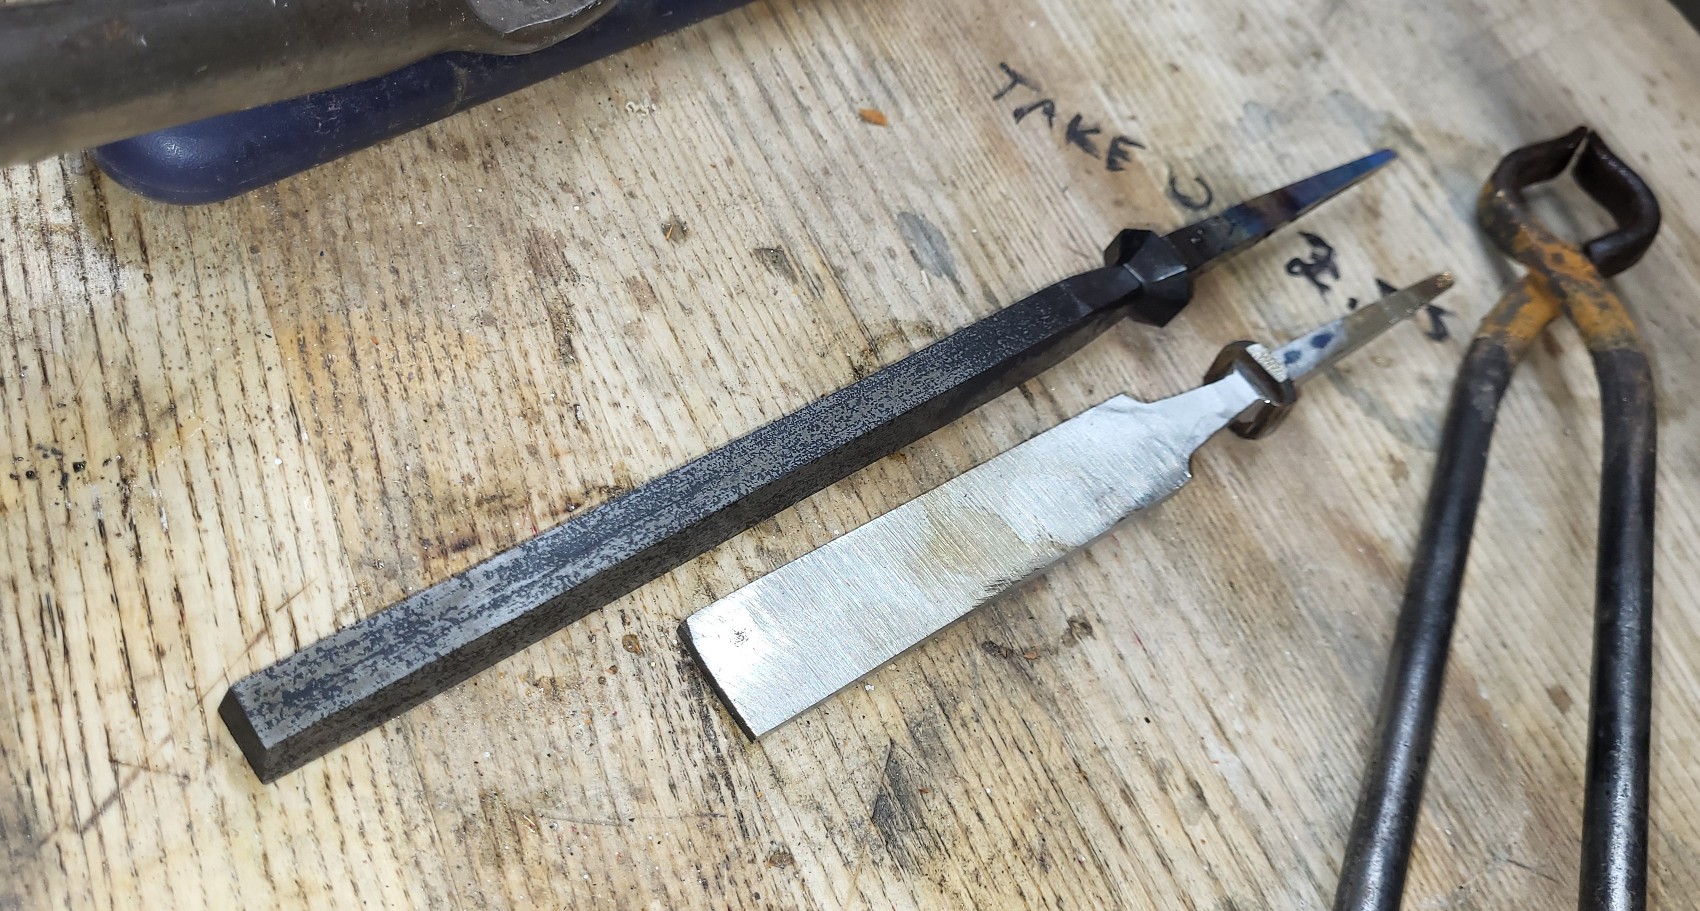
The chisel also doesn’t need to be as large , especially as long, as the one above, and I don’t care that much for socketed chisels, so it’ll get the typical bolster treatment.
There are several reasons I don’t use O1 more often for chisels, but among them are low toughness (breaks easily when levered compared to other steels) and the fact that when I’m grinding the chisel, even cooling it with water will cause partial hardening. Grinding the bolster area itself before filing also results in a thin cross section that air hardens enough on the surface to destroy files. I could probably figure this out, but mortise chisels are the only place I can think of that O1 has an advantage.
So, the bolster on this one is wonky – it’ll just remain dark like it is here – because it’s ground on a high speed wheel freehand with a fine belt. that certainly creates enough heat to soften it, but a trip over to the vise to file and it’s already destroying files again, so it’ll stay as it is.
O1 warps a little bit, but it’s within finish grinding for me, and rarely much trouble. This chisel is about 2 or 3 hundredths wider at the tip and tapers uniformly back toward the tang. More would be fine and maybe better, but it’s not going to be my life’s work, and the nuisance of grinding volume with these is enough for me to know I won’t be making any big mortise chisels in number.
After heat treating, and a somewhat shocking initial hardness before temper – 67 – the chisel looks like this:
I love the way the top line of the socket chisel looks with the elegant curve, for furniture mortises, it would actually be more useful if it’s taller. Anything shallow can just be done by a smaller chisel.
There’s a little rule mentioned in here for you to think about. For deeper mortises, a taller chisel is useful. For shallower small mortises, it generally isn’t. So, Paul Sellers type demos with the “ooh, look, a blue chip is a better mortise chisel than this pigsticker” completely ignores what the purpose of the larger chisel actually was. It was a production tool, not something for small cabinet mortises.
I already have ungodly tall vintage oval bolstered “pigstickers” so I guess I’ll add a little top curvature to this thing to make it look a little nicer, but it won’t need much loss of height, and if it’s improved by that, it can always be done later.
All of the finish grinding and curvature is introduced on a ceramic belt once a chisel is hard. That includes bevels on bench chisels – they’re incompatible with a fast quench, and with the right high speed really coarse equipment, it’s not that hard to do all of this grinding to a hard chisel without eliminating hardness.
Cross section of the chisel looks like this – taper on the sides is essential both for some relief, as well as cutting ability of the chisel sides to shear material: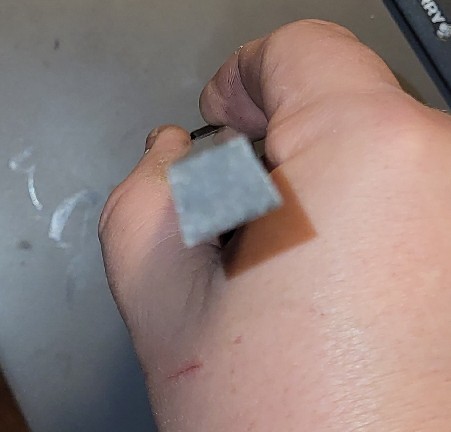
This is forged from round stock, of course, all one piece, and ground freehand on a flat belt sander and an idler wheel.
This and two other smaller cabinet sizes in W1 and 52100 will let me see if it’s worth making more. The W1 and 52100 chisels won’t have the same unexpected hardening, and in more typical cabinet sizes, should through harden when introduced to a brine quench.
