I’ve dabbled with making mortise chisels off and on the last two years. Pardon if I end up repeating anything I’ve already said on here, but before even getting into it, what makes a good mortise chisel?
- Proportions – they need to be good both for feel in terms of chisel length and stiffness in the right place, and the height needs to match the purpose. Really tall mortise chisels rotate laterally pretty far and don’t do well in short or shallow mortises, for example.
- Toughness vs. Hardness as well as edge stability. We’re dealing with mortise cutting, not paring, but you will find pretty quickly that if you can get a steel that has good toughness at high hardness, the edge will hold up better. Not worse.
- Taper – part of proportions, but the taper needs to be something that helps the performance of the chisel , doesn’t create a bind by getting less tapered moving toward the bolster, and it can’t be so much that the chisel rotates too easily in the cut or is narrow at the top. Narrow just results in you bruising the ends of mortises. Interestingly, other than that, there is no magic level of taper. I can’t find anything to suggest that and a look at some similar ward and payne mortise chisels to the ones in this post shows that W&P at some point in the early to mid 1900s, applied all of the taper to one side of the chisel and the other was square. In practice, you end up with the taper even and the bottom isn’t square to it. it doesn’t seem to matter, but I’m looking to apply it to both sides of the chisel for looks and would prefer that.
To-date, I’ve made mortise chisels of O1, W1 and 52100. They’re all “good enough”, but it’d be nice to have better. The problem is, my better is 26c3 and probably 125cr1. Translated to english, these are water hardening 1.25% carbon steels. One is remelted (26c3) and the other is not – so in theory and probably in practice, not quite as uniform. Remelting also removes sulfur, which creates a problem called sulfide inclusions or stringers in steel that lower toughness. My recollection is the higher the carbon, the bigger the problem this is. Both of these steels from the suppliers I buy from have sulfur at .001%.
For reasons I don’t know, my 26c3 samples test better than the furnace schedule results say they should. That is, my samples in 26c3 were well harder than O1, but tougher (harder to break laterally). They actually have toughness numbers above anything I’ve seen for A2 and 52100. Of the chisels I’ve forged out of round bar, I guess they’re all fine but 52100 seems to be slightly better. A2 obviously isn’t on my radar, but it has nothing to offer here, anyway.
Not being able to get the 1.25% carbon steels in anything but flat stock of 3/8″ or less is limiting, though. There are other options (sourcing enormous old square files), but the steel would be questionable in terms of how clean and composition, and surprise, when you buy all of the 7/8″ square good files off of ebay, nothing in the money-makes-sense range reappears quickly.
125cr1 It Is
I can get 26c3 in stock up to 0.25″ and 125cr1 in 3/8ths Which means I can make mortise chisels up to 1/4″ in one and 3/8ths in the other. that make the decision pretty easy. I think it’s not hard to find a use for 1/4″ and 5/16″ mortise chisels in cabinet work. 3/8ths is also useful, but less so to me at least on door and face sticking. It looked like one of those cargo airplanes with the nose open, facing straight up. Snap.
the toughness data suggests that shouldn’t happen for my stuff, but you still wonder if you make something hard will it break. It’s a reasonable bias.
So, I made two. It’s not important other than to note – the uniformity of 26c3 does make it a little easier to heat treat. As in, it seems to land at the same hardness without as much heat as 125cr1, but there’s still plenty of wiggle room to get a good result. I would figure given the choice, I’d rather have 3/8ths in 26c3 because once you get to a bigger cross section and a steel that needs to be quenched quickly, you are apply cold liquid to the outside of the chisel (OK physics people, the heat is flowing from the chisel into the quenchant), and the center of the chisel is still providing heat until it finally finds a cold adjacent neighbor to travel into and then out. This is what causes some thick cross sections to not harder, or in other cases to be shallow.
I’m fairly sure when we get to 1/4″ thick irons and 3/8this mortise chisels, we’ll be conceding a point of hardness, and maybe that’s not unfavorable if it means some toughness retention.
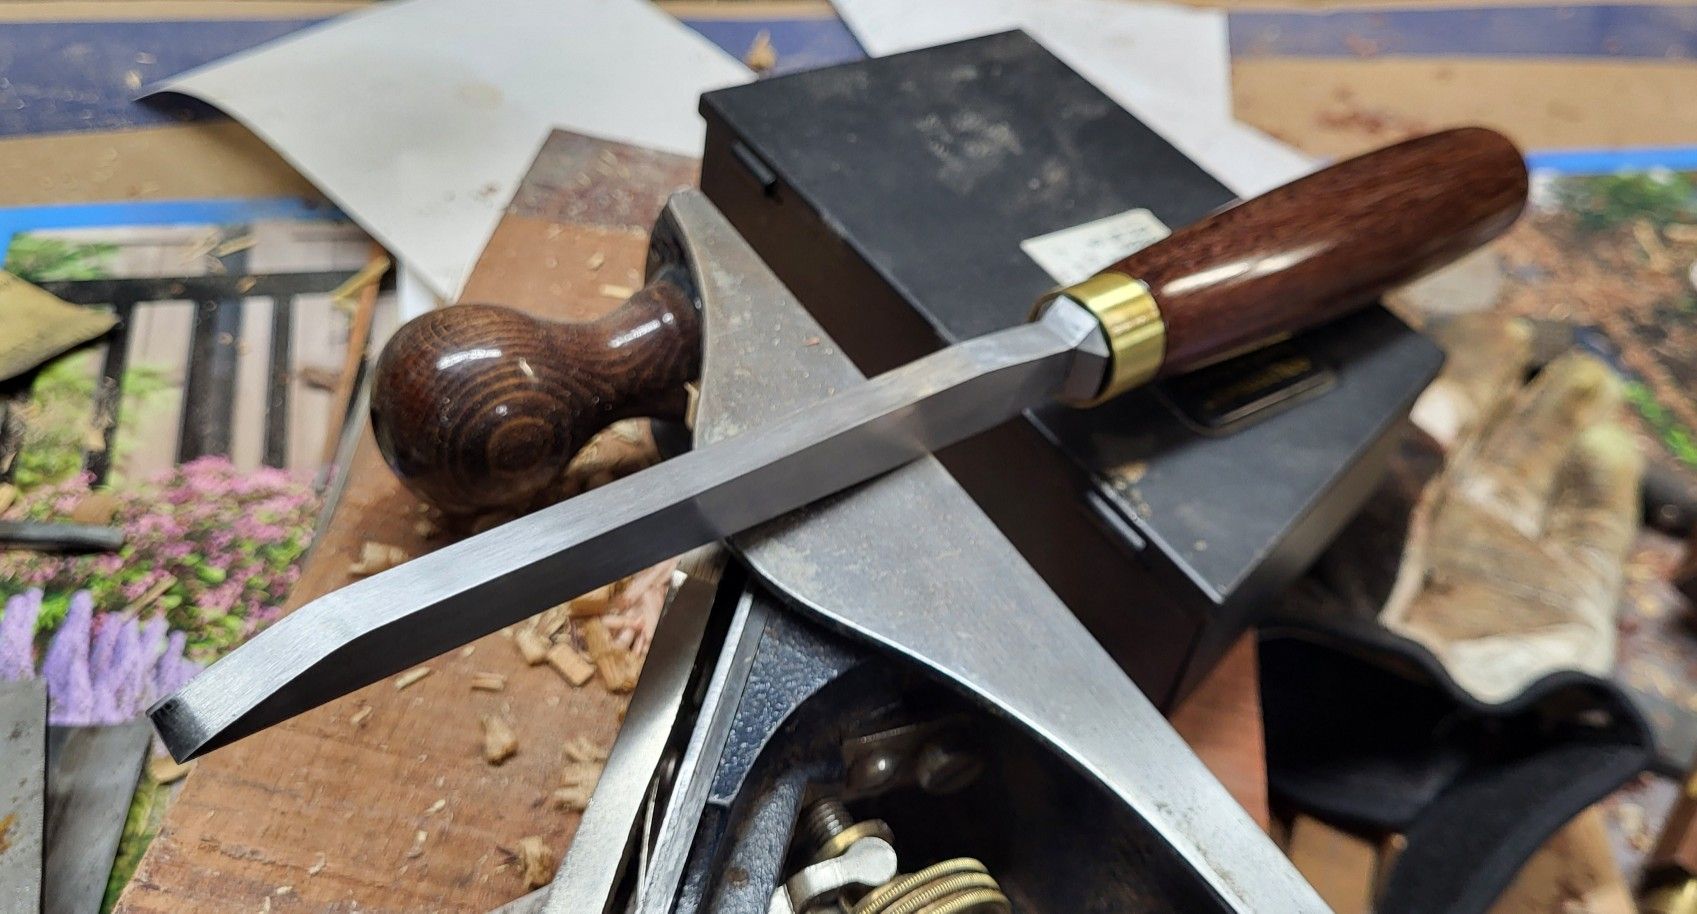
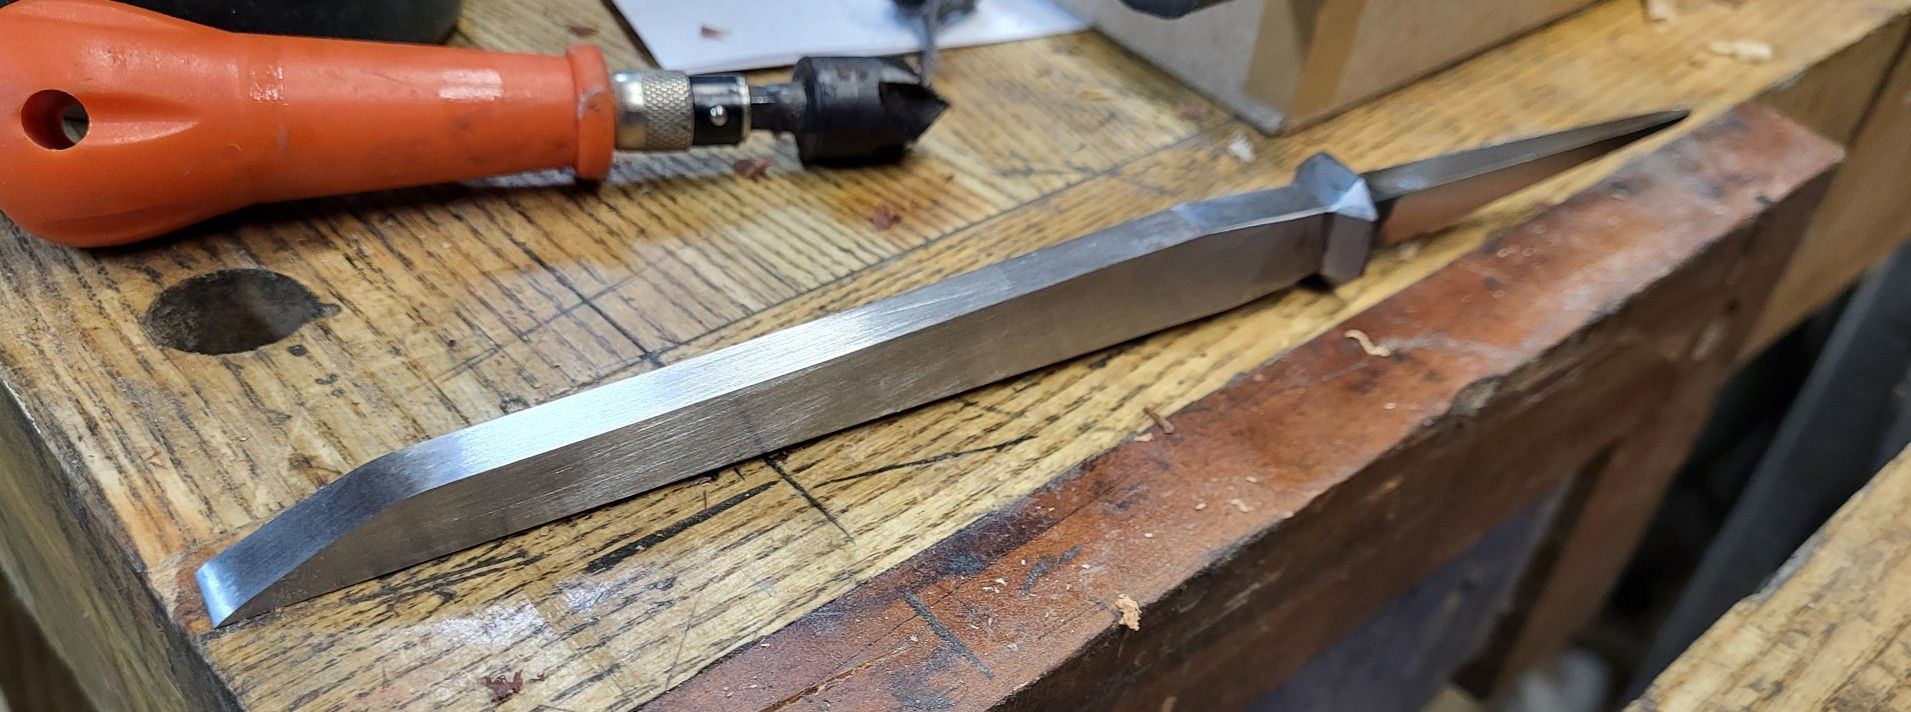
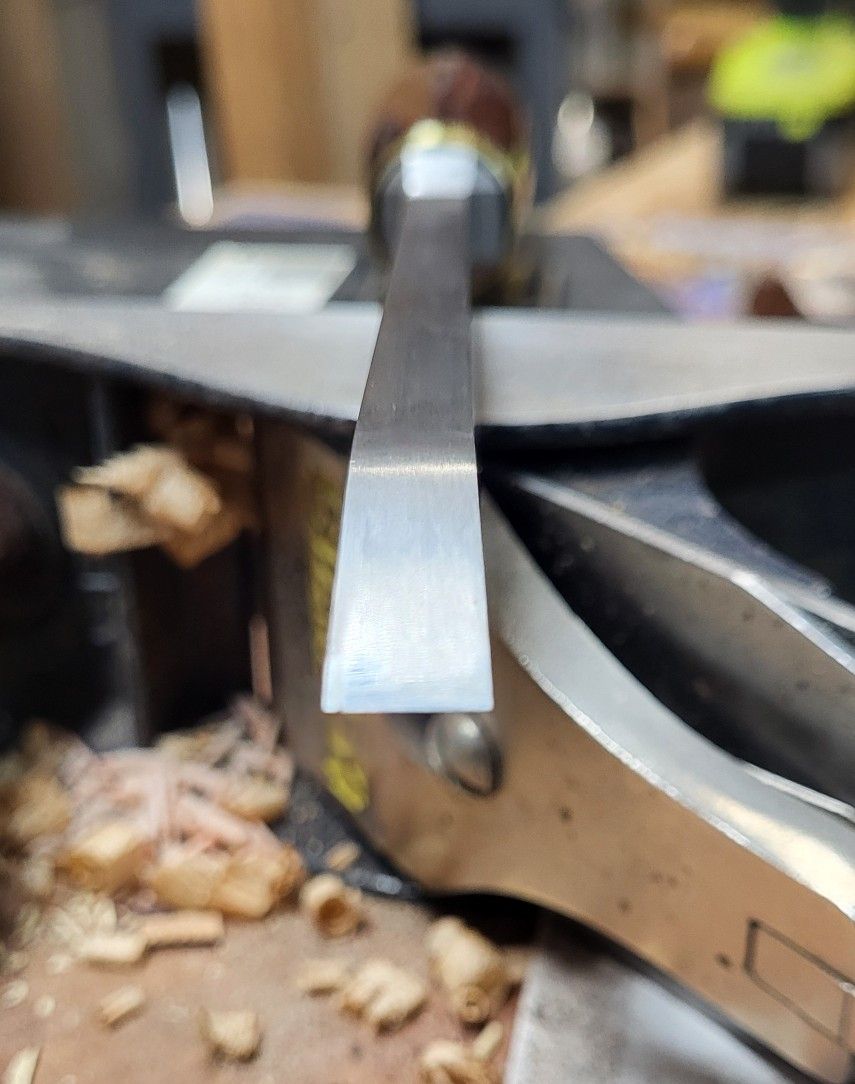
I ended up with these – and aside from all of the above, the complication is added here that I need to forge on a bolster as I don’t have a round bar to work from to just draw out the steel on both sides of what will become an integral bolster. For whatever reason, this turned out to be harder than I expected as the forged on bolster absorbed the current from the induction forge and the tang of the chisel didn’t get much. That’s kind of a pain, but we’ll figure something out so it’s not quite as dicey as it was here. 
If I have to think about anything, the first one always comes out wonky. the short one in the back has a very long tang, as I was fighting the bolster, I drove it on a little too far, then forge welded it on and then checked to see if it was in the right place. Nope, it isn’t. Not grinding it off and doing it over on a test chisel.
The one in the front is going in the mail later this week. As I suspected, the first one is fine for my use and the second is what I wish the first one would’ve turned out like. So be it. I also got a box of carpenter pencils in the mail, so there’s no ulterior motive other than that was the cleanest spot on the whole bench at the time, and I step on carpenter pencils all the time and cannot have one or three around or it will be none very soon.
These chisels are both 63 hardness after a pretty good double temper session at 400-410F, and they did come out of the quench 1 1/2 points lower than I’d have expected on a thin chisel. The compromise seems to be fine. The edge is more stable than I’ve had on a mortise chisel of any kind, and I’m sure they could be broken, but they won’t be broken in reasonable use.
I still would rather draw them out from round rod – the two ways take about the same amount of time, and forging is more pleasant than fighting differential heating with the bolster and the chisel, let alone getting out a brazing torch to heat the junction point.
I have cut a dozen mortises with the dumpy chisel in the back of the picture. Works great. The front chisel is just all around nicer. The handle is gombeira and the varnish is a slightly long oil amber varnish.

This one hasn’t hit wood yet, but the snapped sample of grain off of the tip looked good under a scope. It’d be surprise if it was bad. And unlike 52100, it is not on the edge of being a couple of points softer and suffering due to too much toughness.
I do kind of wonder if hand tool woodworking had held on, and by that, I mean to keep the legitimate toolmakers in the past working – what we have now is a bunch of subcontract it all and CNC follow – ons, it’s not the same – would we have seen offerings in steel like this? It would be difficult to do the same thing as i’m doing with an electric or gas heat treat oven, but i’m sure it could be done by induction in a production environment or salt bath.
There’s some second guessing in that statement, too. As in, if I’m perceiving better results with these two 1.25% carbon steels, why does it not appear in anything but razors and files historically?

Have you tried localized heating in the area of the bolster followed by striking one end of the bar with the other end on the anvil? I’ve seen film of a blacksmith doing that to swell a localized area. He used two welding torches, held the bar in gloved hands and simply drove one end down onto the anvil. I think he was making log tongs and wanted more material in the pivot area.
LikeLike
Unfortunately, I don’t have enough torch power to do that. I have for high localized heat, only a two part brazing torch, which can cut the steel if it’s used without care, so it can do nice things if one is willing to use it right at a junction. But it’s also not well suited to being used with the induction forge as I’d need several hands, and it does pretty evil things if it drops and you forget where it is. it’ll cut through refractory bricks, the sides of thin walled forges, popcorn the concrete floor by making the vapor in an otherwise dry floor explode from superheating.
But it does work well. I wish I was a better smith, though. I’d be curious to find out how well that works on high carbon steel vs. the lower carbon stuff and iron that moves much more easily.
LikeLike
Oh, bummer! I was sure the technique would work perfectly with the induction forge.
LikeLike