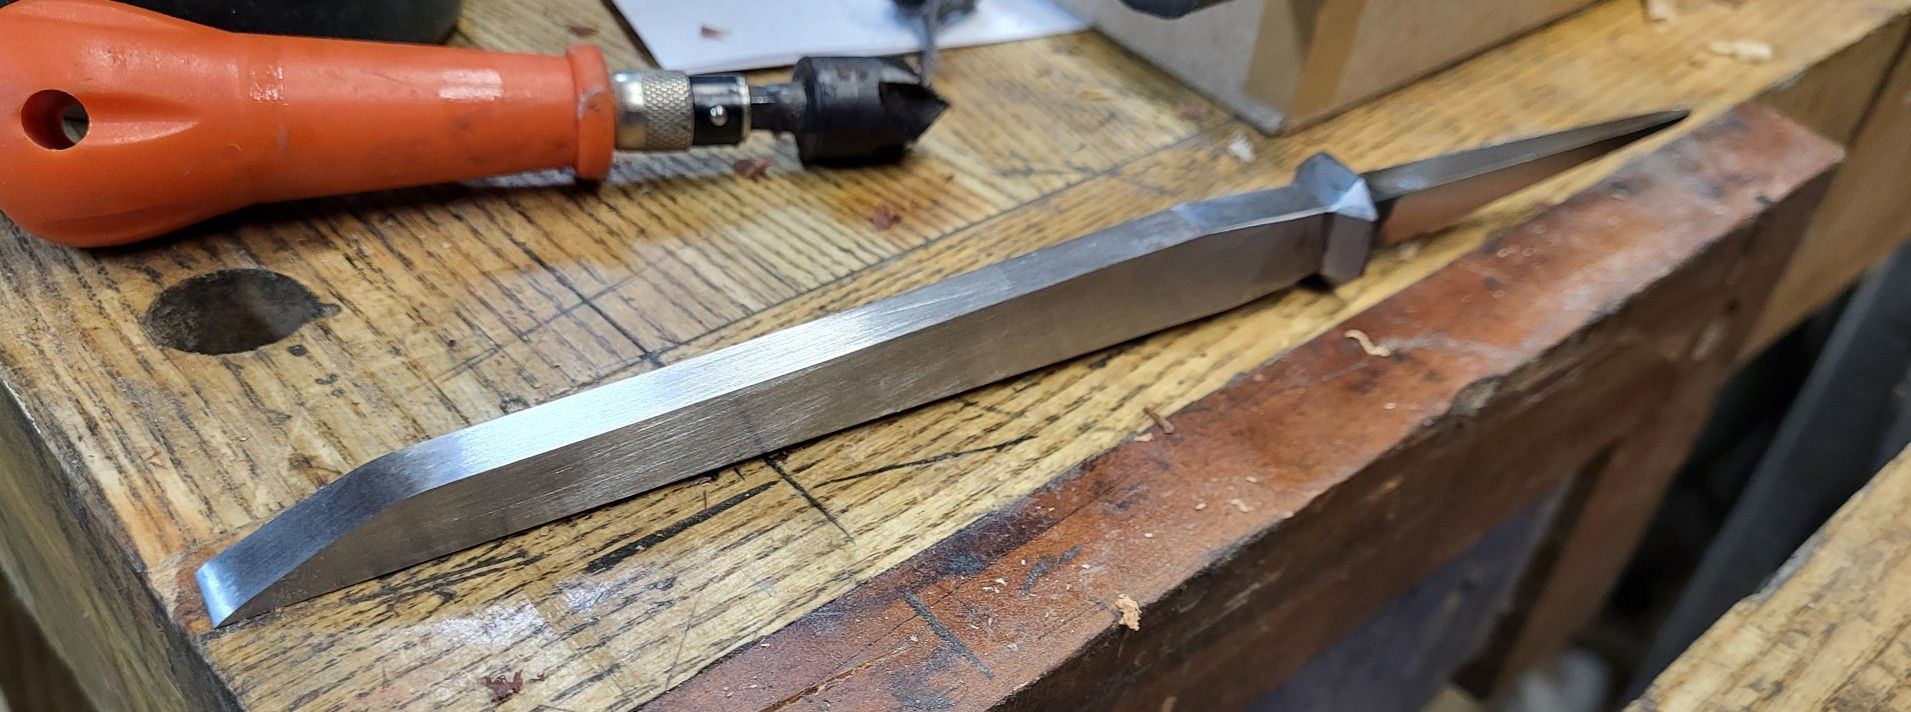
A couple of years ago, I wanted to make some seaton-like chisels. Not copies for the first ones as what if they weren’t very good to use? They are the apple handled chisels that are on the front page.
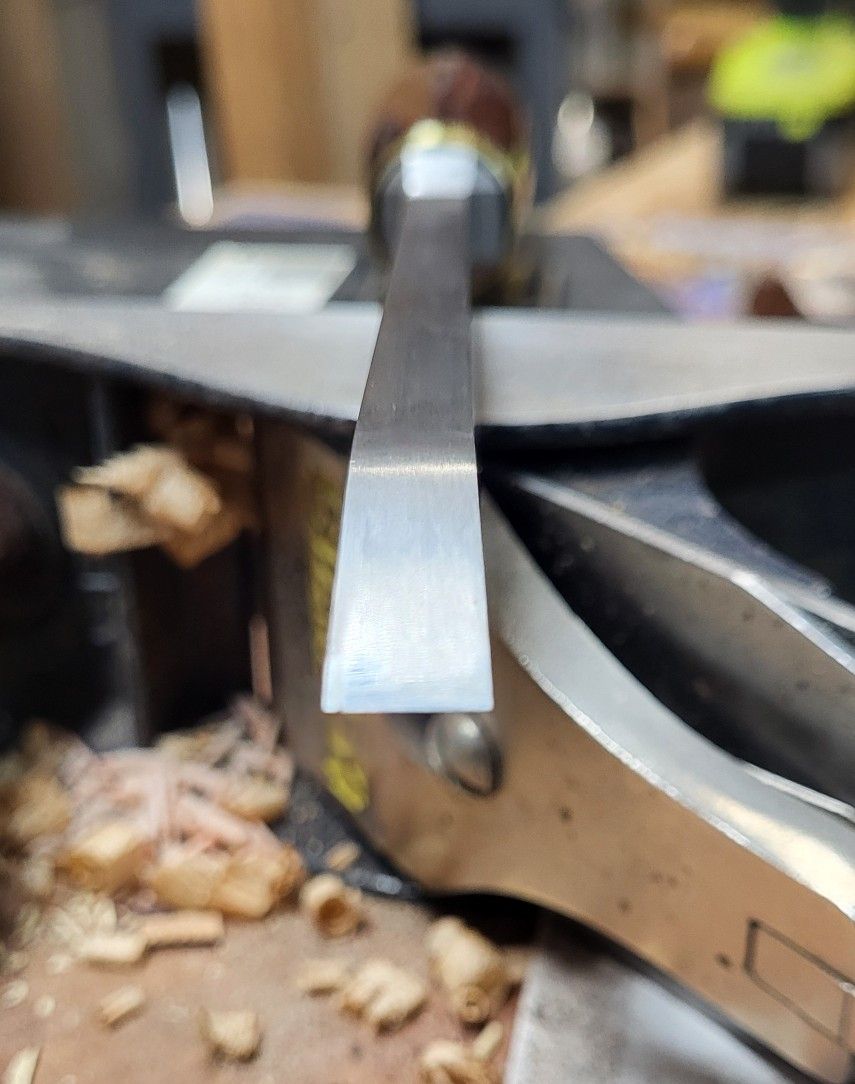
I made those out of 26c3 and at the time, a little too chicken to grind them that thin, I left them around .08″ at the tips. One of them was a touch soft and I later found that one to be 60/61. For 26c3, to have a chisel that soft is pointless -it evades the usefulness of the steel, which is to have good (not great, but good) toughness or resistance to breakage at relatively high hardness. something like 64/65.
I thought they were all soft because of that, though i can’t recall why. But you can tell when a chisel isn’t where it should be based on how the burr responds, at least if you have some familiarity with what it should be like. I put these chisels in a drawer and gave one to Warren, and he used it for a week or two and said “I wouldn’t want it to be any harder” and brought back the one he was using. Warren doesn’t like really high hardness tools and i thought all of these were soft, and later tested a couple and they are 64/65 or maybe half a point harder than that yet.
The soft one, I probably got impatient while thicknessing and that’s that, or I may have had a snafu tempering by leaving something not fully protected by a mass sandwich (a mass of aluminum that is) in the toaster oven.
I pondered throwing these away and almost did, just because it does get aggravating sometimes to have stuff around that you think is only half good. Fortunately I was wrong, and fortunately i didn’t throw them away before getting a hardness tester. And I also learned that I spoofed Warren unintentionally by giving him a 64.5 hardness chisel that he had no trouble sharpening, so that made for a nice bit of proof that alloying means a lot when it comes to sharpenability.
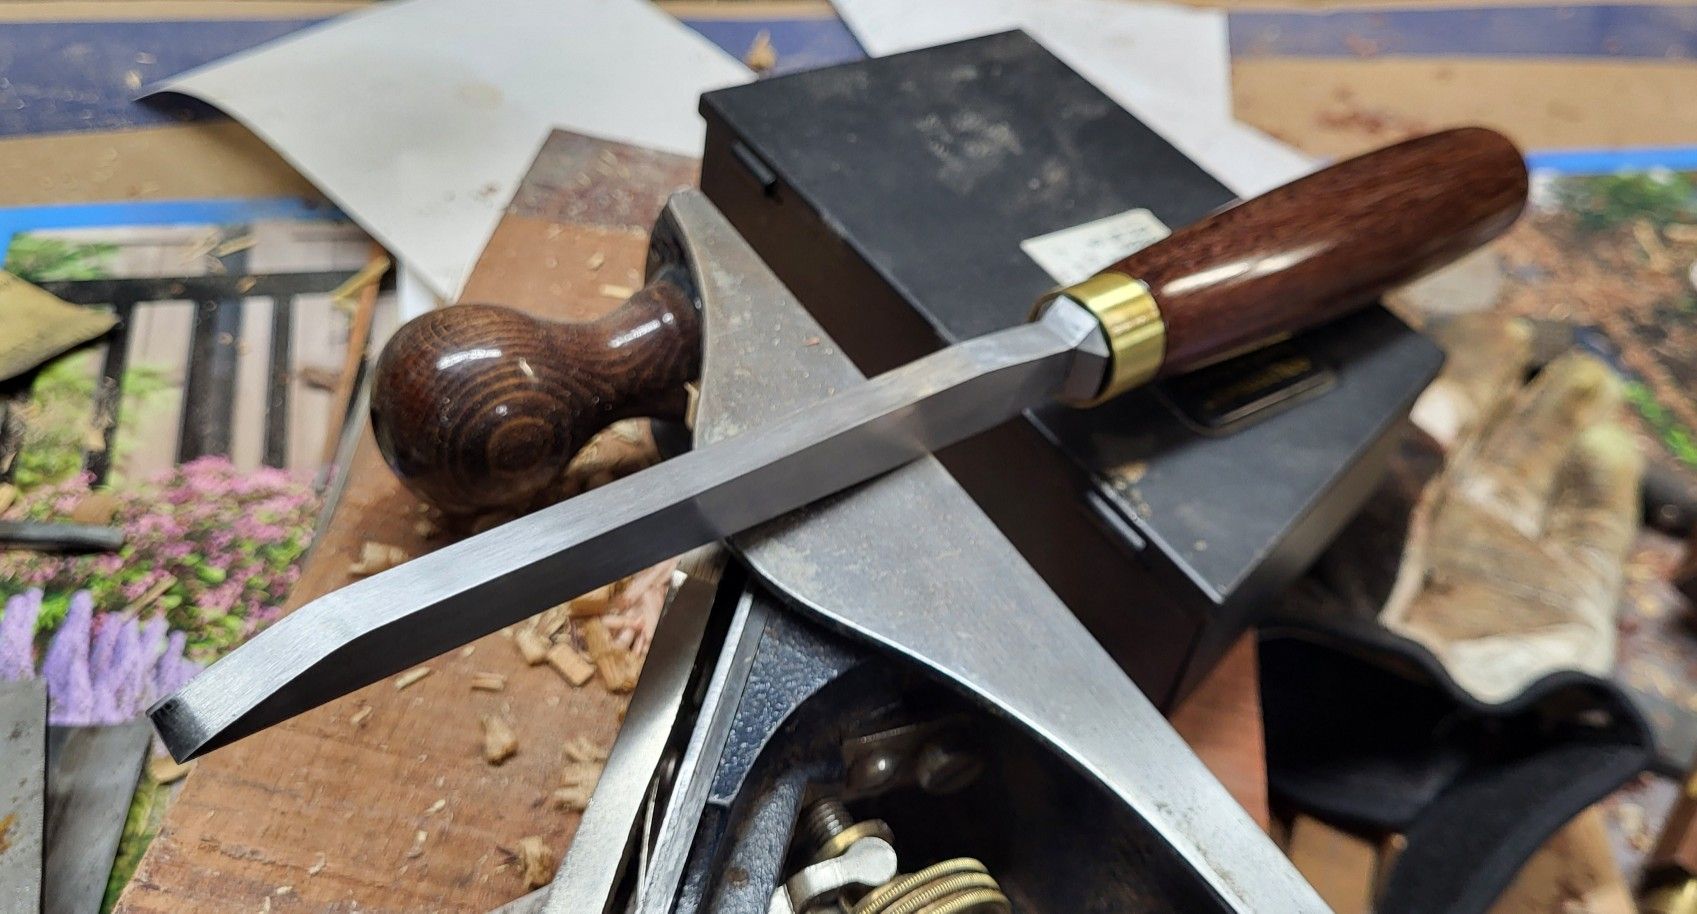
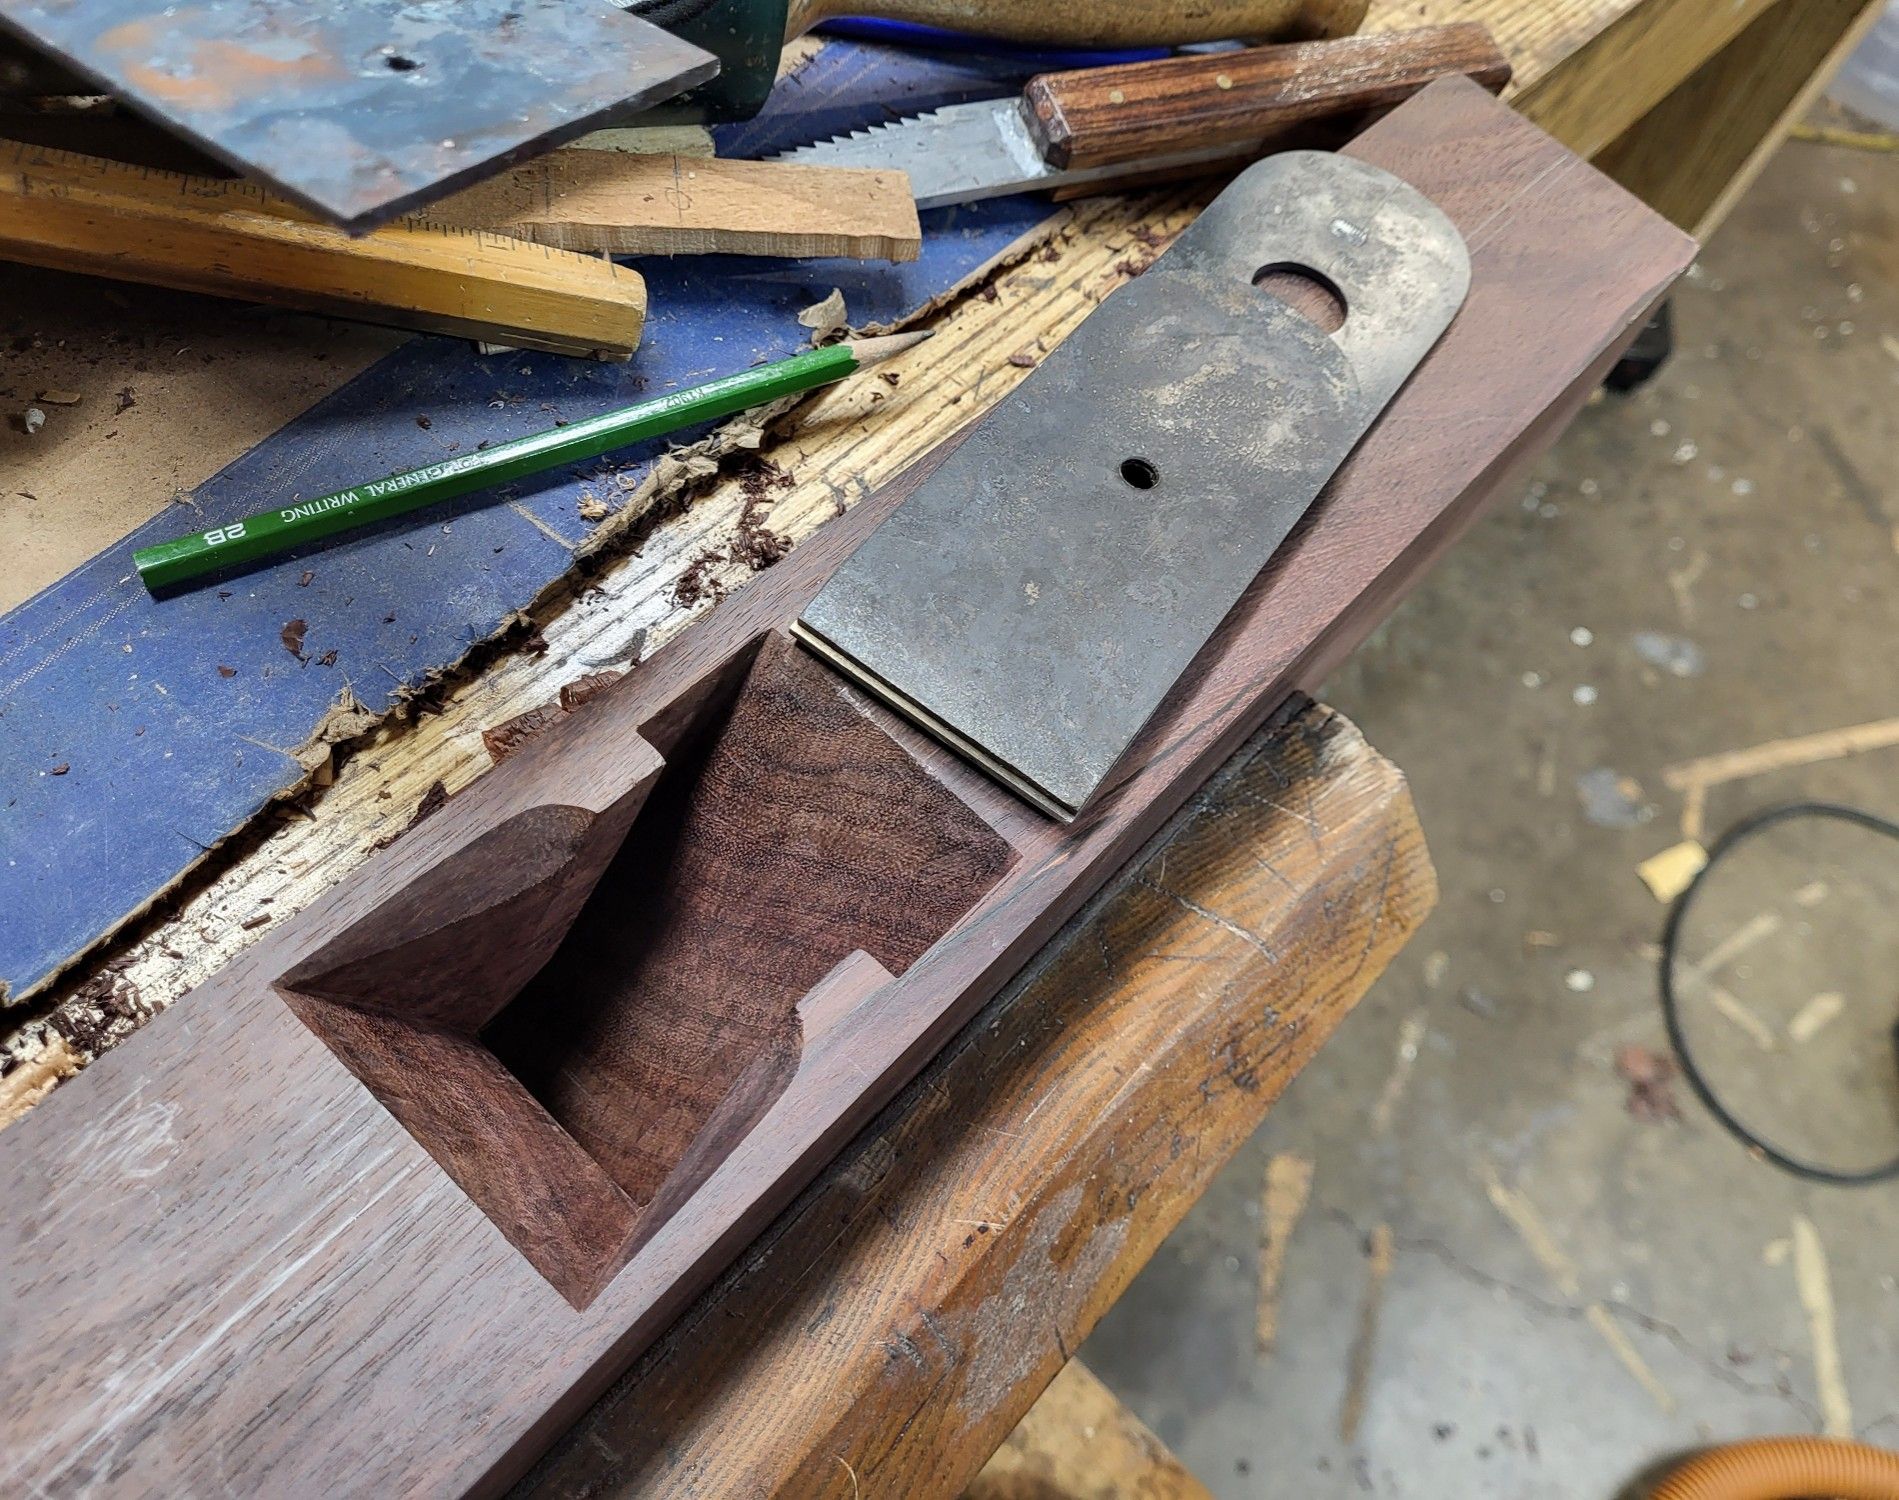
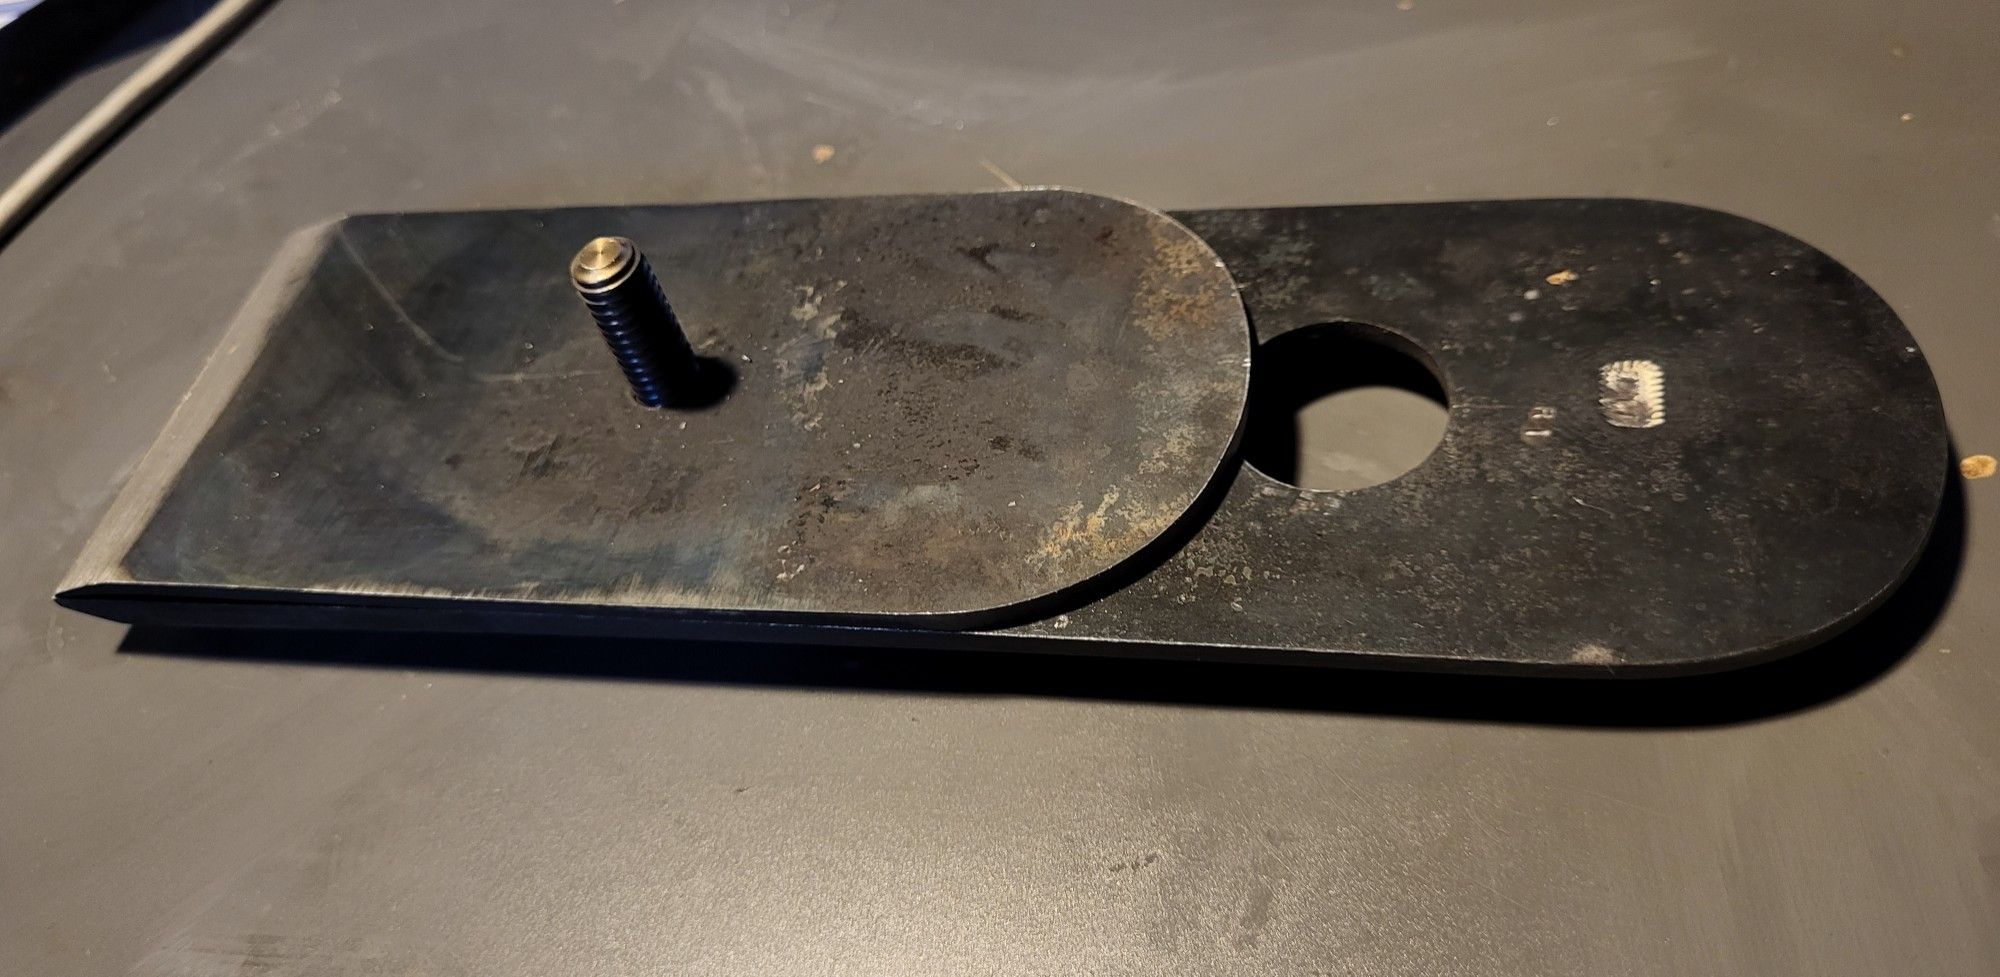
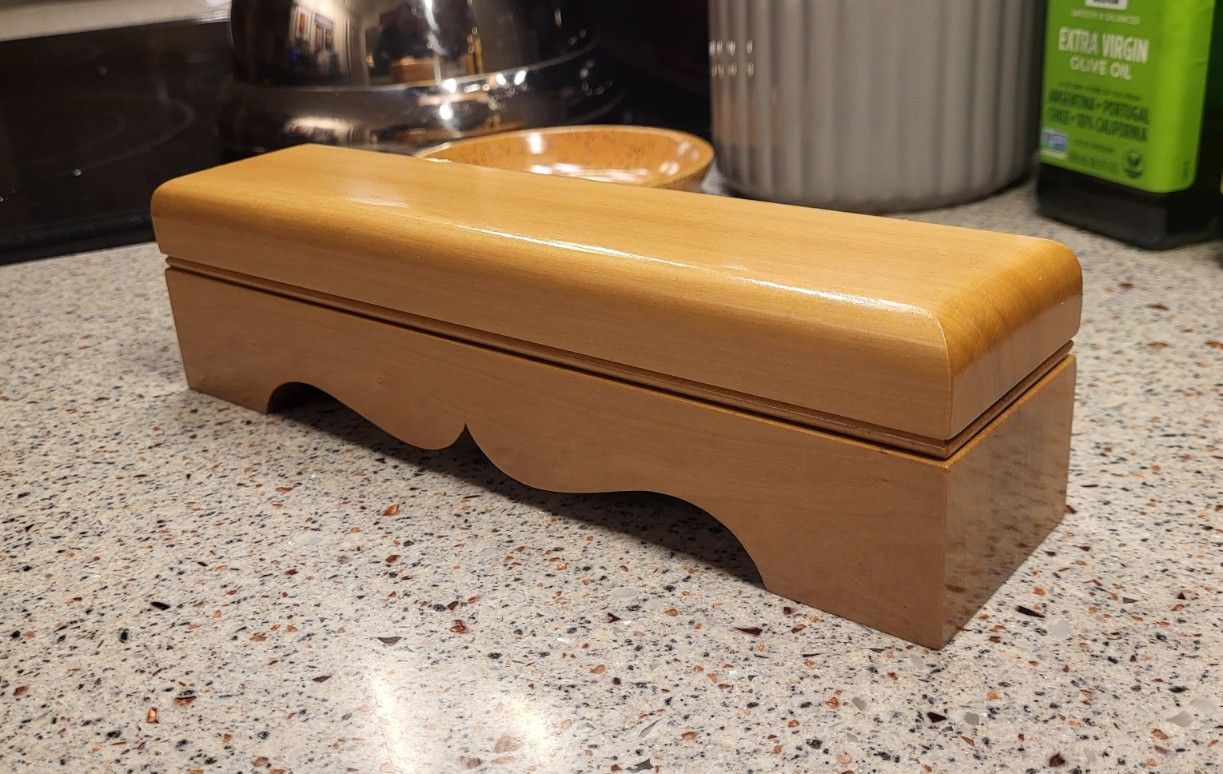
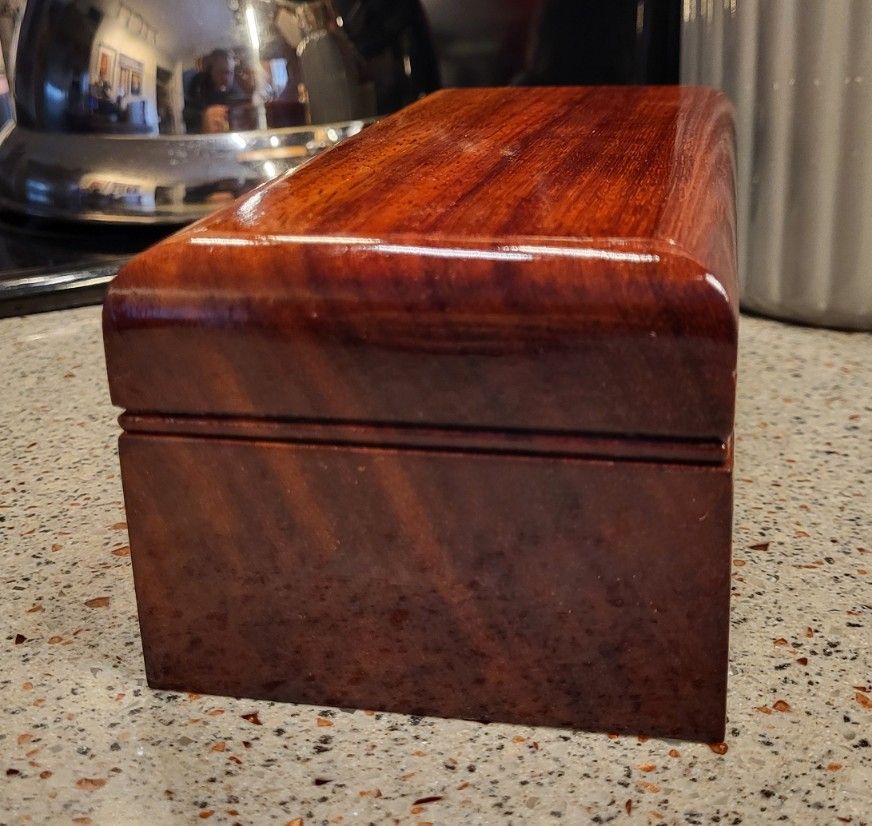
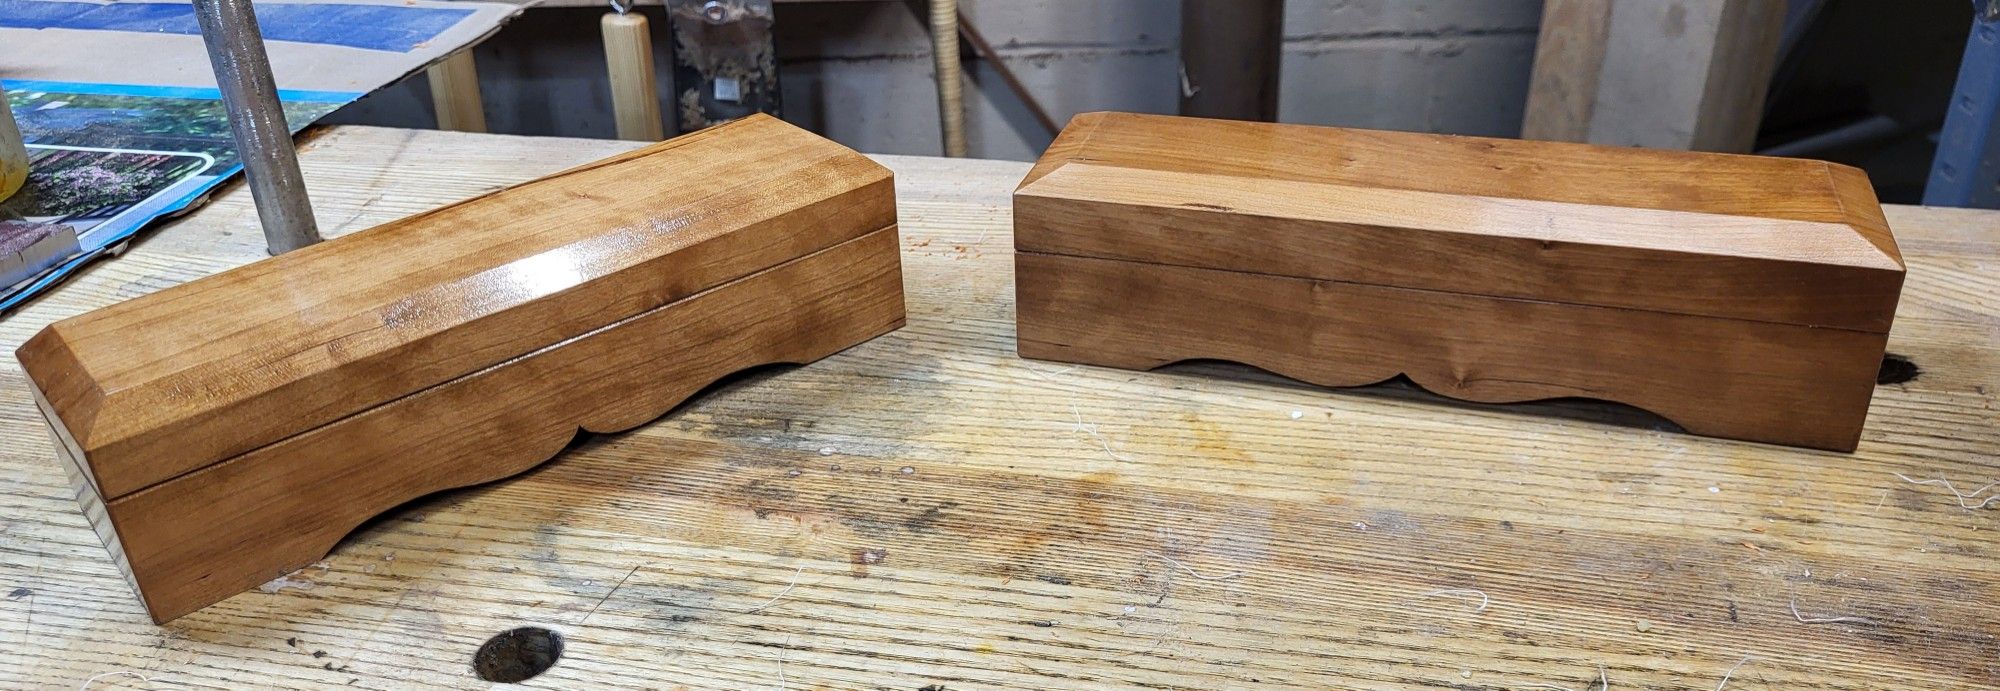
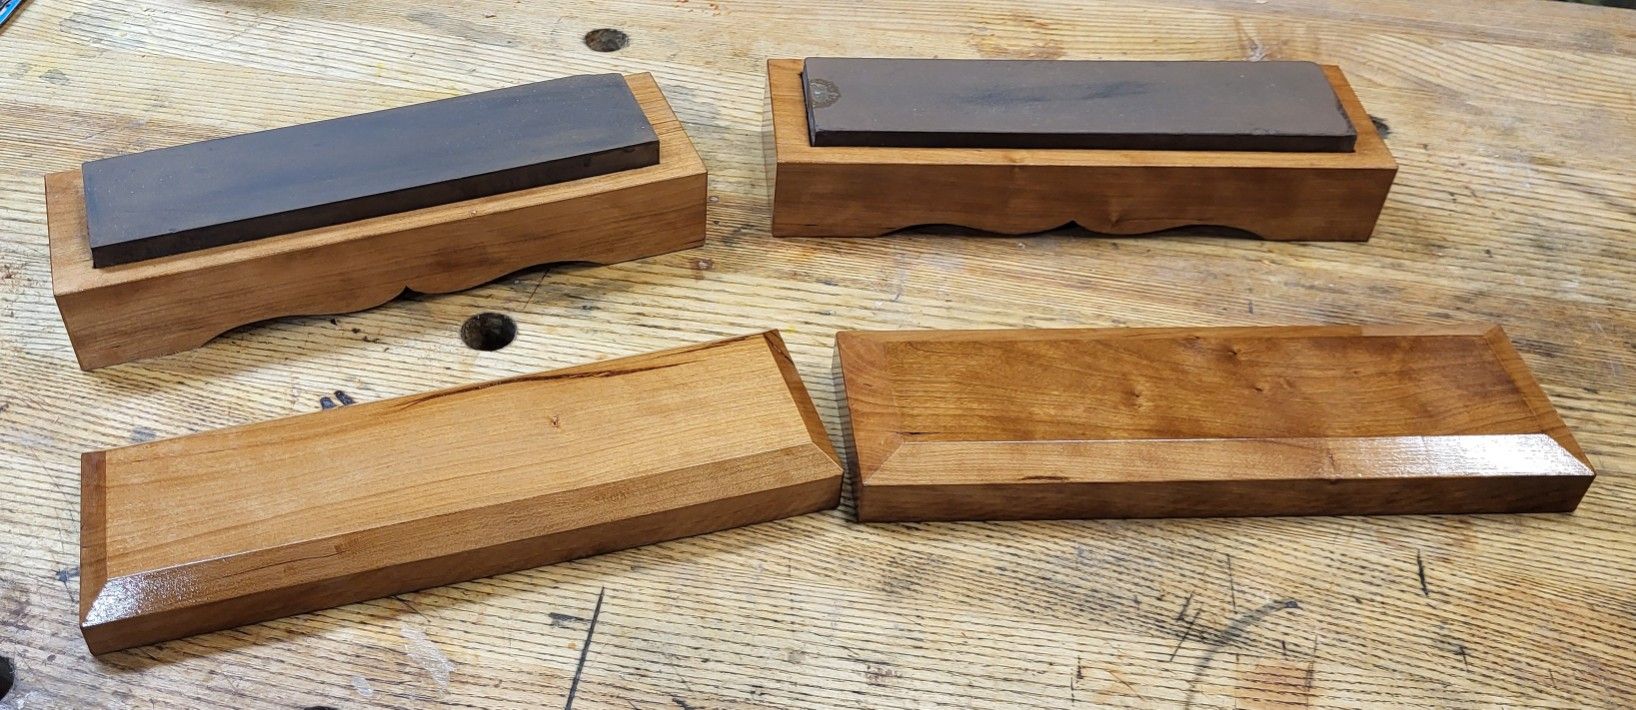
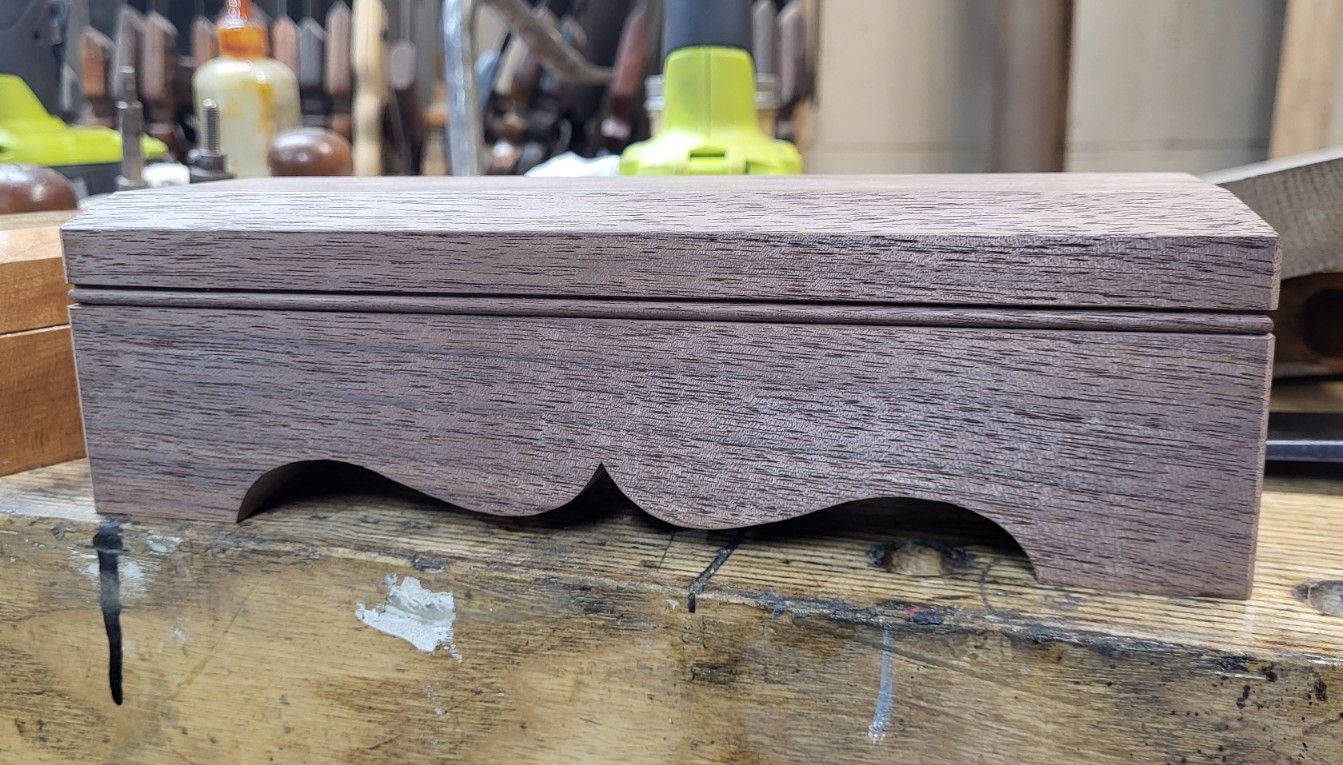
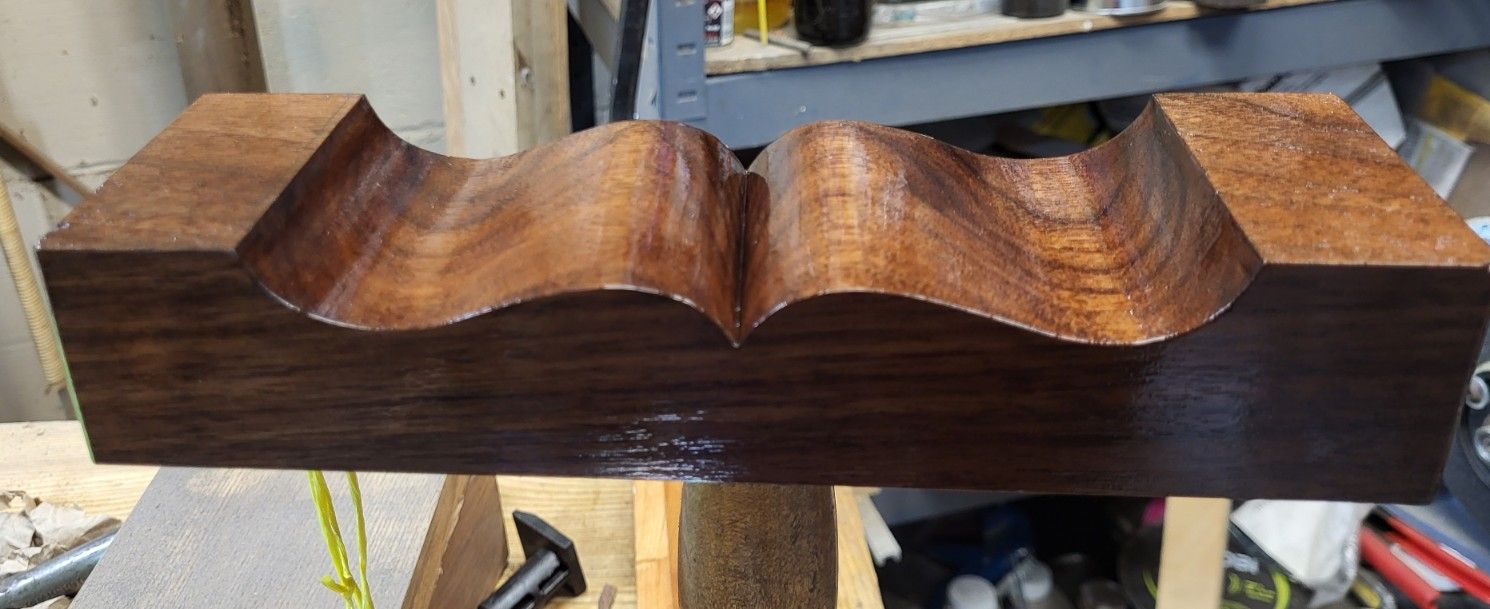
I’ve made some other closer to Seaton chest reproduction chisels and am slowly getting around to making a set for another friend who I have no business making tools for in the first place. But with all of the sharpening stone box making and now a couple of planes, I’ve come to appreciate a thin chisel. 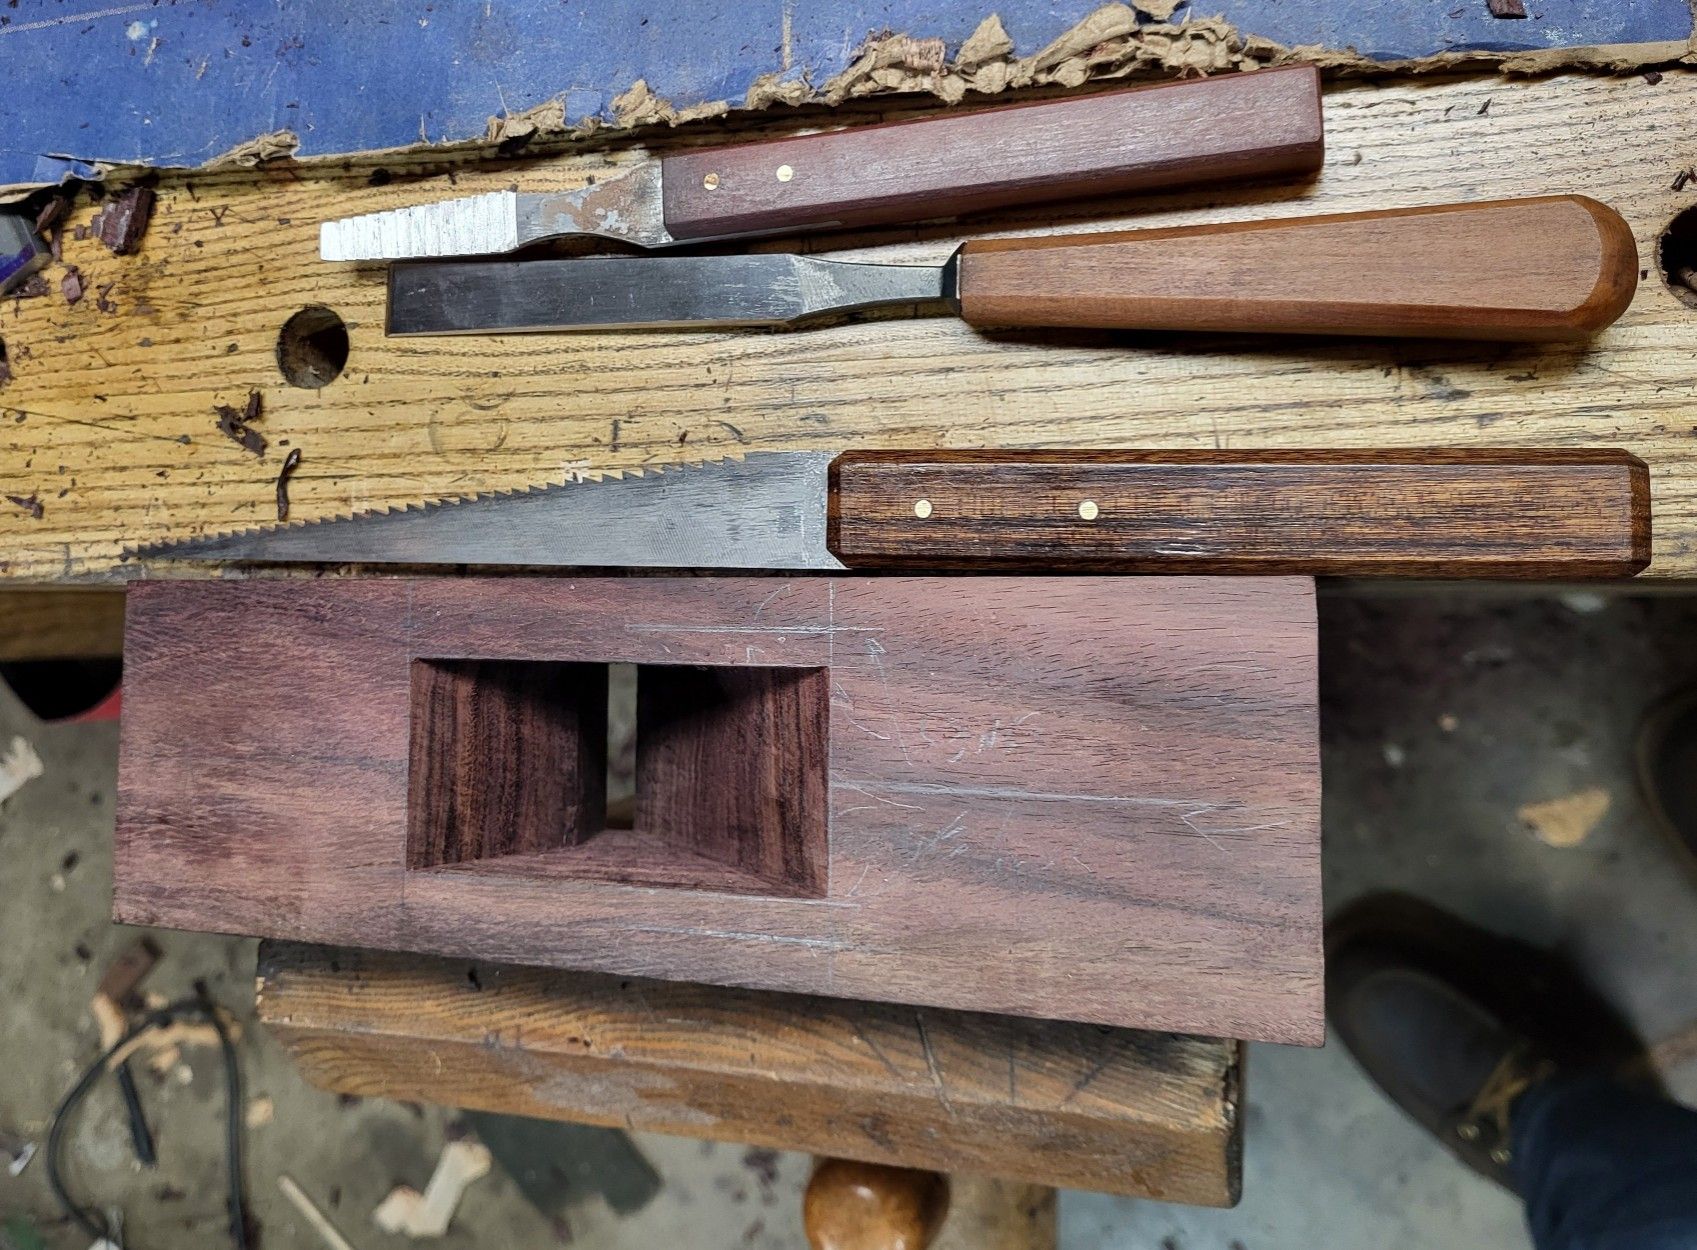
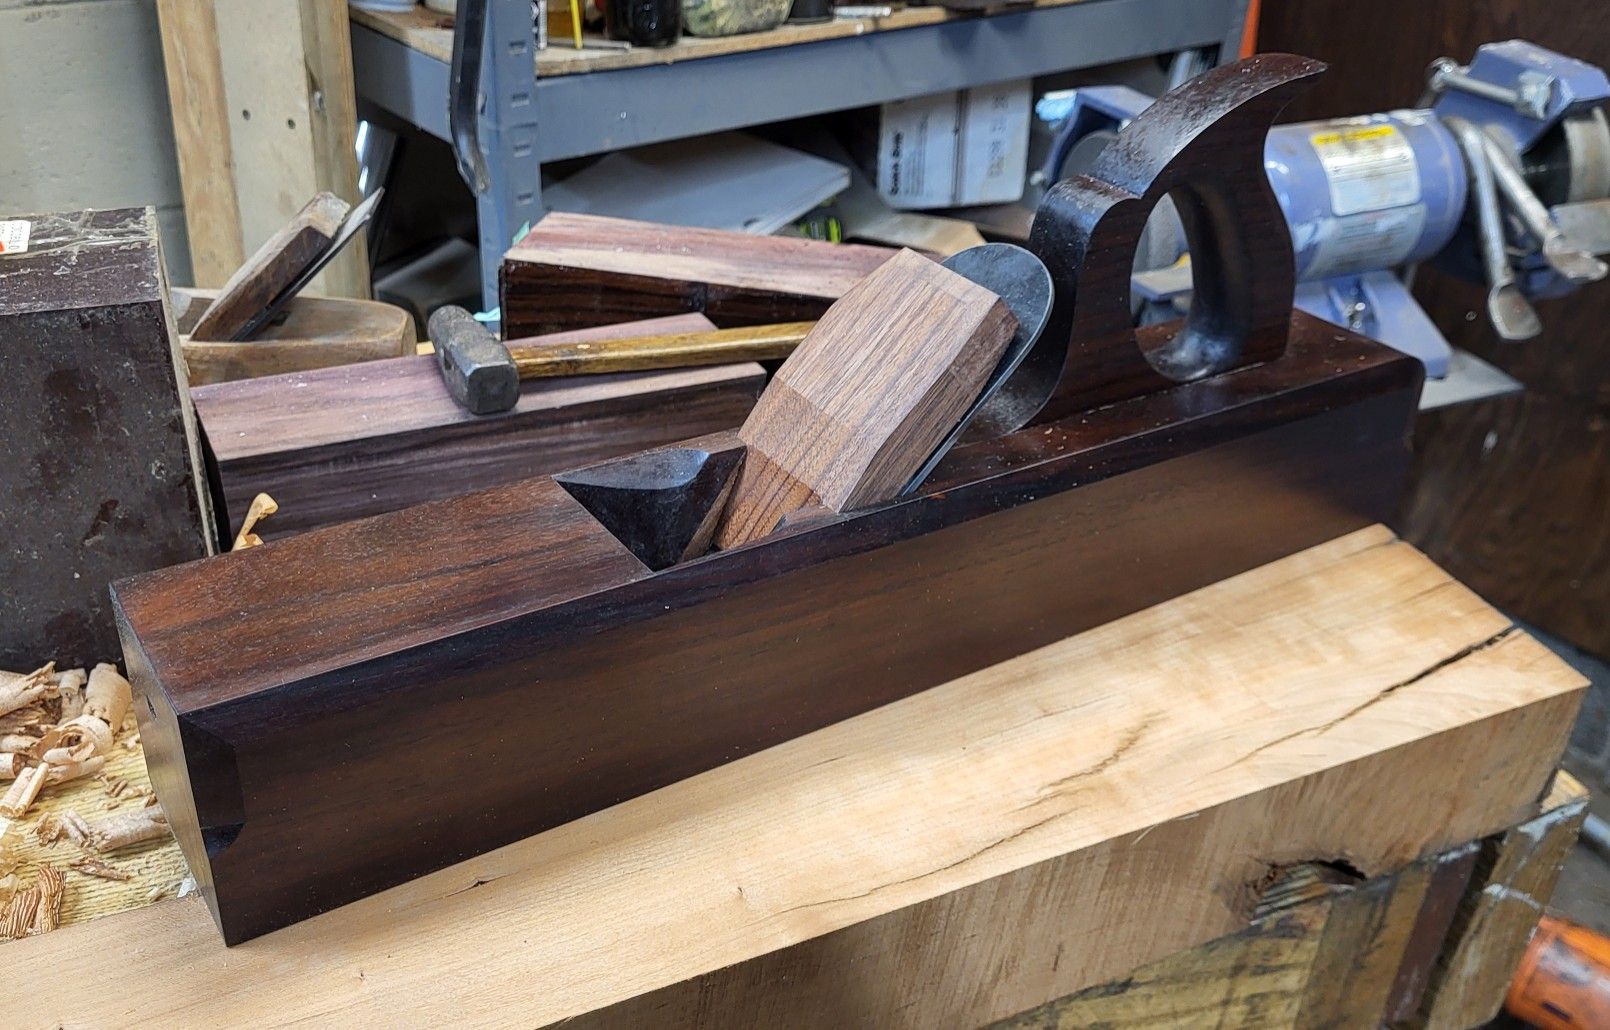
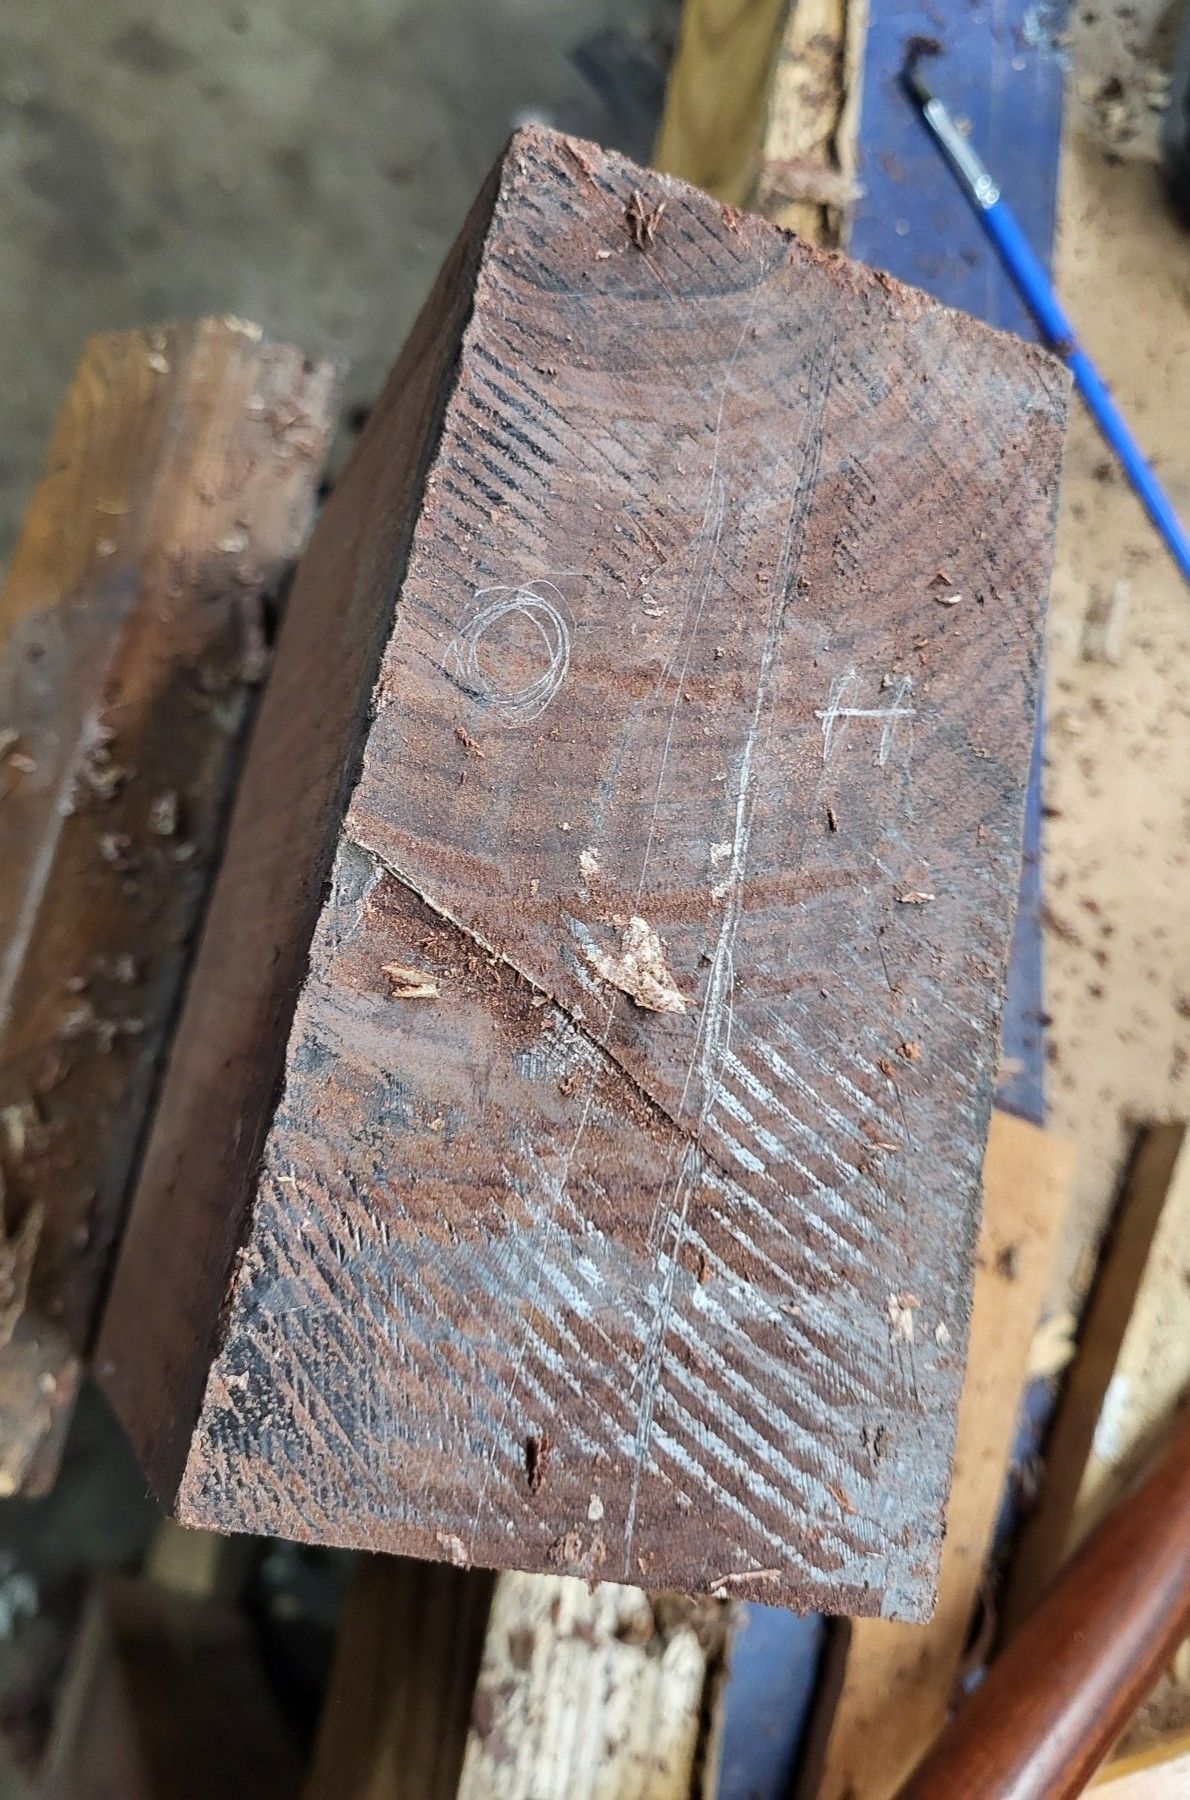
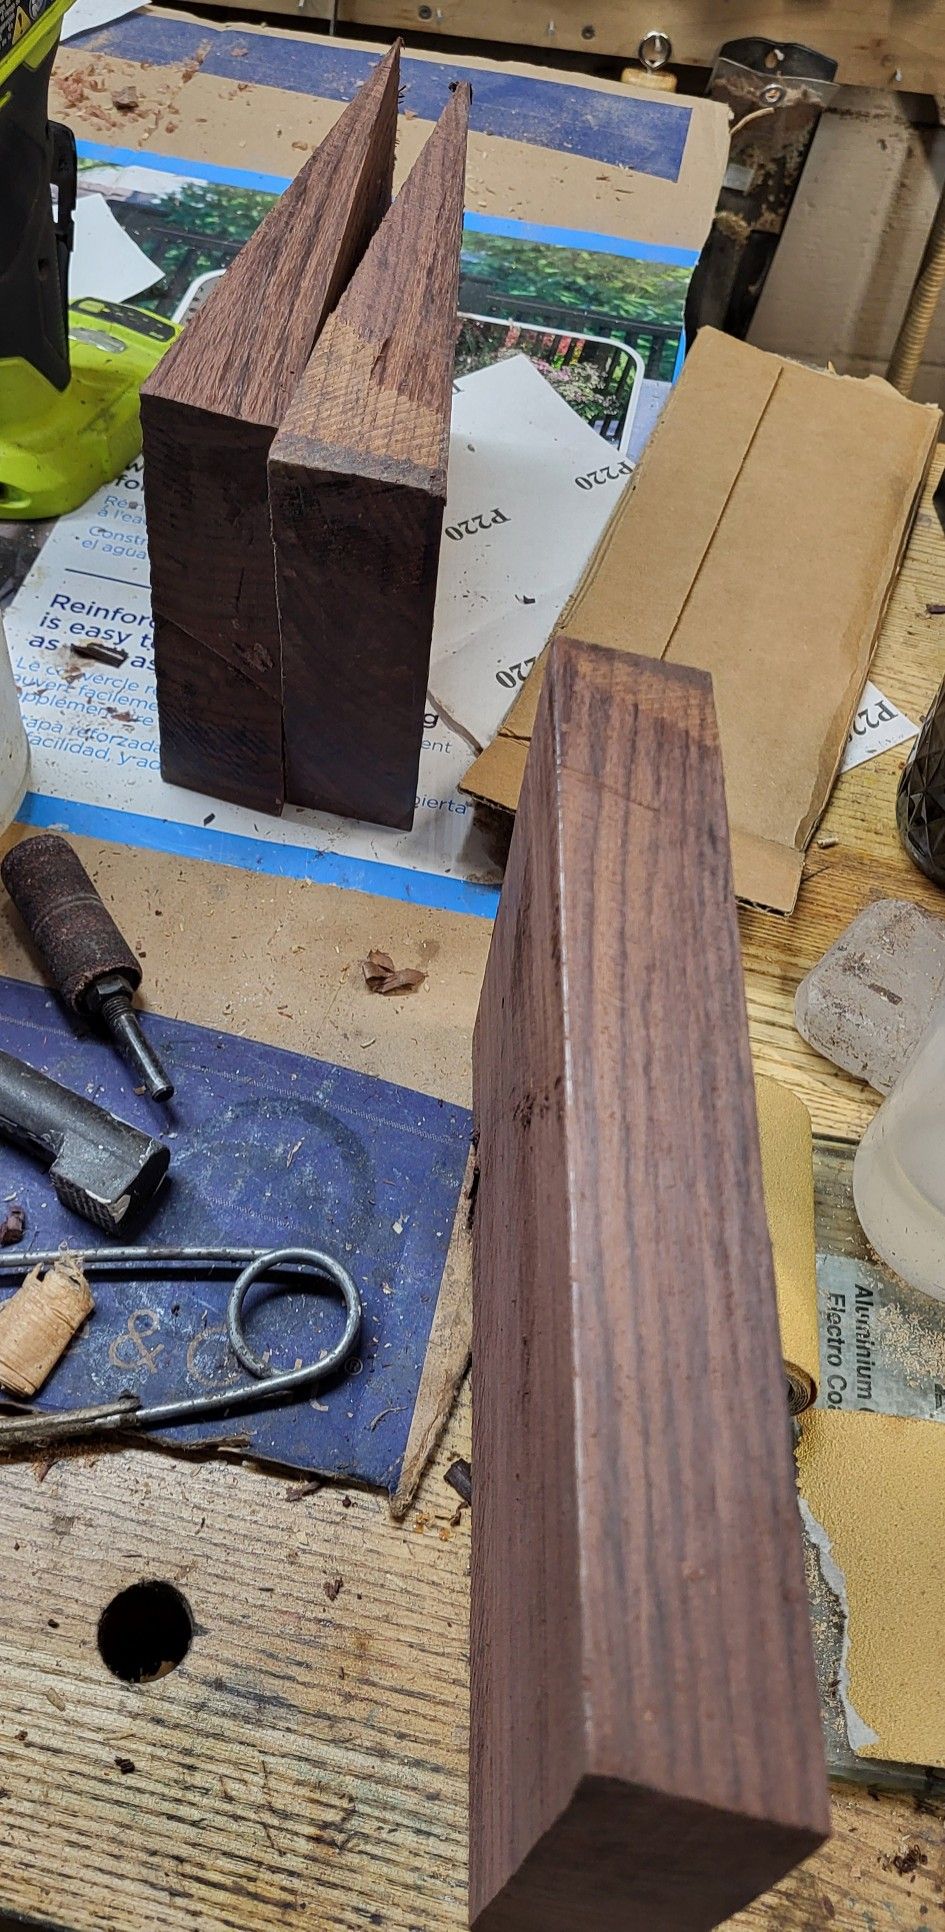
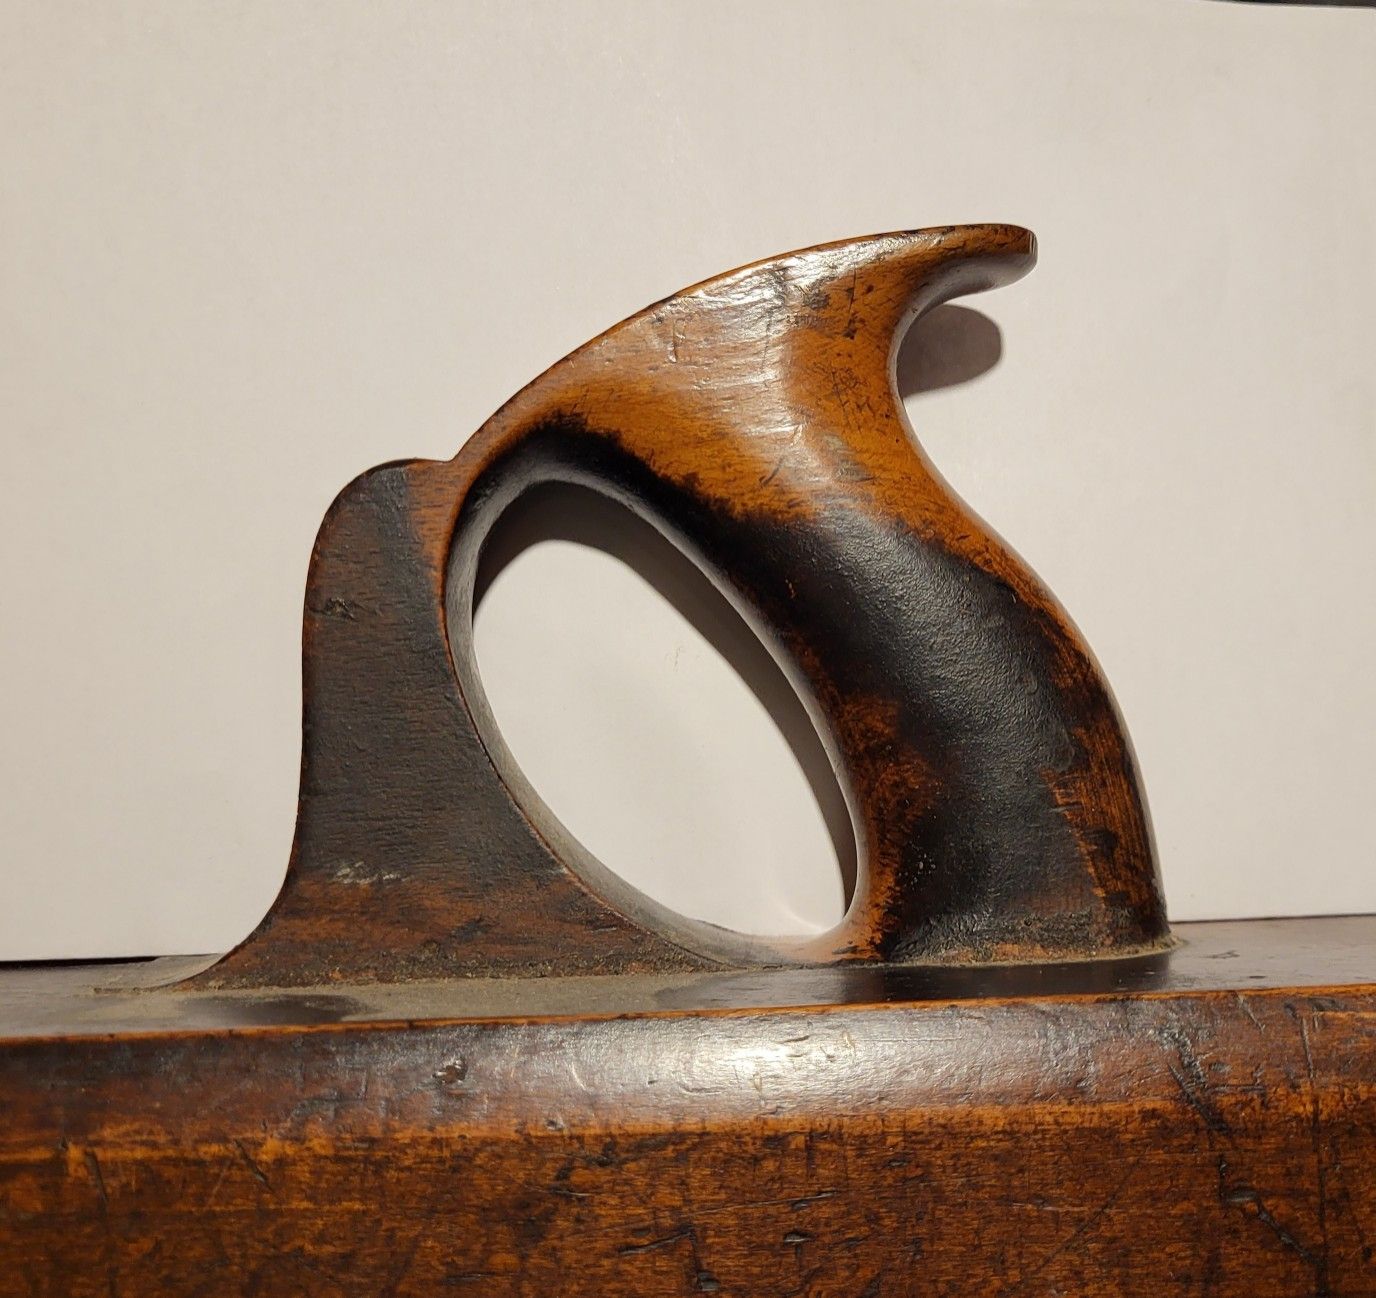
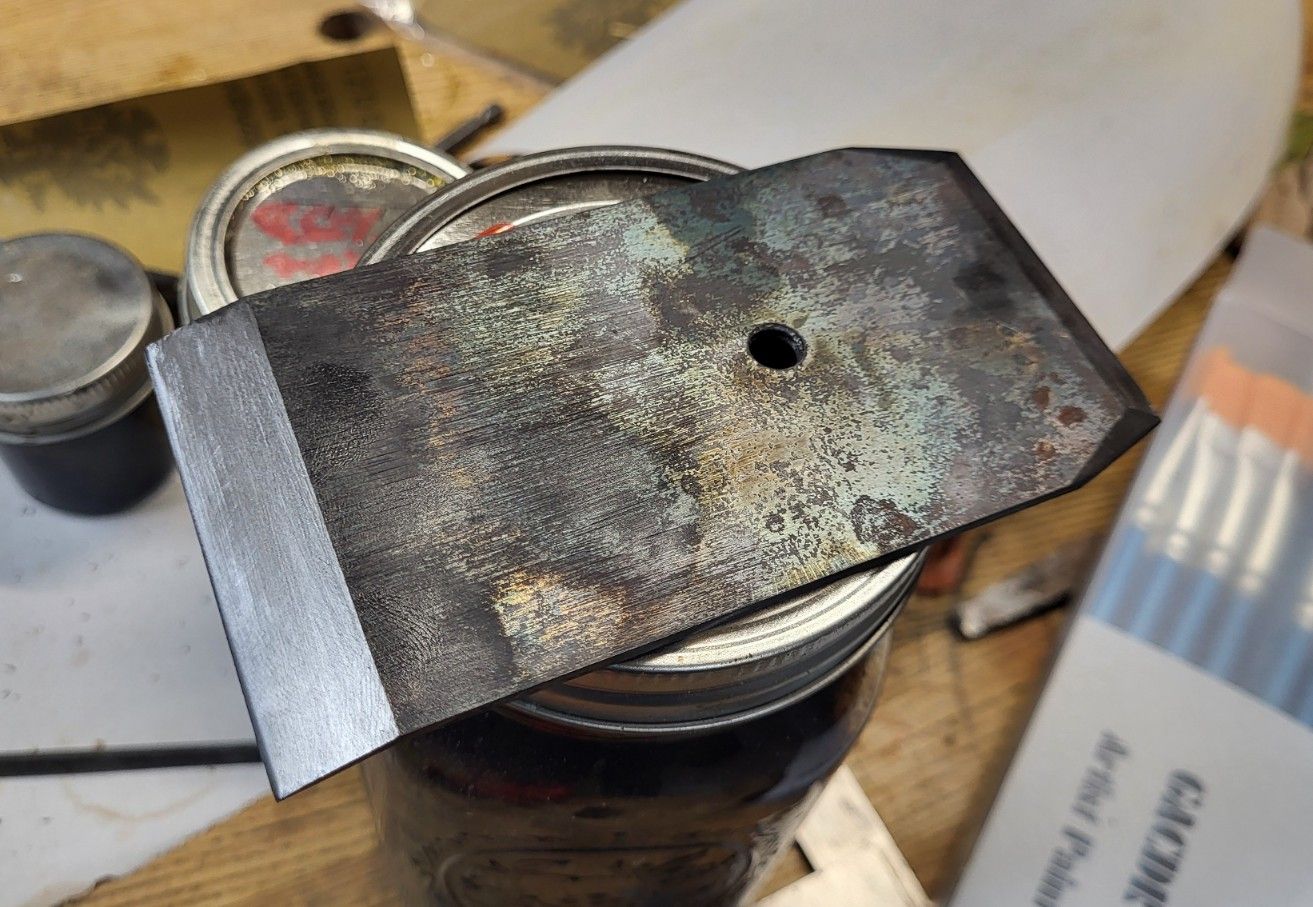
The apple handled chisel here that’s in the middle did all of the excavation in this plane as well as the rosewood jack that I last posted. rosewood is a nice working wood, but it’s still a lot more punishing than beech and I don’t baby the chisel. I’m sure I could break it by trying to pry great amounts, but that’s stupid, anyway. chisels sever and the real usefulness for prying is getting little bits out of corners or thinner bits split off by rotating. This is borderline abuse, but nothing was suffered here.
The Difference
The big difference using this chisel and going a little slower – something I need to do with rosewood anyway so as not to waste it or leave garish chunk outs on side grain, is that this chisel can be sharpened indefinitely with two stones and never see a grinder, and never cost the user any time.
In wider work like dovetails/half blinds, etc, it wouldn’t be any slower and if the corners need to be gone, the edge is so thin at the front that it could be done easily by honing a slight bevel on the sides. Not a big wide flat one, just one that’s subtle. That is, after all, on some of the chisels in the seaton chest pictures – a user-added very small side bevel, but one that’s functional.
The amount of time to sharpen this chisel sans grinder is not more than a minute and a half total including stropping or buffing and to do each of these planes, I sharpened twice. For cherry dovetails or something like that, the edge would last an eternity.
I’d have been worried about breaking a chisel like this – this particular one is at least 65, and also wooed by the discussions of Japanese steels and that steel is always fragile at high hardness. It isn’t. these very chisels are going to make for an interesting comparison against hitachi white 1, as I suspect that the 0.25% of chromium in 26c3 is probably a benefit and not a detriment, but we’ll see when I finally get a set of solid steel chisels made out of hitachi white 1. It may not be until later this year unless I get laid off or who knows what else.
If I do, there will be a toolmaking bonanza for a little bit. I’d prefer not to get laid off, of course! But there’s definitely not enough hours in the day to make just the things I want to make let alone make a few more things for other people.
As with many things, the experience here using this chisel has really made me think some things just from function and feel that I would not have guessed. Yet another thing where informed or experienced opinion is just far better than supposing.
I know the answer for mortising in general is that a chisel should be thicker than this one. This one wouldn’t tolerate that much hard forces because it just isn’t thick enough for that, and it wouldn’t rotate in a mortise. but I’m starting to get a sense as to why cabinetmaking didn’t require or prescribe any “firmer” chisels in the sense that people errantly think of them now. It required firmer chisels as Nicholson described them – chisels strong enough to form wood.
What I really don’t have any need for is chisels that were designed to survive uninformed hands on a construction site. When I first started woodworking, I would’ve called stanley 750 chisels “delicate”. Things change over time.


