First, a picture:

Over the weekend, I made three things, but one of them was partially experimental. I guess two were. Strangely, it was the chisel in the middle.
Early this year, I added a smaller radius high speed grinder attachment (belt) to go with the one I already have. The first is a 2×48 multitool attachment with an 8″ contact wheel. It would be nice to have a real platen or something a little closer because the platen on that attachment is not really close to usable for making things straight. It’s just a bad design, and the two attachments work OK but they are not similar to the quality of real belt grinder.
The second is a 4×48 attachment with a platen that actually has the belt tensioned across it instead of suspended above it, but the tracking is terrible. I can live with it. It makes the belt go fast and if it eventually allows the belt to eat parts of it up as it moves back and forth, I’ll replace them.
However, I wanted to us the shorter radius wide belt to make the handled chisel shown, and I got a little lost with it and the tang is somewhat wonky and way too long. I also wanted to heat treat all three things not LN in the picture with the induction forge. The replacement spokeshave blade and the seaton chest style chisel on the left are perfect. The chisel is a little soft. I have no idea why and that pisses me off. The option to do everything before the final heat and then do that in the forge as I’ve always done is still there. The induction forge is far more handy for absolutely everything else, and makes heating the bolster to the temperature of the sun so that it forge welds neatly and easily a snap.
Otherwise, the chisel in the middle is usable, it’s not saw soft or anything, but it’s got to be two or three rockwell c scale points off of what it should be. Maybe the blank of steel that I started with isn’t what I thought it is. If it isn’t, that kind of variance is intolerable.
The other chisel is crisp, hard and snappy once handled, will be great to use.
The Wrong
The obnoxious A2 irons in LN spokeshaves – finally replaced by O1.
The faster I get at working by hand and the quicker the sharpening regimen gets, the more I’ve grown to really hate A2. But in a spokeshave, it’s especially dumb. You have a little blade to hold on to, and I really have no interest in creating fixtures. It should be sharpenable one-handed like an afterthought. However, A2 seems to grind and hone much less well than it’s abrasion advantage over O1. That is, it can last about 25% longer in wood than O1 in theory, but the grinding and honing on something small like this leaves me with finger aches.
And A2 still doesn’t solve the real life issue that most long-interval edges can’t be used without accumulating damage. This spokeshave blade and another (round) were the last two A2 irons I have of any type.
I’d imagine there are two things that drive people to like A2, aside from being told that it’s great. Lack of exposure, and inability to compare alloys at like hardness. O1 is frequently offered softer than A2, with the exception of hock irons. When O1 is soft, it can lose 20% of its edge life, but if the softness allows denting or edge damage other than abrasion, it can be shorter than that. I tested a bunch of irons almost four years ago now and LN A2 lasted 25% longer than a similar hardness O1 iron that I made. The condition of the iron in the last 25% was terrible. I don’t know why-I suspect it’s just the condition of an edge with carbides that are more proud than another. Actually, I do have pictures of this from the same scope that I use, but with the original older camera pardon the small size of the pictures.
This is what A2 looked like after planing about 1000 feet:

And this is what O1 looked like at about 800 feet.
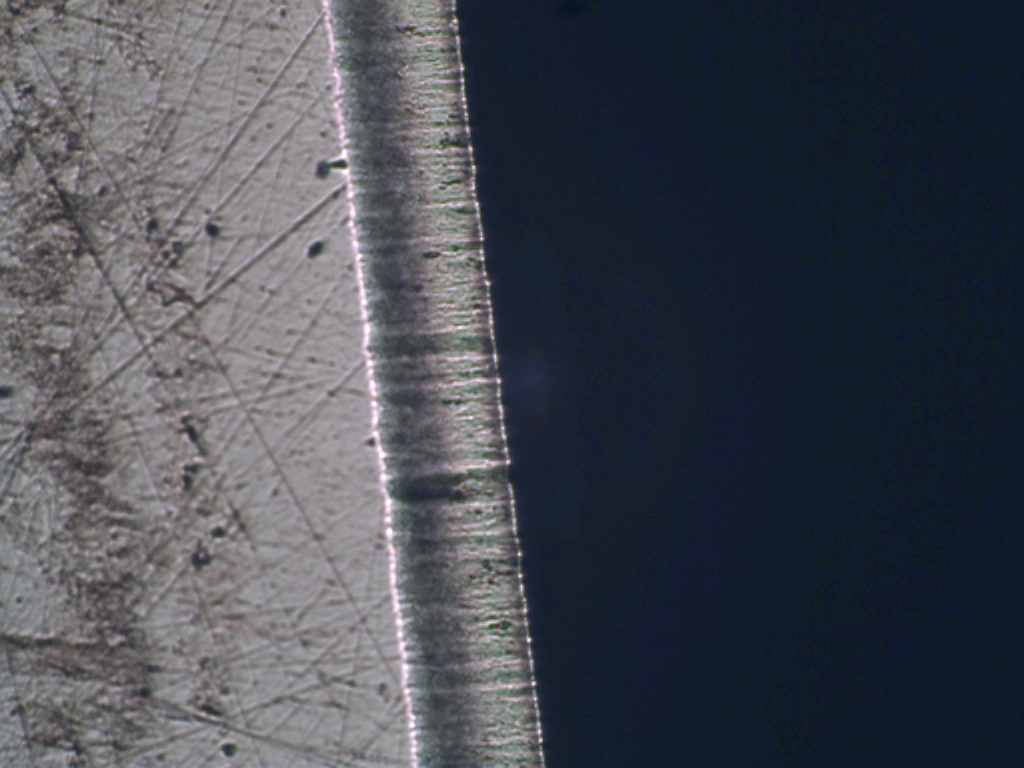
The grainy look of the A2 edge is carbides standing proud. This isn’t a reliable predictor for the edge cutting sweetly or not, but in this case, the 200 foot difference between the two was unpleasant planing. O1 simply ran out of clearance, and ceased to want to stay in the cut.
The reason for the very neat appearance of the wear bevel (this is the back of the iron) is because the cap iron was set fairly close to the edge. This wear bevel is about 3 thousandths of an inch. The cap iron was set around 8, which would be a good day to day setting on the plane used. If you think about this, it should make some sense – the chip is bent and would probably like to bend in a curve, but it’s also contacting the cap iron and being lifted. It doesn’t just travel the remaining distance to the cap and get bent up at a hard bend point.
This fact is probably why rounded cap irons are nicer to use across a range of work than those with a flat facet. If the shaving is thin, it can contact lower on the face of a rounded cap iron and at a higher angle. You won’t care because it’s not that hard to bend. If the shaving is thicker, it will contact higher on the cap iron at a somewhat lower angle and you’ll appreciate the reduction in effort. After all, you will have to finish with thin shavings. Nobody that I know of finish planes with a 5 thousandth thick shaving as the last step.
Back to the spokeshave:
These are the only two remaining LN tools that I have – this shave and the one that will shave a rounded surface. They’re really nice and I use this one and occasionally the other one for guitar work – a little at a time. I hate the original iron every time and have finally spent the 20 minutes that it takes to make a replacement for it out of O1.
Lesson Learned from the Chisel – Fluent Working
The chisel in the middle is more of a 19th century firmer style. It’s about 0.11″ thick at the front end and graduates to about 0.15″ in the middle and then just under 0.25″ at the tang. Firmer chisels are nicer if the last bit of the tool is closer to parallel in its thickness, but a chisel made of only a thin piece of steel is what you may find with some push chisels. It’s no good. The shoulder and tang need to be stiff enough that the whole blade doesn’t have more spring than you’d want.
I thought I was pretty habitually trained making these types, but have made more seaton-ish chisels recently, so my eye wasn’t really keyed in to just freehanding everything as it was. And add in the shorter radius grinder wheel and just that was enough to make this a reject based on the long tang length and ultimately ugly look. I’ll go back to how I was doing it before and maybe finally make a set of patterns to mark the blanks and refer to when grinding and filing.
I remember when I was a beginner – the idea of making 100 of something seemed ridiculous. But having spent a little more time on this chisel than I’m sure I did with the last of its style perhaps approaching a year ago, the fluency in making things come to mind. It’s not enjoyable really to work by hand until you’re fluent in what you see, how you get there and the steps just falling into place.
Someone recently said they’d like to see pictures of what I’m doing in terms of steps making a chisel. I don’t really want to share it publicly at this point, but there’s no secrets in the chisel. you could make the same thing and get the same result with a different method. It feels like it’s 5 steps, but I listed them out and it’s more like 16. That’s simple enough that you can easily learn to do it by feel, as long as the feel doesn’t change. At this point, other than the hiccup, the rest is getting faster and better at the same time.
I’ll figure out the thing with the induction forge, or I won’t and will continue to finish the heat treat with a propane forge heat. That’s not a big deal either way – it’s all of the other heats that occur other than that final one that take a lot of time sitting and waiting for something to heat, but having to watch it close enough that it doesn’t run away.
For you, if you’ve never found satisfaction in this hobby and jump from one thing to another feeling frustrated – consider making something a specialty. Something you will make well and in numbers, and if it’s difficult to figure out how to get rid of it, make it something you will be able to list and ship when you get good at it. If you like furniture, it could be something with drawers. If it has to be small enough to ship, it could be some kind of completely hand made box (like really hand made) with a french polish.
You will find more reward than you think in getting better by repetition. Very few can jump from one thing to the next and make the first version perfect. And even then, it’s hard to get a rhythm making things that way and it’s all stop and start in feel with too much thinking and not enough getting past thinking about the routine stuff so you can observe and adjust while in the middle of making.
Pickup up a different chisel and then using different equipment was more of a challenge than I thought it would be – not to make a chisel, but to make one to the same standard after an interval of not doing it. I don’t like the result, but I can live with it as it’s still gaining experience with the new stuff. But it reminds me of where I’d gotten to and how subtle it was. The only real pain with it is the risk of warp in heat treat. That never goes away unless you use an easy steel, but you can manage it. And heating the bolster with a brazing torch – a pain – either the gas is running out or when you put the torch down quickly to set the weld, it ends up pointed in a direction you don’t want cutting holes in other torch or burner tips, or it puts itself out – not a good thing with unburned oxygen streaming into the air waiting to go off with a giant pop so that you set the weld and then change pants.

> and I really have no interest in creating fixtures
You don’t have to, not for spokeshaves at least, since you’re freehanding. Small vise grips provide just enough lever to comfortably hold it to a stone and it’s not very different from holding a chisel. Makes it way safe (therefore better) to strop on a buffing wheel too. I’ve got a couple at flea markets just for this.
LikeLiked by 1 person
if you get two hands on the back of it, or two sets of pinching fingers, you can get a pretty solid hold on it and the buffer isn’t a problem. But it’s generally not a surface-finishing tool, at least not in my hands – it’s a between the draw knife and surface finishing on guitar necks. the very tight mouth is a bit if a pain, but I plan to build another iron a hundredth or so thinner – just couldn’t easily come up with a thought about anything laying around in .11-.115 thickness. Not certain I don’t have anything, just can’t think of anything.
The vise grip tip is a good one for honing – still have a big distaste for the A2!
LikeLike