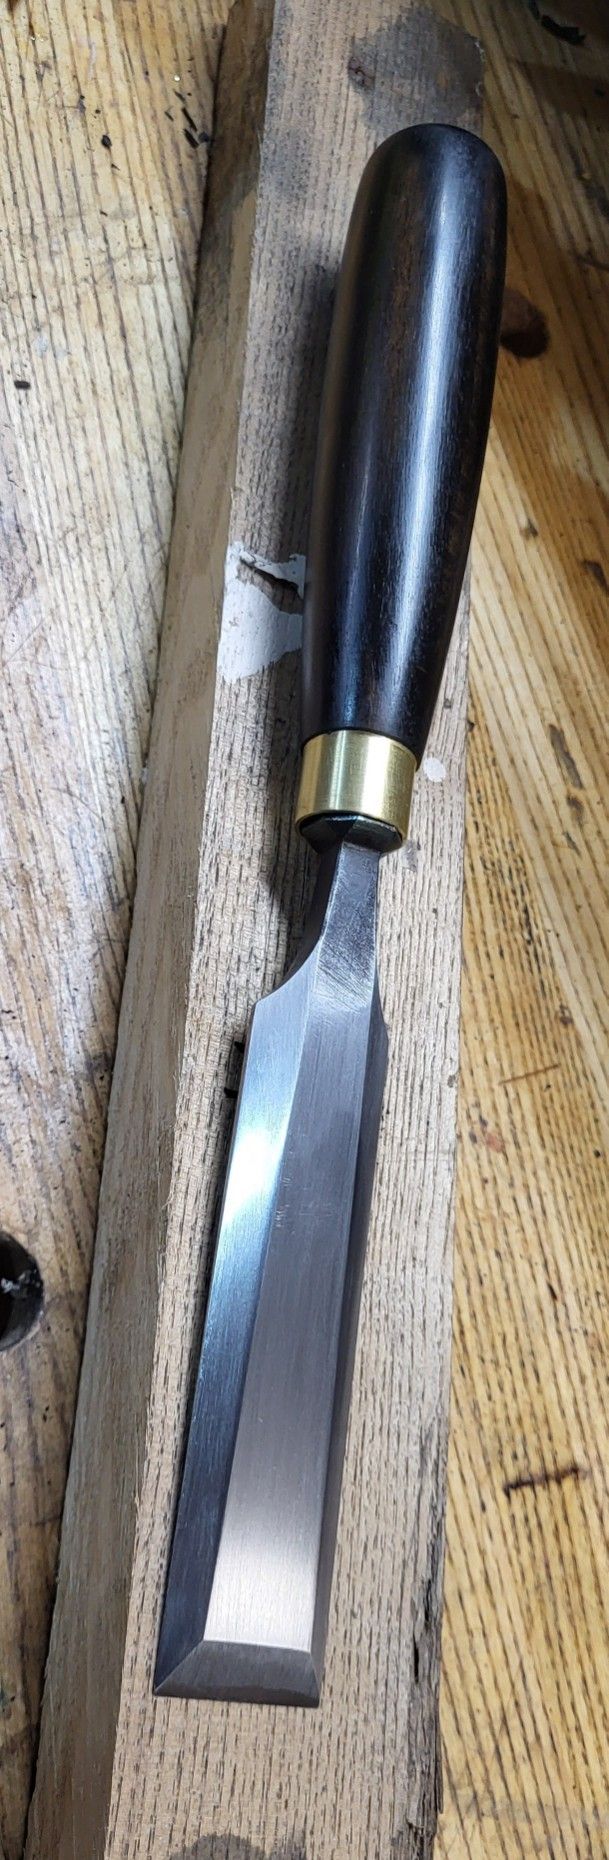
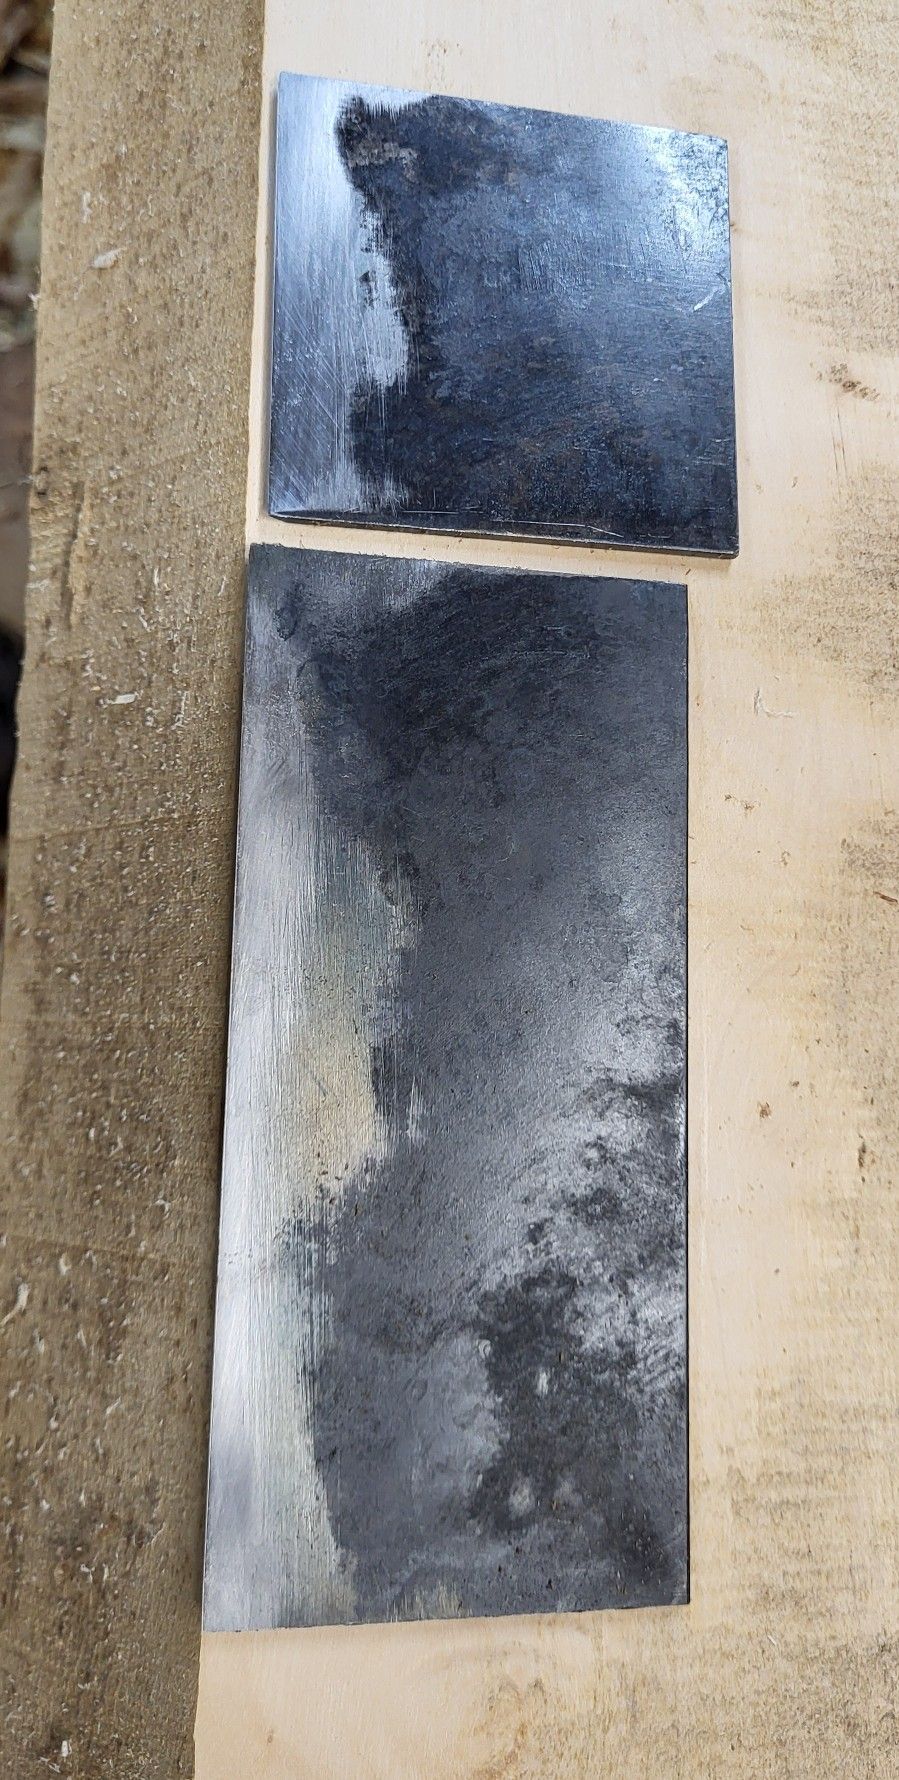
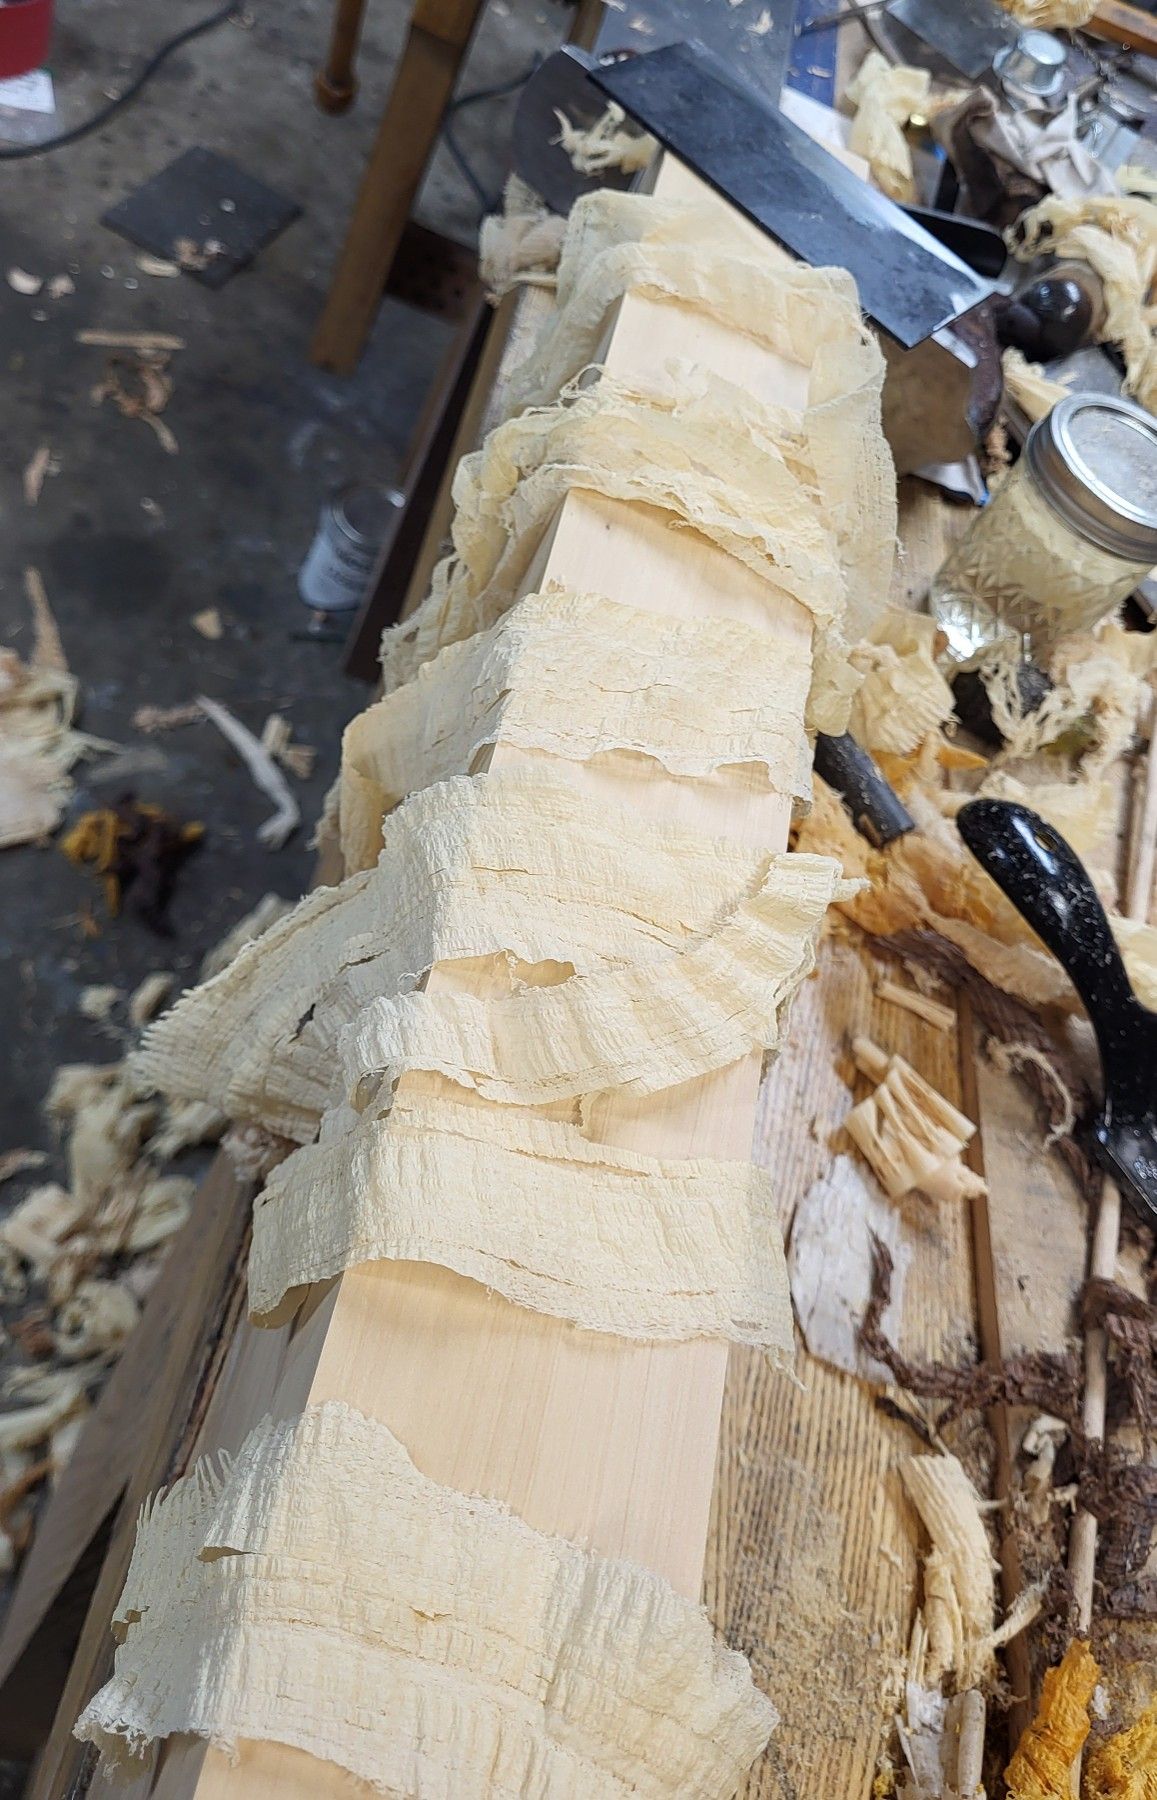
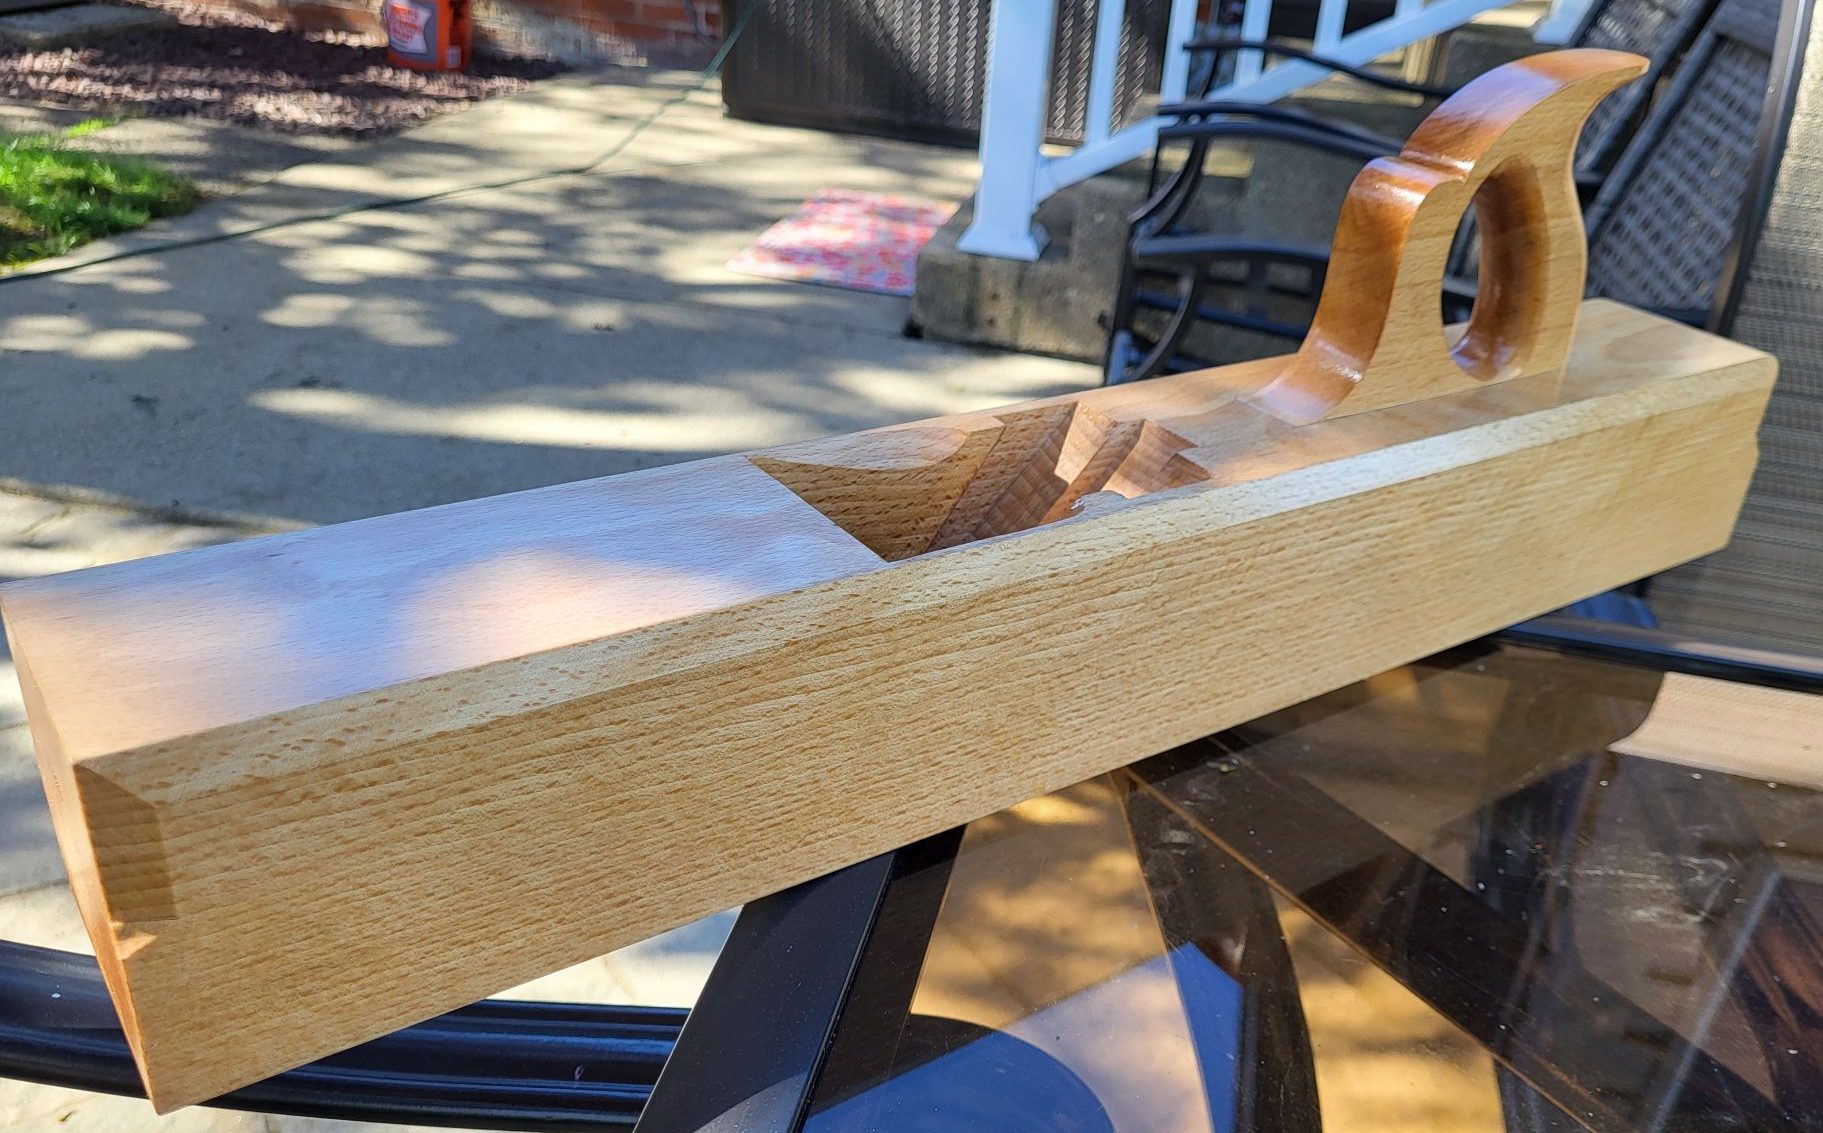
Something Unusual – A Solid White Steel Chisel

And not just white steel #2, but legitimate Hitachi White Steel #1. I bought a bar a couple of years ago now from New Jersey Steel Baron, which is probably the only retailer in the US who is able to get legitimate stuff with a melt sheet and certificate showing that the certification was actually done for them, and not just a copy someone got off of the internet.

What stood out in my mind is it’s been almost 20 years since I first heard of it, and I was just as easy to get as anyone else with it being mysterious or whatever else, and with all of the rumors. “Smith-san makes the steel by twilight only with pine charcoal, and it is impossible for all but the most skilled smiths to get right because the temperature must be judged by eye within 25 degrees or the tools must be thrown away.” Couple that with the cost of good tools that it’s in and the oft stated “it’s too brittle to stand alone, so it must be laminated”.

The composition of white steel is slightly more plain than one of my favorites, or two – 26c3 and 125cr1. Both of those are certified in melt sheets to be within Hitachi white steel’s spec as far as phosphorus and sulfur and not surprisingly, the remelted version of those two, 26c3, seems very close to White 1. What’s missing in white steel is about 0.25% of chromium and about a third of the manganese. I think those things make 26c3 easier for a garage heat treater to deal with and probably really anyone, and they don’t at all make it feel alloyed. But for a garage heat treater using a brine quench, white 1 is hardenable enough, and I use a method that pre-quench is hotter and shorter than someone would use in an electric furnace. I suspect white #1 might actually provide better results heated with the “overshot” method, but it’s a method that a lot of beginners cannot do without grain growth or under hardening. It takes practice and snapping samples and testing hardness to really get a routine down. But once you have one, it’s quick – everything from normalization through thermal cycling with a pre-quench between them and the final quench can all be done in less than ten minutes and with a lot of discretion about what will be heated and how much. Oh, and there may be 5% or so more carbon than there is in 26c3, but I cannot tell the difference between the two after quench other than if you look at the chisel below, there’s a mock hamon an inch below the shoulder. This isn’t a real hamon as it’s too hard to file the steel until you get to the transition from the bevel at the tang, and then you can only just file that transition and not a wide flat area. I would guess the steel is 55-ish and the hamon line exists because I finished this chisel with some loose silicon carbide. With a natural stone, it would probably all remain bright.

The result after drawing a bar out some on an anvil to get some heat and hammer time on the business end is this. I was a little conservative with the thickness and this thing is 0.15″ thick at the bevel, so more of these may be less thick, which I think is preferable, but it won’t be too bulky as it is.

Heat treatment is much like the other two above, though one of those two needs to be pushed a little harder with heat (125cr1) which I don’t love, but it is what it is. 26c3 and White 1 can be treated identically as long as the quench is in brine. Brine is probably 3 or 4 times faster than the fastest quench oil at the top of the quench and it’s what something that’s got limited hardenability really needs.

Same thermal cycling, same normalizing before that, same pre-quench before thermal cycling and same 2 x 400F tempering sessions after heat treatment and the result is a chisel that is c66 hardness for the first inch and up from there is about 65. I would guess the differing thickness has something to do with that, as well as the fact that it only has a small amount of manganese in it for hardening and nothing else.

Getting 65/66 after two 400F tempering sessions is exactly what I want. It’s about the limit before grain growth and I would imagine it would correspond to nearly nothing being left unconverted in the chisel. At one point, I believed White 1 and other file-like and razor steels could not be 65/66 hardness and be as good as they would be a little lower than that because I hadn’t gotten many or any commercial tools that held up at that level of hardness, and tempering back to 64-ish would make them much nicer to use.

I think that’s false, though, and what was probably missing was hardness after quench due to underheating and a slower quench medium (fast oil), with the 65/66 hardness reached by undertempering instead. I really like steels that can be brittle undertempered at 400F more than I do 325 or 350, by a lot, so the hardness is arrived at after choosing the temper, not the other way around.

Of course, the steel gets the regular rotation of tests, punching some of the end off after the heat treat on a false bevel and then regrinding after. At about 50x optical, the break looks like this. The strands are denim fibers. I just want to see nothing that looks like layers of sand, but the little ripples are break topography, and that’s fine as it’s not individual grains.

Doubling the magnification leads to this, and we’re really at the limit of my cheap hand held scope. These breaks are not flat, by the way, which troubles my much higher quality stationary scope – that scope’s depth of field makes it suitable only for things that are really flat.

not the greatest pictures, but I hope to see a closer view of the same topography, and with some sparkles embedded in and not as a feature of, let’s say. Those little twinkles are carbides. I’m surprised some of them aren’t a little bigger as the surplus carbon steels can have a few elongated carbides or several that are close to each other. Fortunately, iron carbides don’t seem to cause the same toughness issues that harder carbides do, but they also do nothing to improve edge life. In chisels, this is a good trade off. Easy to sharpen, stable edge. In planes, I like it, too, but the edge life of an iron made to the same spec would be a little less than even O1 at 62/63. And the cost of the bar would keep me from making solid irons from it, anyway.

Testing of the chisel was fine -like every other chisel, without any treatment of the apex, it will accumulate minor damage with heavy strikes in hardwoods, but the corners do not come off of the chisel, which is something you’ll find quickly on chisels that are brittle. I figured that if anything, you never know if the chromium in the other steels is sequestering some carbon and keeping a bit more toughness, but the corner test is passed without issue:

The corner test is just a matter of embedding one side of the chisel in a deep cut and not sparing the rod. a little light twisting of something in the corner of a dovetail socket, etc, to pry fibers loose would not threaten the corners on this chisel either, but attempting to use it as it’s set with fine bevels as a mortise chisel could probably find their limits. We live in a world with mortise chisels, though.

I forgot to take pictures of the minor damage without the buffer treatment, but with it, the edge remains as this across the entire length:

The difference between a mediocre and a good chisel is how much of the buffer one needs to see no damage at all, and this one doesn’t need much. Just like 26c3. But what the buffer does even a little is something all chisels benefit from and a good chisel would last through a case of half blinds before needing to be resharpened if the edge is treated right. More importantly, it just stays the same for you in use for that entire time and there isn’t any “I could do one more with this dull chisel”.

All in all, quite pleasant, and the result is the same boring shape that I like, but its’ a shape that I like for function and that’s that.

I will make a set for myself as one thing I don’t have is a set of cabinetmaker’s chisels in 26c3 or anything else. Too much experimenting and giving things away or selling for the cost of materials, I just haven’t kept any.

The rest of the set will have to wait for the winter, as I’ve got a few things to make for other people – this 3 hour sideshow of testing some offcuts and then making the chisel here is enough to at least answer the question about whether or not there is some difference in chemically similar steels that would make white unsuitable for solid chisels. There isn’t.

But there is one catch to just using this on a widespread basis. First, who knows if the supply will stay or if this is a one-time thing. If NJSB didn’t get the rights to sell it, I would not find it without some intermediary who would make it really expensive. That leads to the other problem – it’s still expensive. A 1 inch bar 0.3″ thick and 36 inches long is near $200 with shipping. I think I can make a set of 7 or 8 chisels out of that bar – depends much on what width they are but if I get the chance to make chisels in retirement and this stuff is still around, there’d be no way to justify the time making them the same way for less than $750 or $800 for a set of five. They would deserve to be more expensive than commodity low end white 1 chisels, though. The heat treat is better, and there’s enough steel in one of these chisels to make a full set of Japanese chisels.

All of this has been one of the pleasures of becoming an amateur with some skill. Some is an important word here, but some is enough to dispel some myths that don’t make sense. the steel is good steel. Why would it be so difficult to use, and if it was, or if the result was brittle, then why would we call it a good steel? None of that made sense to me. If a steel is too brittle to make a chisel from, then why doesn’t the end just break off of a Japanese chisel (oh, one of the other myths – the “wrought cushions it”. The wrought does allow one thing I don’t have the luxury of – when steel is laminated , you can hammer the wrought to straighten the hardened steel without cracking the hardened steel. When there’s no wrought, or jigane, there is no hammering the result here other than trying to do it in a very short window after the quench, and the reality is, it’s better to improve the process and accuracy during heat treatment to avoid any warp. And though you may not be thinking of that question, it would’ve been one of mine. Did it warp a lot. The answer to that is no, no part of working the entire time was disagreeable or like walking a tight rope. It all just came down to that one question above – will it be able to hold on to its corners in hardwood? Fortunately, it will.

If it were closer to the price of 26c3, I’d buy a whole pile of it and make a bunch of chisels from it over time and sell them slowly. I’ll have to consider this winter whether or not I want to spring for a few thousand dollars worth of this stuff to have, just in case the availability isn’t permanent. I don’t think it’s selling very quickly, and when steel doesn’t sell quickly, it’s often not purchased a second time by a retailer.

I Still Make Stuff

Ill parent, kids at a busy age and an employer going through changes and more work than in the past. It all boils down to doing less discussion online or pondering, but I still get to the shop a little. And hopefully more in the next several months.

What I make when I’m busy tends to be smaller stuff and not full sets of chisels or guitars, etc, or a dozen batches of varnish.

Someone stopped by here a few weeks ago, and left behind nice things in what is, I guess, a de facto trade, though I don’t get involved in much trade of obligation, so it’s not really that. It’s just what happens if you don’t bind yourself into “I have to get even with everyone” or everyone has to pay something for lifted fingers.

Some of the lot was three wonderful large gouges. I ended up turning handles for them, not because there is something special about the particular handles, but because I wanted to turn three slightly different versions so I could tell what looks nice. Even with limited shop time, it always seems better to gather information from something that just think you make it and nothing could be better, and all three should be the same. I always would like something nicer looking and see ways that all three of these slightly different handle profiles could be better.

But the gouges offer a great distraction because they look so nice. the largest of the three must be at least 2″ wide – these are stout.

They look like this on the gouges. I should have found a finer wire, but didn’t have one at hand for the burs, so they are tubby and a little unsightly. Ignore the line of light and dark on each, that’s the shadow from a roof overhang above.

And as part of the pop’s pro cut thing, I mentioned the steel to someone I know, who promptly asked if I could make a santoku in the steel with a tanged handle rather than through tang. Through tang is easier to do nicely if you have limited means. Tang is probably easier to do not nicely, but that seems a waste of time. I came up with the idea of two cocobolo handles (one for me, one for the requester) with a satinwood gasket and ebony front cap:

These are getting varnish. Cocobolo’s oil is an antioxidant or something, and oxygen moving around in the varnish and attaching itself as double bonds is the way it cures/crosslinks. the varnish on these is madagascar copal, which is a little more exotic as varnishes go, I guess, but it has good hardness and should be durable without having to be thick.

The more red color handle here became a contest to see if the varnish just dries really slow as it fights the antioxidants, or if it never dries hard. It appears to be the former, but with 2% japan drier, the same varnish is on the chisel handle above – totally dry and will not be sticky or marked in a day. The reddish cocobolo here can spend a day in the sun, or could at the outset, which typically will get a varnish pretty far along in an hour or two… Anyway, the reddish cocobolo here will spend a solid day in direct sunlight over a chafing dish (to reflect the rays to the back side and not waste them), and still need more dry time.

A shellac seal will be susceptible if there is water, but I did a little, not enough, and decided the red handle, which I made for the knife to be sent, will just be mine. The brown handle stunts drying time by a factor of two, but it’s tolerable. Interestingly, varnish must soften into layers when it’s applied within days as even later coats do not dry quickly.

The knife with the brown handle is finished and I will ship it this week:

A true professional knife maker could come up with something nicer than this, but it’s about a five hour knife and not a five thousand dollar knife. I think the result is suitable.

The pro cut steel is a little different. It’s not stainless, so it’s not a gen-public type knife. The steel in this case is about 63 hardness after tempering, and it drops its burr really easily. I always buff knives, anyway – the edge is better off of the buffer. A larger picture can be viewed by clicking this text. The picture makes the blade look like it’s polished, but it’s linearly sanded at 400 grit. Why? I want whoever gets a knife like this to be able to refresh the surface simply without finding cleaning up a mark or stain suddenly makes it so the whole visual of the knife is spoiled.

Both knives, this and the other, are a little over 1/100th inch thick at the top of the cutting bevel, and then they taper out, of course. With a unicorn edge, despite the thinness, they can be used to carve, whittle wood without issue other than it’s a little unsafe, not for the knife, but for the user. The real end use for these is easier, though- meat and vegetables.

New Steel – Pop’s Pro Cut

You may think the name of this steel has something to do with big box store lawn mowing blades, or some hair clipper system for old men to save money, but it’s not that.

Pop’s is a knife steel supplier that best I can figure, provides a fair number of offerings that New Jersey Steel Baron also sells, but other knife making supplies and steels. And I could be a little confused here, as I think USA Knifemaker also sells 1095 and other Buderus origin steels that come from NJSB. I buy a lot directly from NJSB, but have gotten 50100 steel from USA knifemaker, and fairly sure, I got Apex Ultra (haven’t used it yet – think really high hardness slightly alloyed steel) from Pops. I can’t recall if there’s an apostrophe and am not going to go look at this point.

So, you won’t be surprised to hear that Larrin Thomas (Magnacut alloy chef and owner of the knifesteelnerds website) came up with this alloy in response to a request to make an 80crv2 alloy that’s some improved. 80crv2 is slightly shorter carbon than 1084 and with 0.5% chromium and some vanadium added to, presumably, improve consistency of heat treatment and improve toughness a little. I’ve mentioned it on here before and suspect that it is what Pfeil uses or Pfeil may have made a slight variation on it.

What Larrin did was cut the chromium back a little, add tungsten, and a substantial amount of nickel and keep the vanadium. Larrin has a very in-depth article about it here.

What’s the point of it?

Nickel steels are a type of steel we don’t see much in woodworking tools, at least not hand woodworking tools. Nickel stays in solution in steel and doesn’t make carbides or anything, but it does allow the dislocation of grains to occur more easily, which results in steel that doesn’t crack and break as easily when bent. So, the point of it seems to be to improve toughness and ductility. This isn’t really what we want with woodworking tools – we want steel that doesn’t move, but to the extent that toughness improving elements allow us to go higher in hardness and still have enough toughness, it may be a fair trade. I don’t know the answer to that yet as 15n20 (probably common in bandsaw blades) and other high nickel steels seem to be short in carbon and short carbon edges aren’t really that great for strength and edge stability.

You can read a lot of the same stuff in Larrin’s article, and Larrin knows far more about steel and especially what makes a good knife steel than I do. 15n20 is used in pattern welded knife billets quite a bit, but it doesn’t offer us much because it can get, in theory, to relatively high hardness by having tempering shorted, and still be a little harder to break than you would expect. However, I’ve noticed with steels done like this, maybe the toughness testing machine gives a good number, but the behavior of a fine edge isn’t that great. It doesn’t matter as much with knives as you’re rarely going to pull a pocket knife out and worry about minor edge defects, but if your pocket knife breaks, you’ll fret it a lot. We want wear of an edge only and defects of any type to a bare minimum.

I bought a bar of this stuff to try. It’s quite possible that it will be an interesting plain steel for plane irons because it has a little extra edge life more in line with something like A2 without the ugliness of A2’s carbide distribution. There’s also some ability to manipulate it and get varying levels of toughness at the same hardness, which is unusual.

Larrin’s view of this steel is that you can err several hundred degrees and get a good result courtesy of the ability of the steel to harden easily but also with some grain pinning from tungsten and vanadium, it’s a little more tolerant of overheating. I think this is misplaced, this need to have such a wide margin, for anyone with any significant experience who is willing to snap samples. Larrin would see something like O1 as difficult to heat treat by hand, but it isn’t unless you try to imitate a heat treating oven, and that’s where my difference in opinion lies. I know a lot less about steel than Larrin, but I have not had trouble with heat treating steels without having a temperature hold. I think this idea that we should avoid the overshot method (we overshoot temperatures in exchange for reduced time, and the only burden is testing a little to figure out what works) isn’t that great.

However, the forgiving nature of this steel isn’t going to hurt us and the only real issue at this point is what can we do in the shop with it, and is it worthwhile? For chisels, the answer is no – it’s listed no thicker than 3/16ths, but that happens to be a great thickness for taper plane irons, and it may have some merit there. It’s not terribly expensive, but it’s not cheap, and it does suffer from the infrequent disparate tungsten carbide, which is what plagues japanese blue steels to a wider degree. We’ll see if that’s an issue, too.

It’s a steel that will even air harden if the starting point is right (high heat), though it won’t if it’s not pushed temperature wise. I think that’s also interesting, but the air hardening may be superficial. What I really want to know is if I can get cryo-like tempered hardness by heat treating with brine, and whether or not it will tolerate that.

If it tolerates brine, it’s an excellent alternative to O1 and 125cr1 in thick wooden plane irons, both of which I’ve used and both are fine, but something different is always nice.

I also think it’s nice that someone is introducing basic steels at this point designed for blades, because it’s been a very long time since we’ve seen that. I hope it becomes more popular if it’s good for our purposes, as that may branch out into it becoming available in rounds or thicker cross sections intended for full forging. I really like to forge chisels out of a single piece of steel vs. forge welding on a bolster, but the number of suitable steel rounds out there now is small, and the knife community has moved toward flat bar stock. Good for them, but not good for us making one-piece chisels with an integral steel faceted bolster.

In summary, this is basically a new not-hard-to-sharpen steel that has excellent toughness prospects, some additional edge life in a tester (we’ll see about in a plane iron) and it doesn’t venture into trying to blast its way up a catra chart with an edge that’s full of carbides that can be detrimental to stability or uniformity. 80crv2 and other plain steels are typically cheaper than O1 from a western origin, and this stuff bumps up to be about the same price as O1. A good situation given it’s not going to be widely distributed to a million customers, and anything that comes out in small volume can be more expensive than this just due to lack of availability. We all know what people assume about rarity due to lack of desirability or preference – it’s inferred to mean that people are dumb and there’s some expensive alternative that’s “better” when it isn’t.

Something That Never Gets Old

This probably isn’t going to generate that much interest or much you can do anything with, but work is busy, something I may have said three times in the last several months, and though I’ve made a fair amount of stuff this year, none of it was large and consuming, and when I’m not in the shop for a week, I get really annoyed. I fought when I was younger to figure out what to do that would be motivating enough to keep me in the shop as I was following the gurus and assuming it would become spontaneously interesting, but it didn’t.

Ghee, another issue of fine woodworking and popular woodworking goes by. Ghee, I still feel when reading the articles that I either wasn’t interested in the topic, or if it was yet another article by the Schwarz, that there was some role playing underlying the whole concept. “Old tyme” spelling of something or too campy or whatever.

Eventually, if you waste enough time, you figure out what you want. I have no shortage of things I want to make now or make better, but some of that is built on comfort knowing that certain elements will come out.

It’s not at all obvious what this is. it’s a hand tapered iron that came out of heat treat and rested so I could snag a hardness reading off of it. 1.25% carbon steel, quenched in brine, and of course it warped a little – it’s water hardening. But it’s warp in the range of hand removal and before I temper it, I like to ding it twice with the hardness tester.

The other of course here is all of this is done with an induction forge and a magnet tool. I just don’t want to cede this interactive process to something “more precise” that’s really just more standing around while the process happens according to rules set by the new media in metalworking. “all heat treatment must be done in a thermostatically controlled oven” or the results will be poor and if not, only good by chance.

This is the fourth of this group of tapered irons. Every single one of them is 68.5/69 hardness out of the quench and 64.5/65 after tempering. This one is 69/65.

It does take a little while to run through the normalizing cycle, pre-quench and then thermal cycling. On an iron that’s thicker, the thermal cycles take a little longer because the iron doesn’t cool to near black as quickly as something like a chisel. But it’s between 10 and 15 minutes of interaction for all of it.

I have no idea how long one thermal cycle takes with an electric heat treat oven, but I know the result isn’t better than this because I’ve got samples that better the book results for hardness and toughness in combination for high carbon plain steels. Samples that were definitely not better than recent results, and probably a little less consistent.

Being able to shape metal freehand and then heat treat it in front of my hands and eyes is freedom. I’ll post at some point, maybe in a couple of weeks, how I taper irons like this. I don’t want a surface ground straight wedge, I want irons like the old ones with a hollow in the back, and I want irons that look like an older iron. That’s just preference, like someone else may like a different color car than I do (that I don’t care about, though).

To make things and get good results, and have it be interactive while doing the making, and primarily in terms of time spent, it’s making. Not arranging, not observing, not waiting, emailing or checking the credit card bill. It’s engaging making, and that’s really nice.

(oh, and are those machine marks on the back of the iron here? This picture is the back – it’s a little hollow in the length to bias where the iron beds…no, they’re draw filing marks from cleaning up the grinding. I’ll clean up the back a little further to adjust out the amount that’s introduced by warping so that this iron will bed properly until it has been consumed by use. Which will never happen – it’ll be straight until rust consumes it sometime in the future after I’m dead)

Large Japanese Saws

Work is busy lately, and stressful due to hard deadlines, so not much posting. Hopefully that will change in a month or two as my amount of making has been pretty minimal and making is one of the few things where I can disappear into another space physically and beyond that. I may post more on here and clean things up, but I could be saying the same thing in three years, just like I always have.

But, on to the topic – a few years ago, i got a dozen Japanese crosscut saws. They’re wonderful – perhaps 300-350mm with resharpenable teeth, partially machine made, it would appear. They are suitable for anything – 8/4 hardwoods, whatever, as long as one doesn’t try to crank on them. They’re not made for that with the tooth hardness where it is, even though the teeth themselves are not the taller thinner type you find on a ryoba. They’re not 60 degrees, but they’re between and crisp and will cut with a long western crosscut saw.

I allowed them to get some minor rust due to where they were stored – oops. These things were the princely sum of $18 for 12, though figure another $30 or $40 to actually get them here to the states.

Then at some point after that, I bought a group of larger saws that I think were about $100. You can’t tell the scale of the crosscut saws above, but they are well beyond the speed and aggression of something like a Z300, and with less set.

The larger saws that I got, I think I’ve realized that maybe i didn’t need them!

At the time, I was hoping to snag a $10 or $20 saw for green wood to use just for fun, but everything I found was about the same for one saw as a dozen of these. the smallest and the largest of the bunch is shown here below the Z 265. From that, you can scale things. The smaller of the two is made to look like maybe it would be suitable for large wood at the bench, but it’s really not. I don’t know what it’s for – construction?

The larger saw is gigantic and the tang goes well further below where the picture ends and is tilted down, presumably for a handle that’s titled forward, but closer to vertical, or perhaps just a handle stuffed on the end of it. I’ll have to look.

The group had a pair of these. it’ll take more than three or four inch limbwood to use the bigger saw here, but I’m determined to figure it out over time. They are all factory made (probably a small factory), but have some hand work on them, and forge welded lap joints which I’ve seen on other high quality saws.

No part of a japanese saw like this has to fight with the handle hitting the wood being cut, so what you see in size is really equivalent to a western saw half again more or double – double is probably a reasonable approximation as you can’t put the tip of a 42 inch log saw into a log 2 or 3 inches in and just push or the saw will bind. These can go nearly to the near side of the cut and then all the way back.

The top saw has 19 inches of tooth line and the bottom has 24 inches, just at the teeth. The numerical values don’t do it justice, but it’s probably in line with a 42 or 48 inch disston one man log saw.

It’s not going to beat someone with a chainsaw, but I’m waiting for an excuse to use it. I suspect that someone with only a few trees on a suburban lot would be able to buck a moderate sized tree over a few days or a week.

I get it that most people would think something like that is stupid. I limbed one of my trees a few years ago and a neighbor offered a chainsaw. I have one already, a good one. Sometimes it’s nice to feel the work, at least for part of the project. I love running a good chainsaw, but there’s not a whole lot of feel going on there, and for the tool doing the work, it really has a way of making you sore later and tired now.

The Big Hand Scraper…

Makes me appreciate the Stanley 80, and much use of the Stanley 80 beyond test shavings makes me appreciate the cap iron even more.

A self-important poster of all things but their own work brought up a video of someone who was perhaps in China or Malaysia peeling off a huge scraper shaving from a reddish rosewood. I’m assuming the wood was air dried and not dry to the same level as we’re used to, unless there’s something about the type of wood that was really amenable. The demonstration wasn’t particularly practical, either, but the shaving was impressive and sometimes figuring out how to do something better for the sake of doing it leads to something useful when you need it. I’ve already been down the road of really manipulating burrs, but I’ve never seen anything wood-wise that would allow a shaving to be peeled off like the one in the video.

The scraper in the video appeared to be thick, which gave me an excuse to do two things: 1) make one of the thick scrapers at a higher spring hardness than typical, to be used just bare handed, and 2) make a replacement blade for my #80, which came with a crappy butter soft blade that’s really more suitable for rolling a big soft burr to remove finishes. The higher hardness reason is simple – if you want a burr to be a little more tidy than it will be on a softer scraper, and easier to get a higher level of fineness, a little more hardness is nice. There’s a limit, though. The harder the burr, the harder it is to move the burr with a burnisher, and it still needs to be movable without breaking off. Courtesy of another discussion about an 80 scraper, I realized that an 80 that I japanned has no good blade, so I made one out of 80crv2, results are below

It works fine, but it could be a little harder and 80crv2 (think 1084 with some chromium and a trace of vanadium) is a tough steel. You’d think for spring steel, you’d want tough (hard to break), but my impression of 0.8% steel saw plates is the teeth don’t have the same strength and they also hold a honed or filed burr too much. Not a fan.

So, I made two more out of 1095 – which I unfortunately do not have in bar stock less thick than 0.1″. That’s a bit much, but this particular steel is the same that I wrote about several years ago – it’s defective. There is some lack of uniformity in it that’s no good for an acute edge, but for a scraper, it shouldn’t be a problem.

I cut two blanks in normal card scraper size and then one for the #80, and heated them in the induction forge and then brine quenched them, and tempered them in the toaster oven on broil. This is the first time I thought to use broil on the toaster oven – if it doesn’t work as desired, then not much is lost. It turns out that broil color temp checks to around 600F. This is a huge win – it means I can just make floats at will now vs. the pain in the ass setup that I had of using orange bars of steel to heat two aluminum quench plates and then getting those sitting level on a float and wrapped in kawool without burning myself somewhere along the way:

Cooked perfect – tasted a little salty from the brine. Of course, it’s 1095, brine quench, there was warping. I took this one out mid process, hammered it to get the little bit of warpage out of it and put it back in. The face cleaned up on it is just filed to make sure post hammering would yield something usable.

Attention deficit break here – the file I’ve been using is the best file I’ve ever seen. It’s a vintage atkins file that someone gave me, or actually I believe there are four. They are so good that I’ve put them aside waiting for a good reason to use them, but I’m just going to use them. I’ve got other atkins files, but something lined up galactically for these particular mill files. The teeth are sharp, superbly strong, fine and I’m guessing that probably around turn of the century before cost cuts, most of the top quality files were like this. The later american nicholsons are not the same. They are also flat enough that if you use them to work the face of a card like this one in the broiler, there won’t be much work on the stones. I’ve not mentioned them because I thought if I could find more on ebay at some point like them, I don’t want anyone else looking for them, but months and months of saved search have gone by and I’ve seen zero of them. I’ll post about them at some point. They are so good that when they dull, I’m going to have to salvage the steel for something else and see if it’s the steel itself, or what.

OK, back to the topic – what hardness did these come out to? 54. I couldn’t have picked a better number than that for this purpose.

I left the scale on these, just waxed them and assume because there is a little salt, they will glaze with rust slowly even with wax on, and each time they do, I’ll oil and wax them until they don’t. Up close, the scale is very interesting, bordering on colorful:

Total hands on time involved to make each of these is about 20 minutes. And they are about as hard as you’d want them to be but still file hardness to maintain the bevel that goes on them. using them with a square bottom edge isn’t the best way – if you want to draw a burr a little longer than normal, especially on something hard, you want a bevel. These are filed to about 45 degrees, and then honed a little steeper and then the burr is drawn and rolled over.

One other comment here: if you’re looking to get a bright finish off of a scraper, you have to treat the edge before rolling the burr like you want it to do fine surface work. It needs to be clean without raggedness, and it needs to be drawn out cleanly without any dirt or grit or anything on the burnisher or scraper as anything like that at the edge will just deform the burr. So, you get to the point that the bevel is done quickly, but take 20 or 30 seconds to use something very fine (honing compound on wood, a very light buff, etc) to remove the honed burr before you draw and roll the polished burr.

My first attempt wood-wise was chakte viga. No go – it’s not compact enough pore wise and it’s resistant to a burr. It scraped fine – very bright surface.

What I need is some compact turning blanks that are a little green yet, and that’s something I don’t have.

The next thing to try is castelo box, which is compact, still fairly hard (like hickory hard), and I realized at that point, i just don’t have any wood that’s going to make a smooth poreless or nonstringy shaving that’s also going to allow me to take a shaving of a couple of thousandths without the shaving coming out of a shaving plane. But I was able to get these:

And lighter shavings left a plane like surface, so there may be a situation where I find something to do with the hand version here, and the #80 blade is now in the 80, though I did have to file the front end of the mouth leaning forward. The mouth on an 80 is large, but the shaving runs right up into the buckle or strap that holds the iron in place.

Surprisingly, the bed of this older #80 was really sloppy, all the way to having a dot of actual casting sticking up pround in a seemingly random place. If you tightened the front strap down, the blade would high center on the casting flaw and be bent. I have a feeling more of these were used to scrape paint and finish than anything else. Of course, I filed that off and spent about 20 minutes going over the whole tool, lapping the surprisingly bad sole and getting rid of stuff that just made it a pain to use. The sole was recessed toward the mouth, which made it kind of a pain to set to use and get it on and off of the stock here smoothly.

This is the surface off of the scraper with a refined edge. It’s not a match for a double iron as you are refreshing it more often, but when the wood is hard and takes a good polish being scraped, the surface finish is similar. On beech or cherry, no dice – it’s a bit fuzzy and you have to follow it with a card scraper and something else. Why bother, you can just plane those.

One other side benefit came out of this – the thick scraper isn’t really that easy to use in a heavy cut freehand, but when it’s being used continuously, it doesn’t burn your fingers.

the widest shaving that I got off of this test scraper is this one from apple. Held down by the 80 both to give scale to it (way wider than an 80 could take) and also so that it would lay out flat. The shavings hidden under the hand scraper are from the #80 off of apple. If you have to take a bunch off, the 80 will definitely leave your thumbs and wrists in better shape.

It’s easy to see why the double iron took over on flat surfaces, though. As fun as this was, it wouldn’t be very nice to try to replace fine planing where you can plane, and as you get to woods below maple in hardness, the surface left behind is a bit hairy if it has any thickness.

One Begets Another and Forge Welding

There’s only one game in town at this point for plane blanks as big as I want them, and I have half a dozen or so on hand, but I will likely build planes off and on for the rest of my life when I get the jones. And it may be possible in retirement to actually beg, borrow or steal a main stem from an american beech tree somewhere, but that’s not now.

The recently finished plane is sitting on a billet here because the first long plane I ever made was a jointer. I rarely use it, but I’d maybe like to refresh my planes and maybe cut up the older ones for handle stock. The old jointer is a serviceable plane, but the iron I put in it is just OK and it the style hurts my eyes. We are not talking about priceless goods here – there’s about $60 worth of wood in the old plane and I hate to say it, but it has my mark on it and I will not sell it to anyone else to use or even give it away. I’d rather clean up an old plane for someone else than do that.

So, the blank on the bottom here will get my regular treatment – which is it’ll be a normal plane, but if I think about what I really want in a jointer, I want one with a 2.75″ iron instead of 2 1/2. it’s uncommon to find furniture work that the trying plane here will be deficient in. It works great. The iron will still nick, though, if something causes it to. it’s disappointing that I can’t metallurgically bend reality, but we’ll see over time. It should be usable and it’s a lot easier to be critical when you make the iron and you want it to be perfect vs. a vintage iron where you really want to learn what it needs rather than pick at what the iron needs for set up to be critical. One has you moving volumes of wood and the other, at best, would lead to accurate criticism online. To do the latter when you could be doing the former is stupid.

I just checked the cost to get 11 blanks from horizon and it’s a grand. that’s a lot. Baked in there is what causes me to tap the brakes – freight from 2 hours away is more than 1/3rd of the price. Just like the second to last sentence above, that’s stupid. I can drive to get it at some point and I haven’t bought any in a while. It’s effectively $25 a board foot, which dear, and I haven’t seen it – and these blanks are not all actually straight. They’re quartered but you can’t buy one and assume that it’ll be dead nuts straight with no wander in it. That’s life. I did like the original american beech stock they dried better, but it’s half heart and the euro is all sap. Old planes are all sap. so who knows, the american beech of yesteryear isn’t available and it’s unlikely it ever will be again in the quality horizon provided. i still have a little of it, but it’s stuffed off to the side until or unless I get the urge to make something legit unique, like a cooper’s jointer, perhaps.

On to the forge welding thing:

I don’t forge weld much. Just bolsters usually at this point when I can’t get round stock. I haven’t thought about it much because wrought or mild steel forge welded to high carbon steel isn’t something I want. I don’t want it because at this point, the solid steel chisels I’ve been making are better. They can have the same strength and stiffness in a thinner cross section and 26c3 and 52100 both allow hitting high hardness without making something fragile like D2 steel would be.

So it’s been out of mind. Except I got an email from someone earlier today and looked further. Another issue that I deal with is the limited availability of steels I want to use. I want to make chisels that are not bettered by something. It’s just a thing. When you start to make things, you want to make something usable. In the back of your mind is fantasy that you want it to magically be special, but it isn’t. You’re struggling when you start to make something that will match basic commodity goods and again, if you don’t do the comparison and just regard your mediocre stuff as superb, that’s stupid.

Not wanting to do stupid things does limit you to certain experiments. For example, there are steels that would benefit from a higher pre-quench heat than a mid carbon backing steel would tolerate to get full hardness. So what do you do? If the bit hardness (the cutting edge) is going to be fully hard, the grain will bloat in the backing metal and then what’s the advantage? It may not be able to even match a single solid steel chisel. Too, I’ve learned by experiment unintentionally that even moderate amounts of alloying will make it a lot harder to get a forge weld done. you can often still do it when you can get really high heat and the work area is small, like bolsters on 80crv2 or something, but it’s not something you’d want to do in great big volume hand hammering.

But discussing this with someone who is having someone else make tools still allows pondering and strikes up the chance of perhaps using a mid carbon steel with a plain really high carbon steel. Like 1045 carbon steel rod (0.45% carbon) laminated to 26c3 or hitachi white 1. The latter should be an even better match. Both of these steels need contamination free composition, and a lot of the mid carbon stock has been replaced in the US by steels like 4140 that are much more highly alloyed but through harden in long cross sections. They also have yield strength values twice as high or near vs. 1045 steel, so it’s easy to see why they have become a preference for industrial use. I doubt they would weld easily to a high carbon bit.

There are specialty 1045 products that are nitrided and high sulfur, presumably the sulfur makes machinability easy, but it’s a toxic thing to have forge welded and maybe diffusing into an old file or hitachi white 1. How long does it take for sulfides to form, making steel brittle junk? I don’t know and I don’t really want to learn. Fortunately, digging deep in mcmaster carr’s listing finds 1045 rod made from the US with a sulfur content limit that’s not much higher than white steel, and the same with phosphorus.

I think this is worth trying partly because it’s worth trying for fun, but also because if it’s workable, It may make white 1 chisels viable vs. being a $200 of steel per set novelty. Figure when you are shopping for unobtanium japanese chisels made of white 1 and sold for $2k, you’re probably looking at about $30 of white steel bit the most – maybe less. But when you make solid chisels end to end, the strangely high price of hitachi white starts to bite. I still have to make one solid set of them to squash the nonsense that “it’s laminated to wrought iron because it’s too brittle to use as monosteel”.

And I think I didn’t make it more clear, as I should’ve – 1045 moves much faster under hammer than does 52100 or anything else that I’ve been using in the round. W1 is pretty amenable, but 52100 will definitely build more shoulder and forearm muscle, or in a small power hammer, require more heats. neither of those are quite what I’m looking for in a chisel steel.

If this works, the only drawback is the 1045 steel may end up at 55 hardness while the cutting edge is 65. I don’t think there will be much there to see in terms of lamination line, but at least the chisel body itself will not flex as much and chance breaking at the butt end of the forge weld – exactly how I’ve broken two different laminated chisels in the past. I’ve never broken a solid steel chisel that I can recall.

What’s the sweetest sound in the world?

When the power is out courtesy of a storm, and your neighbor’s generator starts to sputter from running out of fuel, and they’re not home to refill it.

I left work a little early yesterday just so I wouldn’t be walking through town as a somewhat nasty line of storms hit. It came sooner than expected, but I was already in the car. On the way into the neighborhood, before roads were closed and anyone did anything, I stopped at the corner and snapped this picture. If you look closely, you can see that there is a telephone pole down across the road.

The storm was quick, a couple of minutes. You don’t see poles laid over like that every day – and I guess in newer neighborhoods, you don’t see them at all. However, how many could there be. I had idealistic delusions that someone would be resetting the pole in the evening.

But, no – there are 2 more laid over up the road in this same neighborhood – but past this one. I didn’t venture out to get a look at them. And this morning, looking for an update from the power company, one of three here, but the largest…….there are 22,000 individual locations where wires are on the road, a telephone pole is laid over on the road or both. That’s a lot of work, so needless to say here about one day later by the clock’s ticking, the picture looks just like this except for caution tape and no rain.

I would normally make a joke about working by hand and not needing electricity, but I still have work and deadlines like anyone else, so I have been living by a cycling generator, laptop and wireless hotspot and checking food to see if anything has unfrozen in the on and off cycle.

My neighbor is a good guy – genuinely, but he prefers a scorched earth solution with the generator – run it as much as possible. We are downwind from him on postage stamp lots and his generator is at least three times as loud as mine. It sounds like one of those mobile worklights you hear when you drive past jobsites.

It just ran out, and I feel like the off grid standard of living just went up.

But, anyway….that leaves me with one thing I can do, which is to figure out whether or not my tarted up plane will be tarted up like high class lady of the night, or not as high. In a more serious discussion, it leads to making decisions on finishes on tools.

So far, this is all varnish except for tung oil and wax on the underside. If i’m being honest, doing this is a waste of time, and in the past, I’d have done this with shellac and then wax, or oil, shellac and wax, or oil and wax. The key thing here is what am I going to do to touch up the finish? It’ll be shellac or wax or both. This is more out of curiosity of how this will work. But rather than leave this in varnish, it could get a transition coat of shellac and then wax. Why? The varnish has japan drier in it, but it will cure over time. Can I wait that long? Probably not- when it is reasonably firm, I’ll go over it with shellac and mineral oil, and then carnauba wax. The carnauba wax is in turpentine – you really can’t rush turpentine to varnish that’s solved in…..turpentine, or you’ll soften it and then the wax will really look bad.

But you can put a transition of shellac on the plane and the wax solvent seems to cause no issue. and realistically as this starts to take wear or dirt, I want to deal with it using wax, so there’s no great reason to wait. It has a zero chance of remaining undamaged.

I like the tone of the varnish, and the photo probably looks like it’s staged outside, but again, it’s distraction from storm clean up, a break at lunch and then realizing, it’ll be tomorrow morning that I can handle the plane if I don’t put it outside in warmer air with at least indirect UV. Natural light is much more kind to the tone than the garish super bright white LED lighting in my shop. Those lights really do kind of bother me – they are so cold tempered with their color that you can’t get a good sense of what color things will actually be. I’ll bet they have lights like those in morgues and cosmetic research facilities where they test on animals.

All of my earlier planes out of impatience (again!!) were finished with linseed oil and wax. by earlier, I mean like of the era when I made the youtube videos about planes – 2013 to 2015 or so. Long time ago now. Things I didn’t have the patience for back then – really dialing in the bedding of the irons in the planes or adjusting the more human irons than the current surface ground generation of things so that they were really dead nuts, I have patience for now.

But I don’t yet have patience to do the planes in varnish end to end without giving the finish its more permanent look of carnauba. It’ll dull things some, but it’ll make it much easier to touch up filth or scratches or whatever.

Between this plane and the next one, I can think about things that will make the plane more visually interesting the same way a 1968 les paul custom is more interesting than a CNC made flat topped hamer guitar….and not necessarily the way a puffy shirt is different from a flat tshirt.

My neighbor just restarted his generator. He’s a great guy, but I wish he had a smaller gas can or less reliable generator.

How Many is Enough? At least One More…

Not the last plane remaining to include shop made irons, but added to the closed handle rosewood jack, and the rosewood and gombeira smoothers.

Probably mentioned in another post, but I have two try planes of my own make. One was my first try plane, which was the third double iron bench plane I made. It’s OK. The second is a plane that I got lazy on and didn’t cut the mortise quite straight up and down. that one is actually solvable by adjusting the iron and cap iron, but I never did it. I use the first along with a vintage try plane that I like because sometimes I just like to use old stuff. There’s a credibility to the nice old stuff that my wares don’t have because……you can’t buy age, and you can’t buy provenance of a golden era plane that was made and sold in a competitive market of professional users. That’s gone.

What you can do us buy that older plane for less than the cost of materials in mine, so…there’s that.

This plane is euro beech, but the handle is american beech. It’s nicer than my earliest planes, and it has a 65 hardness plain steel iron in it. Those two together are important to me. Strength from hardness imparts edge stability. Plain steel at 65 means hardenable. The fact that it’s a 1.25% carbon steel means it’s still relatively relaxed getting to that hardness at a 400F temper or a few degrees above that.

There are still some things that could be improved in terms of lines. I chicken out on the handle and always leave the top and front strap a little tubbier than they need to be. A shorter handle looks nicer, too, but what if I decide to give the plane away? My hands across the knuckle are only about 3 1/2″ or a little wider. Someone with a 4″ hand across the knuckle could use this plane, but probably struggle on an older Mathieson plane until they realized they don’t need to have all four fingers on the handle.

Haven’t tested it yet, but anticipate no issues. This one is a little more free in the wear, etc, in terms of clearance in hopes that I won’t end up doing any extra work rubbing the shaving hard into the wear in tight quarters. Some of my tighter smoothers and jack planes do give a sense that the angle off of the cap iron into the wear, along with tightness, are so much so that even shavings not straightened by the cap are being straightened by the wear. It looks nice to have a plane that’s really tight like that, but there are limits to practicality.

I may build more planes this year, not sure – but in the background is a desire to make the chamfer a round over on the top, but elegant, change the carved details and make a much more artistic handle that’s not guarded by material bulk.

This is my first euro beech plane. At horizon, euro beech is still what’s available, and realistically, at not less than about $20 a board foot. Is that really a big deal? I guess it isn’t – if the wood is perfect, I’ll pay it. Some of the blanks on the page look less attractive. This one came out of a billet that wasn’t sawn that well, but there was room to resaw it, and the result is very attractive to my eye but for the contrast in how much color changes vs. american (oh, the wedge, too – also american to my recollection). I like the warmer color of the american stuff, but as this plane gets a few more coats of varnish, it will be sort of tarty and it has the wonderful three dimensional effect in that parts that are dark turn light and the converse as you’re walking past it, making it look a little alive.

If you look closely at the right eye in the last picture and the plane itself, you can tell that I corrected the bottom of the eye a little. It just looks better if the bottom of the eye doesn’t look like it flatten out entirely in the longer thin area of the eye.

There is a cap iron under the wedge, of course. You can’t see it and neither can I, but it’s there. Shop made like the rest of it, but for the modified knurled screw that I cannibalized to come up with the screw itself.

Oh, and the little bit of dirt trapped under the varnish on the front side of the handle – jeez. That stuff shows up less on the bare wood but big time after finish is applied. It reminds me of a childhood friend of mine who could not eat anything other than clear jello without creating a rings around the sun type look….food dirt. I saw that as it was occurring with varnishing and admittedly did nothing about it. One of the luxuries of making things for yourself.

No test shavings yet -the handle glue is drying as the plane sits here, and to some extent, so is a tung oil and wax sole. Just under 8 pounds – a nice weight for a fat guy like me if the upper end of possible use includes rosewood. And nice even in cherry, especially cherry of suspicious quality or grading.

Influencers Won’t Protect You from Rust – Part 2

So – the results for everything but the shop made varnish were pretty abysmal. the varnish is an odd choice, and you may be thinking “what about polyurethane” and so on, I’d imagine thinned, that would also work fine. You don’t want a heavy coat on anything and finsihes with adhesion problems will just come off and that’ll be ugly as it’s going to occur over a period of time and be about as attractive as a peeling car hood.

I used varnish because it’s tolerant of a lot of things and will still have good adhesion and toughness. In short, it could actually be practical in this case, even as a base for under wax.

To see how deep the damage is, I put the varnished sample aside – in reality if I were using it, I’d scuff it with steel wool and wipe on again to get rid of the deglossed spots. But for the others, I spent about 15 seconds on each spot with #00 steel wool. Here is how the Ceramic Finish sample fared:

It’s not that bad in the center, but there is dimension and depth to the rust at the edges and steel wool will not remove it. If you have a prized cast iron surface, this is disaster that you won’t just sand out. Fail, all the way around where plain standing water is concerned.

Shellac – expect disaster, and that’s what we find:

The remaining rust with depth is more vivid and the larger damage more uniform. Fail all around.

And the carnauba wax after steel wool:

Apologies on this -the test was a bit of an afterthought and only the darkened areas on the bottom of the right side plate are from the carnauba – I didn’t clean all of the rust off of it around the edges that was there before starting. But surprisingly, most of what is left is discoloration and there is nothing with a three dimensional feel.

Fail chasing perfection, but success – surprisingly – a very practical solution for moderate rust control.

I did nothing further with the varnished sample.

The results of this are fairly important to me, but because I have water in the shop for tool grinding purposes. Once in a while, i run around and dribble a few drops where I didn’t want to and find the result later. I’ll be using Carnauba where oil isn’t durable enough, and varnish where Carnauba may not wear long enough or provide needed protection for a non-work surface.

I do have a problem with vapor/humidity rust on bar stock and am lazy about doing anything because metalwork results in the loss of the mill surface. However, i have once in a while found that the rust missed on stored bar stock goes deep enough that I have to do further grinding or lapping to get that out, and that’s avoidable. I’ll think about maybe coating three pieces of metal to test if seasonal rust is stopped by all three – I’d imagine it may be, and the results might not be interesting in a daily use sense vs. storage or calamity, but still in my mind sticks the whole thought of “the ceramic coatings are sold as a plus step on finishes”, what good are they if you already have a good finish. Nothing that i can tell.

If you like to see water bead, you can actually buy 20-nanometer silica from china and mix it in whatever you’re using. This is probably not how the refractory resin in the ceramic finsihes exists, but the feel and the dazzling water beading effect is the same.

And the Nanosilica there also does not make anything waterproof if it wasn’t already. I just assumed from the top that the actual finish used beyond the whiz bang water beading effect would be much more like a legitimate finish than it is.

When rust is mentioned in comments or on forums or reddit or wherever, or even locally by friends of mine, there’s always disbelief that some basic product that isn’t value added and massaged into a sow’s-ear silk purse is suitable. Boeshield may work, some other urethane finish in a little bottle might work, but I doubt any of these things work as well as the basic components you already have around. if you have your own oil, but think it needs rust inhibitor – test that first. If you still think it does, find out what the rust inhibitor is. Chances are whatever is being marketed at you is 1 unit of value sold for you at 10, 20 or 100 units of cost. No thanks.